This post may contain affiliate links. Read my Disclosure Policy to learn more.
Hello all,I am back with the construction details of my beloved Vogue V1440 top. I warn you this is quite text and photo intensive so feel free to scroll on by ;-).
Size and fit
As mentioned previously looking the at Vogue pattern sizing I should have cut a size 14. The pattern tissue itself looked like the size 14 was huge. I looked at the finished garment measurements on the tissue pattern (the pattern envelope only showed the finished length). The finished garment bust measurement was 38″. My bust is 33″. That’s a lot of ease…I mean a huge amount. Even when I was pregnant with twins this would have had plenty of ease.
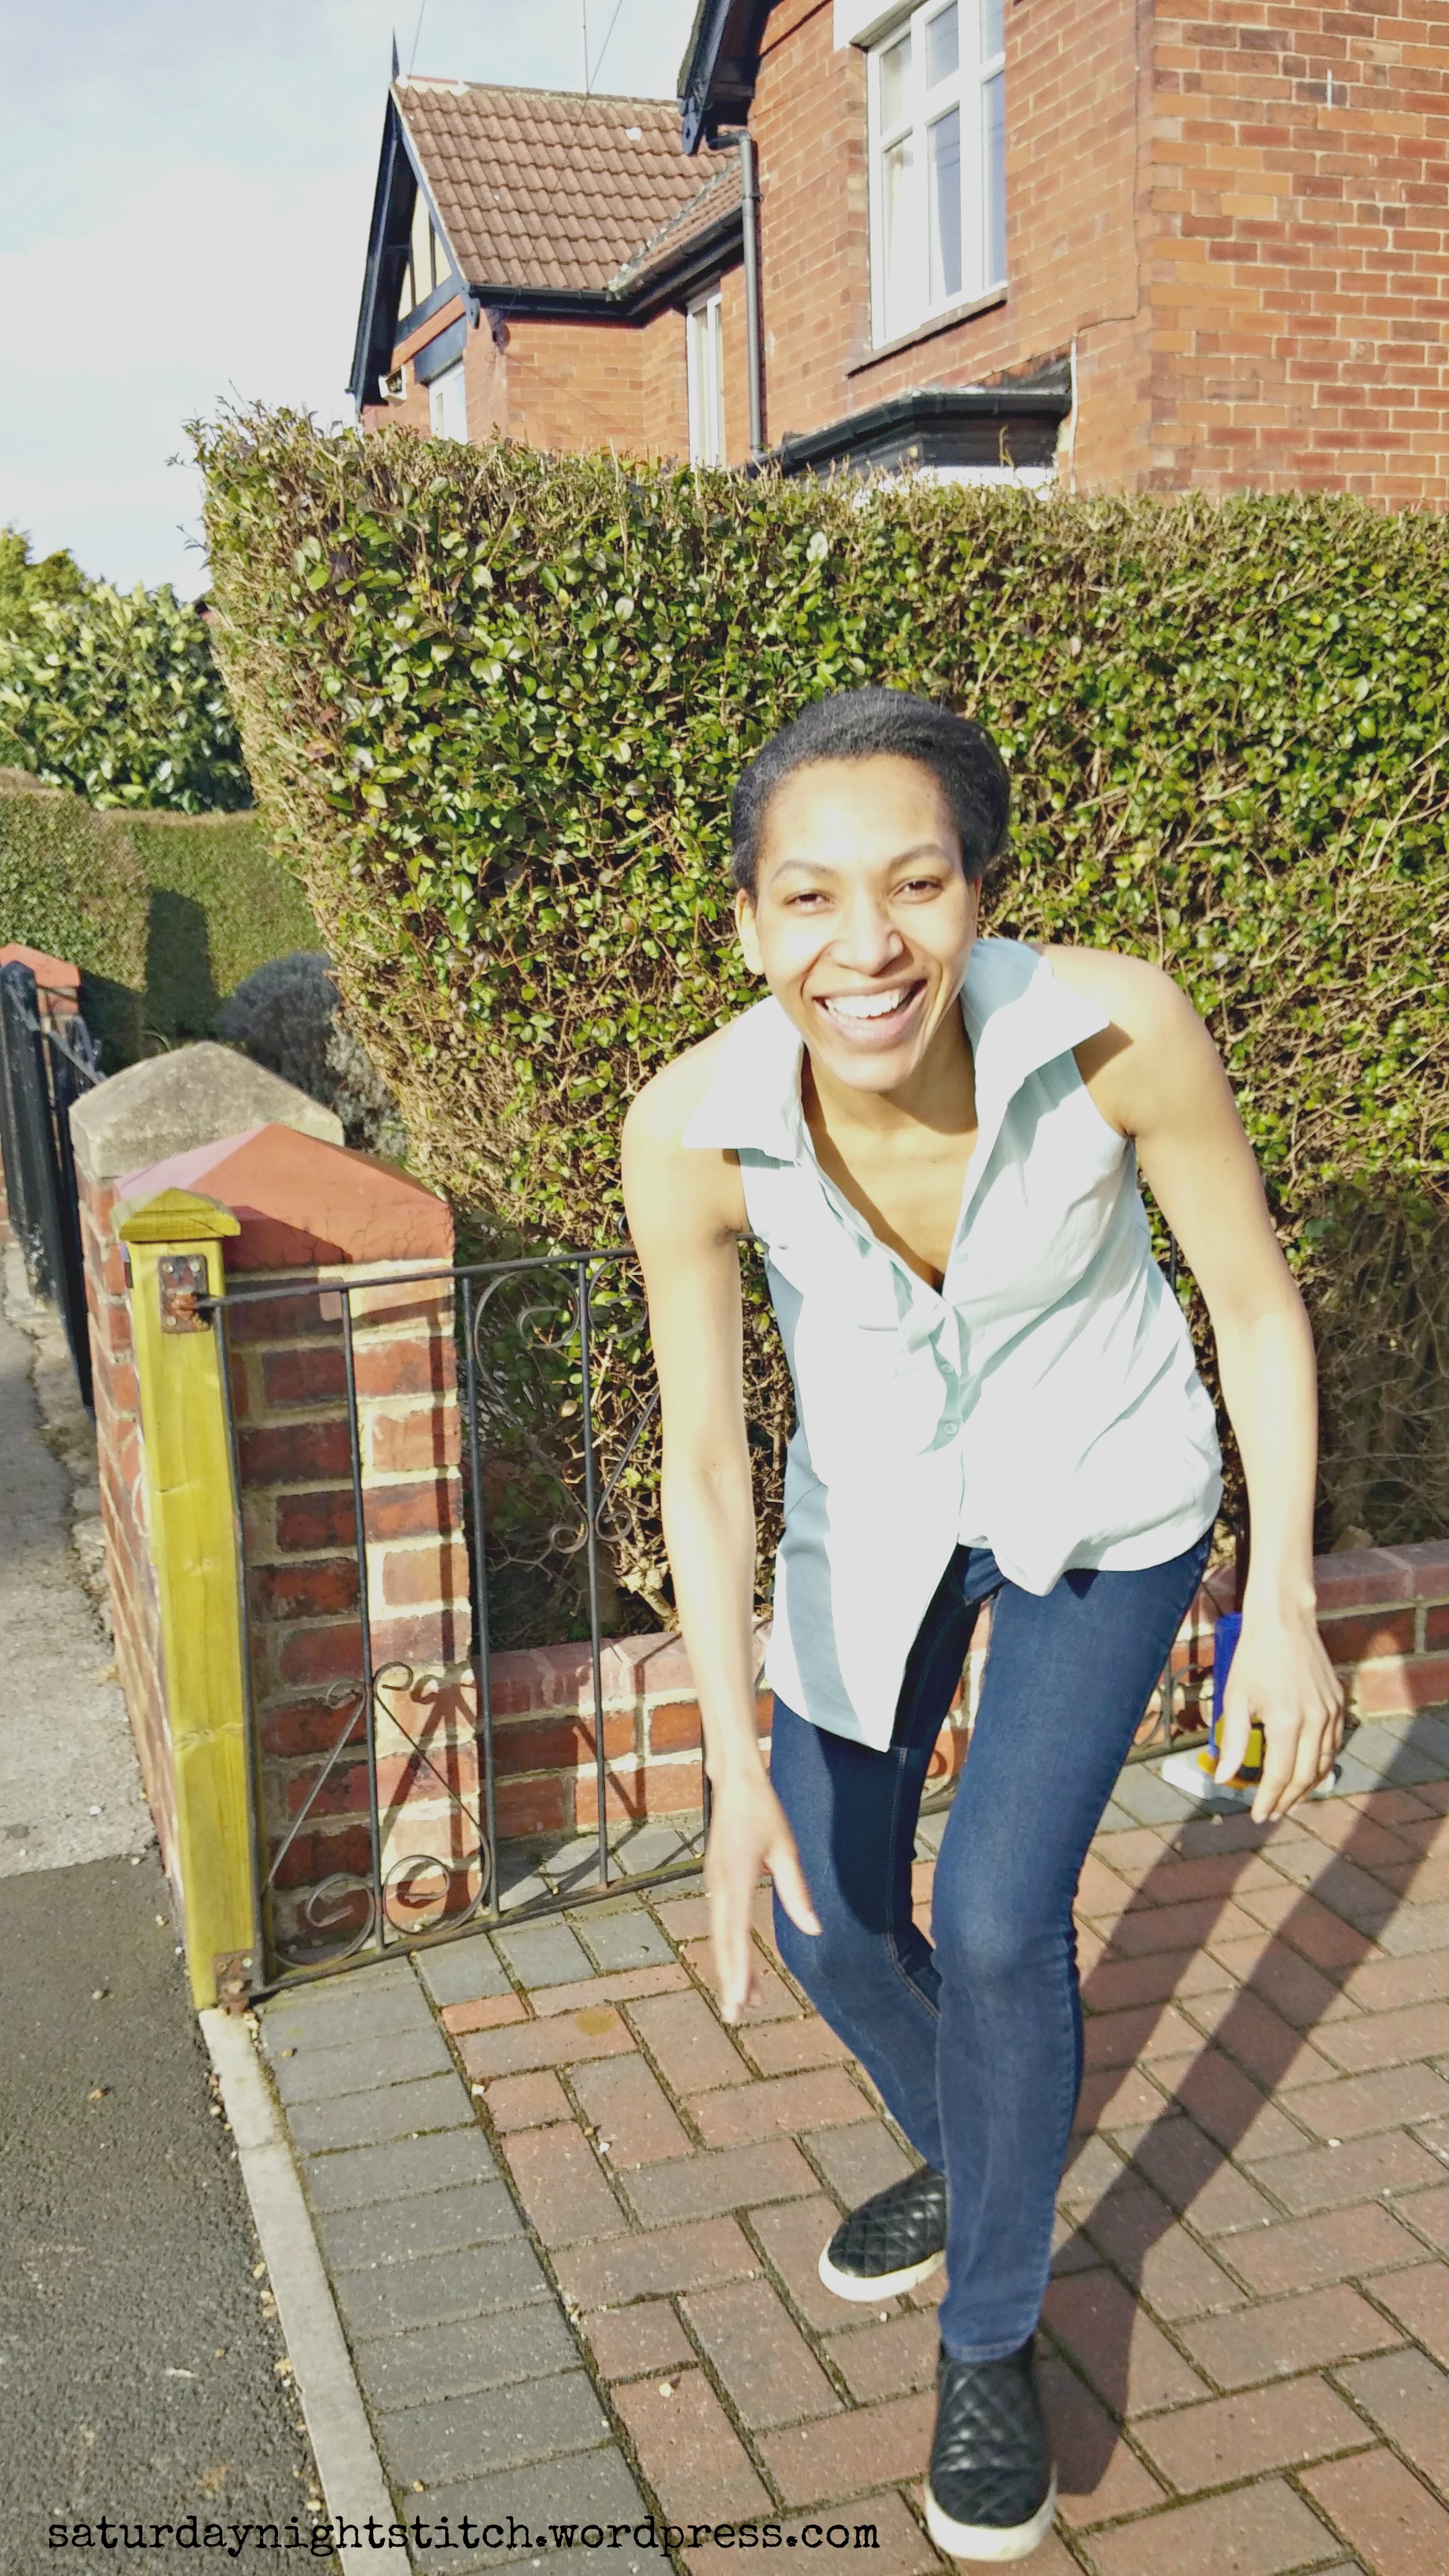
Instead I used those tissue measurements to determine the size to cut which was a size 8. Still doubting myself I prudently cut a size 10 with the idea being I could take it in where it needed taking in. But little did I realise that it would still be very loose for me with the armholes gaping somewhat. I dealt with the armholes and bust by simply pinching out the excess at the side seams and pinning. I marked on the muslin how much was pinched out. Measured and took that off the front pattern pieces and the back pattern piece. 5/8″ was taken off on each of the 4 seams so about 2.5″ in total taken off to make it fit just right. So in the end it was a Size 8 with 2.5″ removed at side seams. From a size 14!!! I am so glad I am at that stage in my sewing now where I no longer blindly follow a pattern. It would have put me ff Vogue patterns otherwise. I reckon I am an intermediate beginner now :-).
Construction.
This was fun. I was very apprehensive and procrastinated a fair bit out of fear of failure. I didn’t think I had the skill to make a collar or a yoke piece. This year is all about pushing myself and expanding my boundaries so I insisted, against myself, that since I had spent money on the pattern therefore I had to make it. No sitting in my stash looking pretty! I am trying to break my cycle of buying patterns and packing them away by using what I buy straight away.
I dithered over tracing because there was so much tracing to do. I usually trace on greaseproof paper and these pattern pieces were too wide for the greaseproof paper so I thought of …hush now….cutting into my tissue paper :-o. But I couldn’t and had to go onto Instagram to hear whats what with tissue cutting. Instabuddies bolstered my confidence I went for it. Well sort of…..I cut the tissue BUT not to size 10. Kept all the sizes and did that thing where the edges are folded into the size i needed. I know I am a wuss but I am not there yet!https://instagram.com/p/zCuaZpNXM1/?taken-by=saturdaynightstitch
I used a linen fabric and it took me an hour to cut out and transfer markings. I used pencil to transfer markings as that seems to wash off well plus I can actually see the markings (I know I am naughty using pencil).
Collar
In my previous muslin I followed the pattern instructions until the collar and switched to Pam Howard’s Craftsy Class. On this one I did the collar first. I used lightweight fusible interfacing on the collar. Again used the Craftsy class and produced this neat clean looking collar which I am insanely proud of. I remembered to topstitch with the top collar facing up and it looked much neater than the first time.
Fly Front or Concealed button placket
With the collar ready to go in I worked on the left front which has the fly front. I struggled with understanding the fly front instructions in the pattern so I used this Youtube video tutorial. It was great at explaining how to create a standard hidden placket. I am such a visual person and I love Youtube for its wealth of tutorials.
Something I also like about this pattern is that the buttonholes are made right at the beginning. Buttonholes tend to slow me down at the end of a project. But here they are the 4th step after the darts. However, it was very important to have transferred my markings very very accurately. I didn’t with my first muslin and the buttonhole ended up too close to the stitching line and the fold; entirely my fault for being quick and fast and not paying proper attention. Once the front left was done I moved on to the right side which had a lot less folds. The instructions say to handstitch the first fold made but I didnt do that and it still looks fine – I don’t understand that step because by the time you make the second fold that handstitched part is not visible…?? So yeah not sure what that’s about!
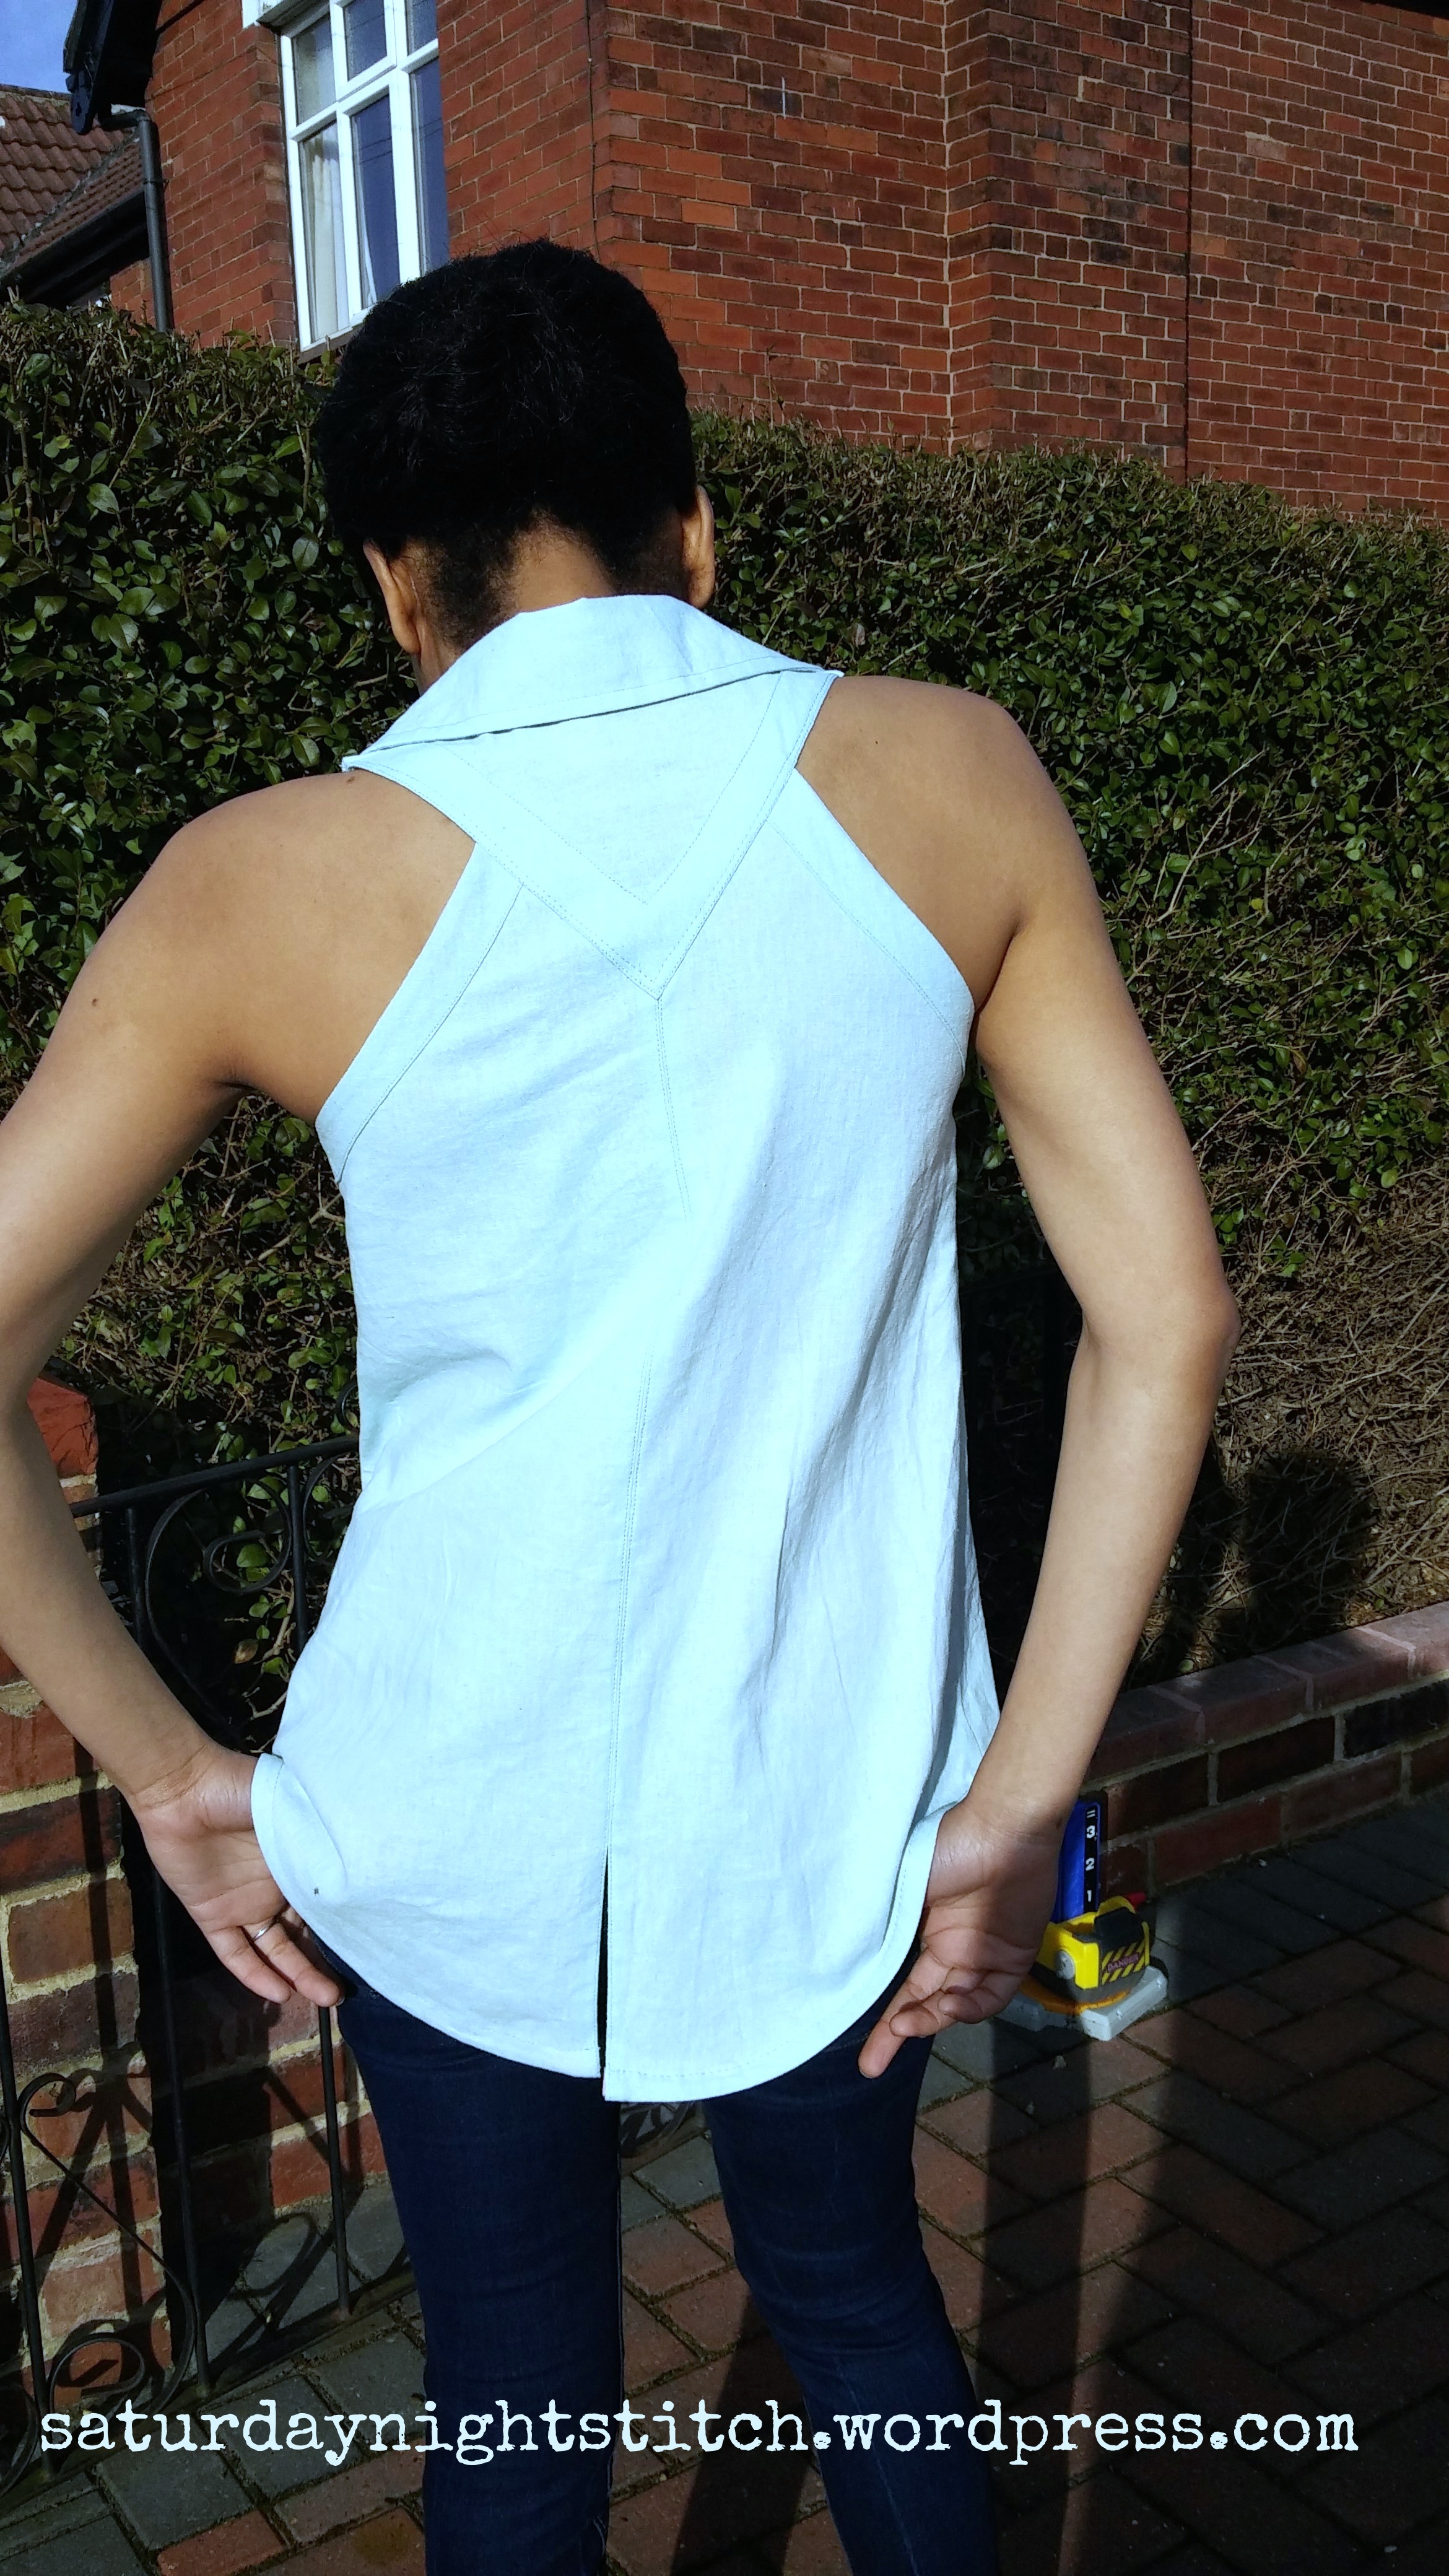
Center back slit. The back has 2 pieces sewn together at center back. The instructions have you finish the seam by turning under and basting the seam followed by edgestitching. It looks very neat. I squinted a lot while doing this step. For the slit I basted the slit pressed open the seam, finished the seam by edgestitching. A seam ripper to remove the basting and open the slit which created a super neat slit. I didn’t do this in my first one and the seam there was wonky. The benefits of making a muslin!!!!.
Next stage was sewing the back and sides together using french seams. I love french seams for their neat look. The pattern instructions say to “stitch 3mm (1/8″) from seamline in seam allowance. Trim close to stitching. With right sides together, crease along seam:press. Stitch along seamline encasing raw edges” From my understanding that would create a seam allowance of about 2/8″. The pattern states the 5/8″ seam allowances included. SO yes I found that a bit confusing and I decided to stick to what I had already known as french seam seam which was sew 6mm (2/8″), trim, turn and sew another 6mm(2/8″). I learnt this when I made my Carme blouse.
Armholes
Ok this is where the fun bit started for me. The arm bands have 2 pieces a back and front which are sewn together. They are attached to the armholes with right side of armhole banding to wrong side of bodice. Sew and trim clip and turn over press. Now the instructions dont tell you to uinderstitch but it seem intuitive to do so. I didn’t with my first muslin but did so with this one and it was much flatter, neater and no peeking.
Hem finishing
Instead of yoke I did the hem finish. Pattern requires you to cut the bias strip for bias binding. This means that the fabric requirement is about half a meter more than necessary just for a self binding. I didn’t cut on the bias. In future I will use bias binding rather than using up unnecessary fabric (especially if its pricey fabric). The instructions were very good and clear on this step. The hem is a bit stiff because I didn’t cut the trim on the bias. I also used a contrast trim to add a little pop of colour.
The triangular yoke needed to be sewn to a point and I used this Youtube tutorial which immediately made it clear. It’s actually for a godet insertion but its the same principle. So I got this in and created a sharp point nearly perfect! Another bit I am insanely proud of! When that goes in the remaining seam has to be turned under ready for the finished yoke band.
For the band I took the extra step of drawing in the seam lines and basting before pressing the seam under. My V band was spot on (I didn’t do this first time around) but the difference is very clear non? V band ready it gets place over the triangle yoke and basted in before edgestitching. I tried to do something fancy with double stitching but I wasn’t great at keeping even distance. Meh… you live and learn :-).
I used a LOT of pins and sewed on the slowest speed.
Next was french seaming the shoulder seams. Again thoroughly love french seaming 😉 Then bodice was ready to be attached to the collar. Straight forward – no issues there. It was so nice knowing that once the collar was sewn on, all I had to do were the buttons and it could be worn! Used a lot of pins on the collar to make sure it didn’t shift. I finished by handstitching the inner collar. For the first time ever I enjoyed handstitching. Gave it a final press and it looked fab. The instructions are to topstitch the collar band but I skipped that – I liked it just as it was!
In conclusion (phew)
1. Check the tissue for the size. It is very very loose fitting.
2. Understitch the armhole band to give them a nice easy curl under.
My thoughts are that the collar may be a bit too wide for my liking (its a very minor thing though). I have already cut out another one!
Is it just me or is shirtmaking quite addictive? Have you made a shirt recently? Did you enjoy it or it put you off?
Its a long post and I dont normally do such long post but I had a few emails asking about the construction of this top. I promise no long posts for a while yet (unless they involve lots of pictures cause you all know how much I love my pictures!
Happy sewing everyone!
