This post may contain affiliate links. Read my Disclosure Policy to learn more.
I have been doing a lot of research into sewing room ergonomics. I have the privilege of having a dedicated room for my sewing and I have been rearranging it using the principles of feng shui and ergonomics. For this post, I am looking specifically at ergonomics and will do a post on Fengshui later.
Sewing Posture
As someone who practices yoga – posture and alignment are important to me. My posture and small back discomfort have improved significantly since I started practising yoga. A natural extension has been improving posture while sewing.

Sewing involves repeated movements of the arm and shoulder while the spine doesn’t move. I was stooped over quite a lot and seeing pictures like this made me aware of the need for change.
There is a lot of ongoing research on ergonomics in the sewing industry. Fashion is a billion-dollar industry. It relies on sewing, therefore, sewing is quite important.
A useful diagram for sewing ergonomics is this:

I like this image because it shows the wrong way and the right way. I used to be like the top drawing and leaning over which was really bad.
Lighting
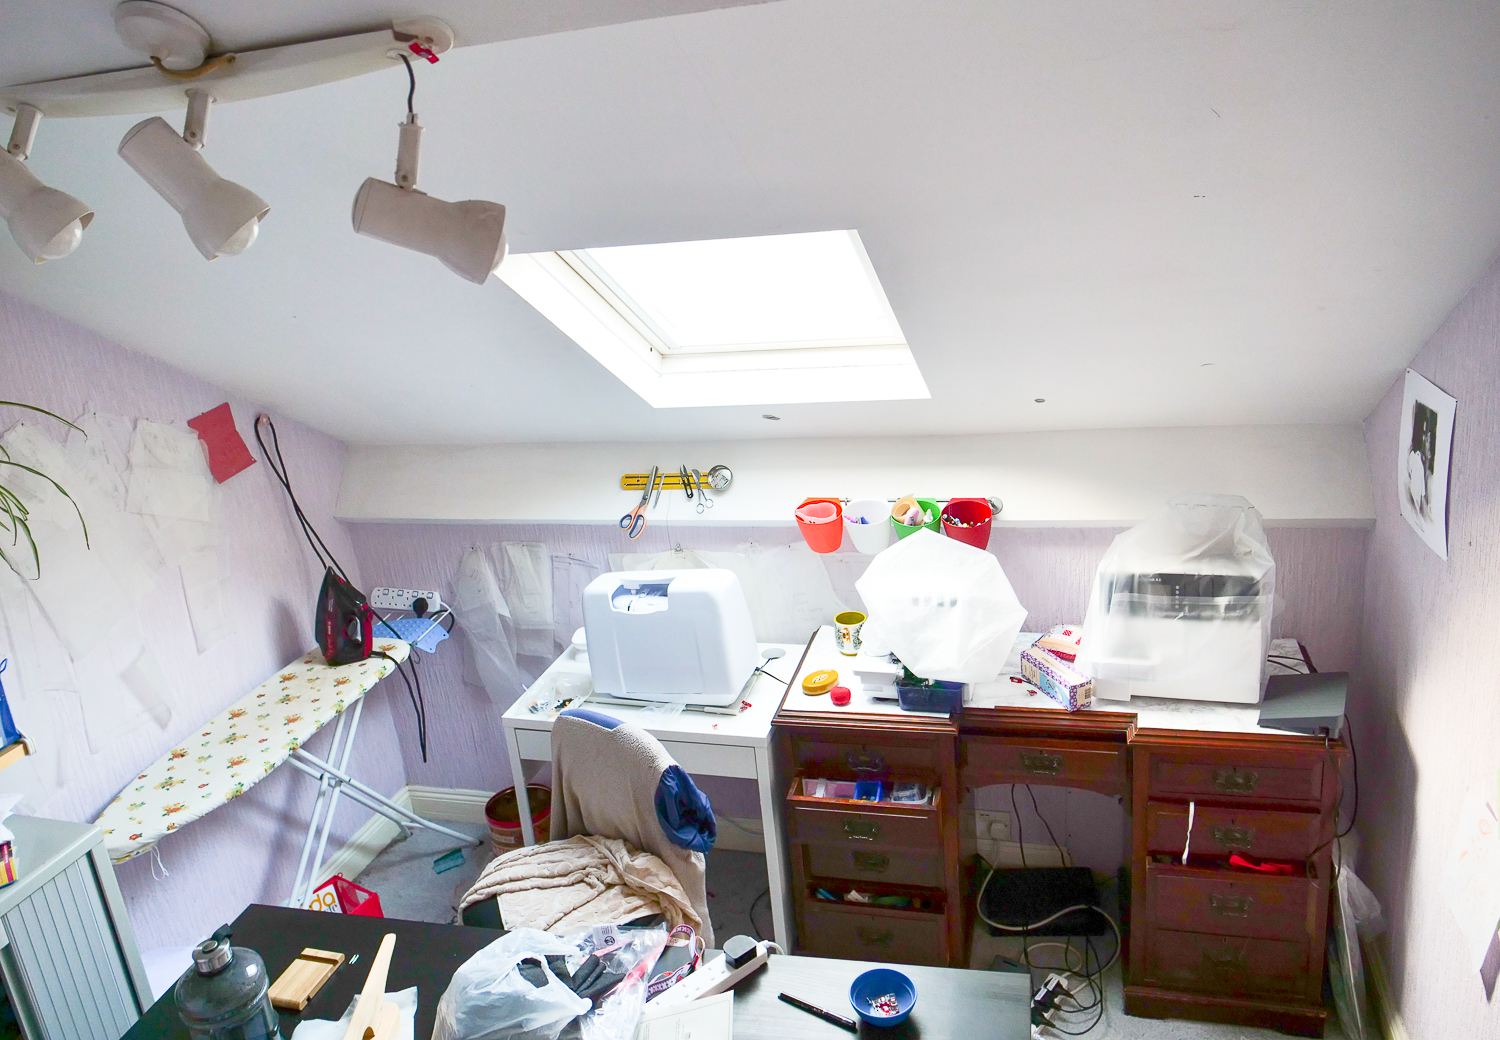
The thing I found to have the most difference was the lighting. Adequate lighting to prevent slouching. I moved my working table with the machine directly under the skylight and it made such a huge difference indeed to my posture.
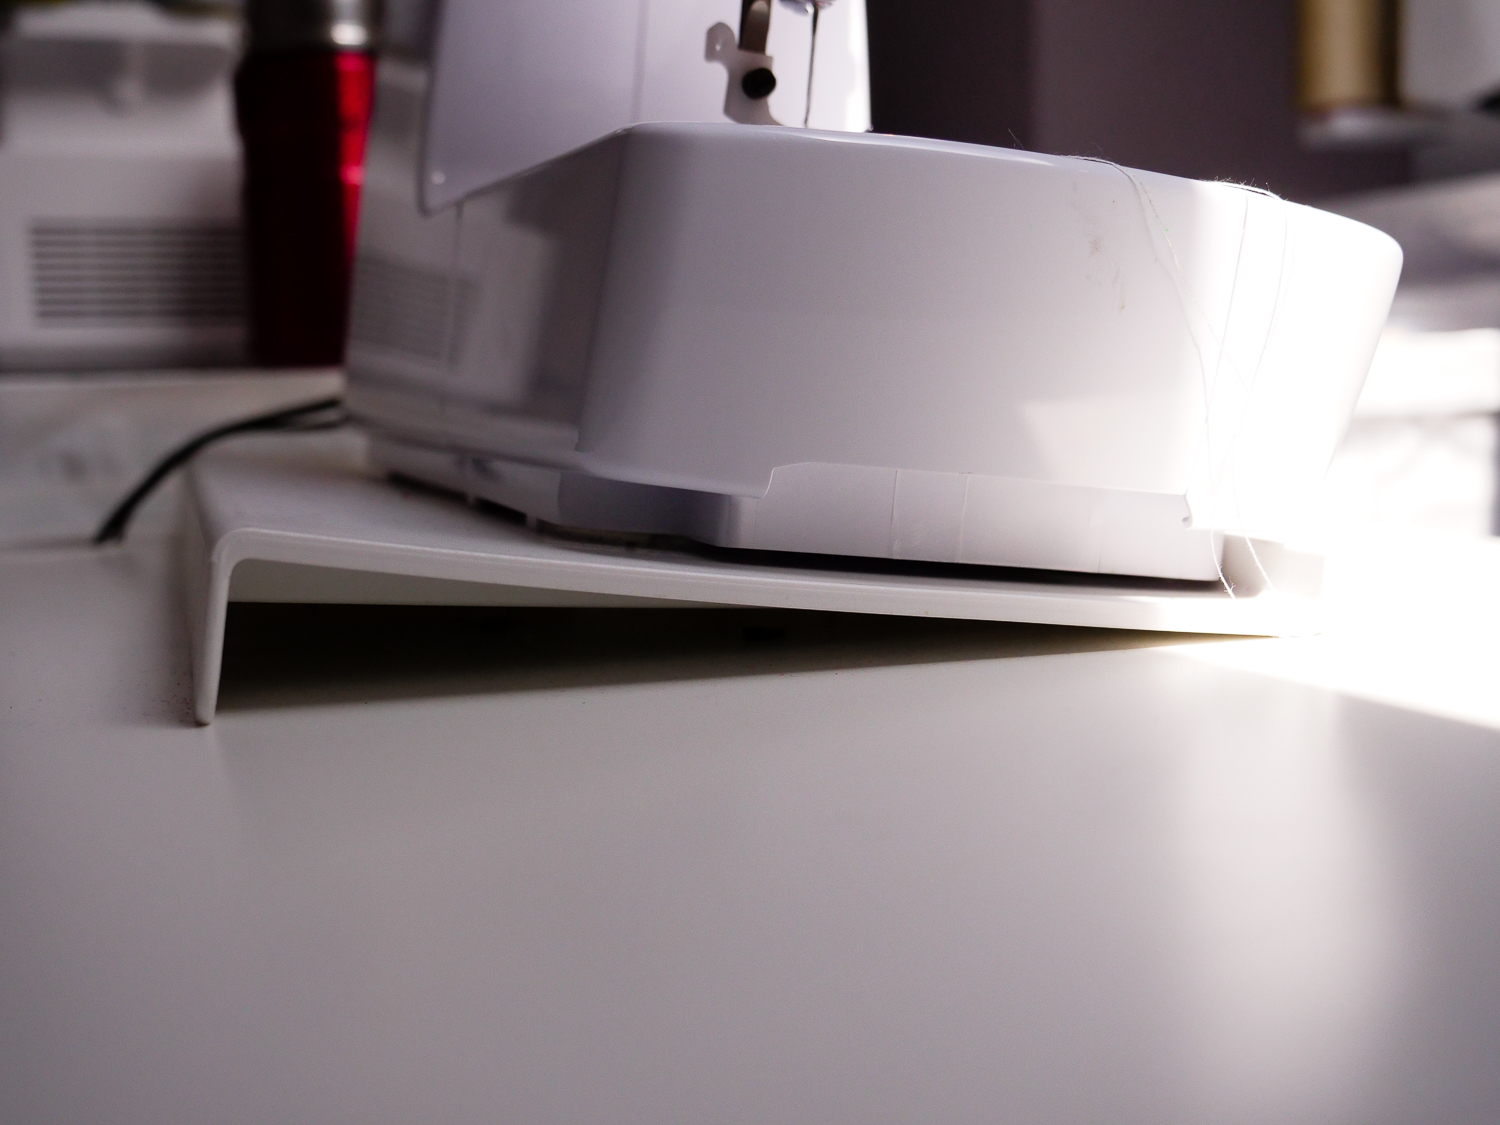
Tilt Table –
The Tilt’able ergonomic sewing table tilts the sewing machine angle which in turn reduces slouching over to see clearly. It improved the view of the needle and meant I could sit back in a comfortable position.
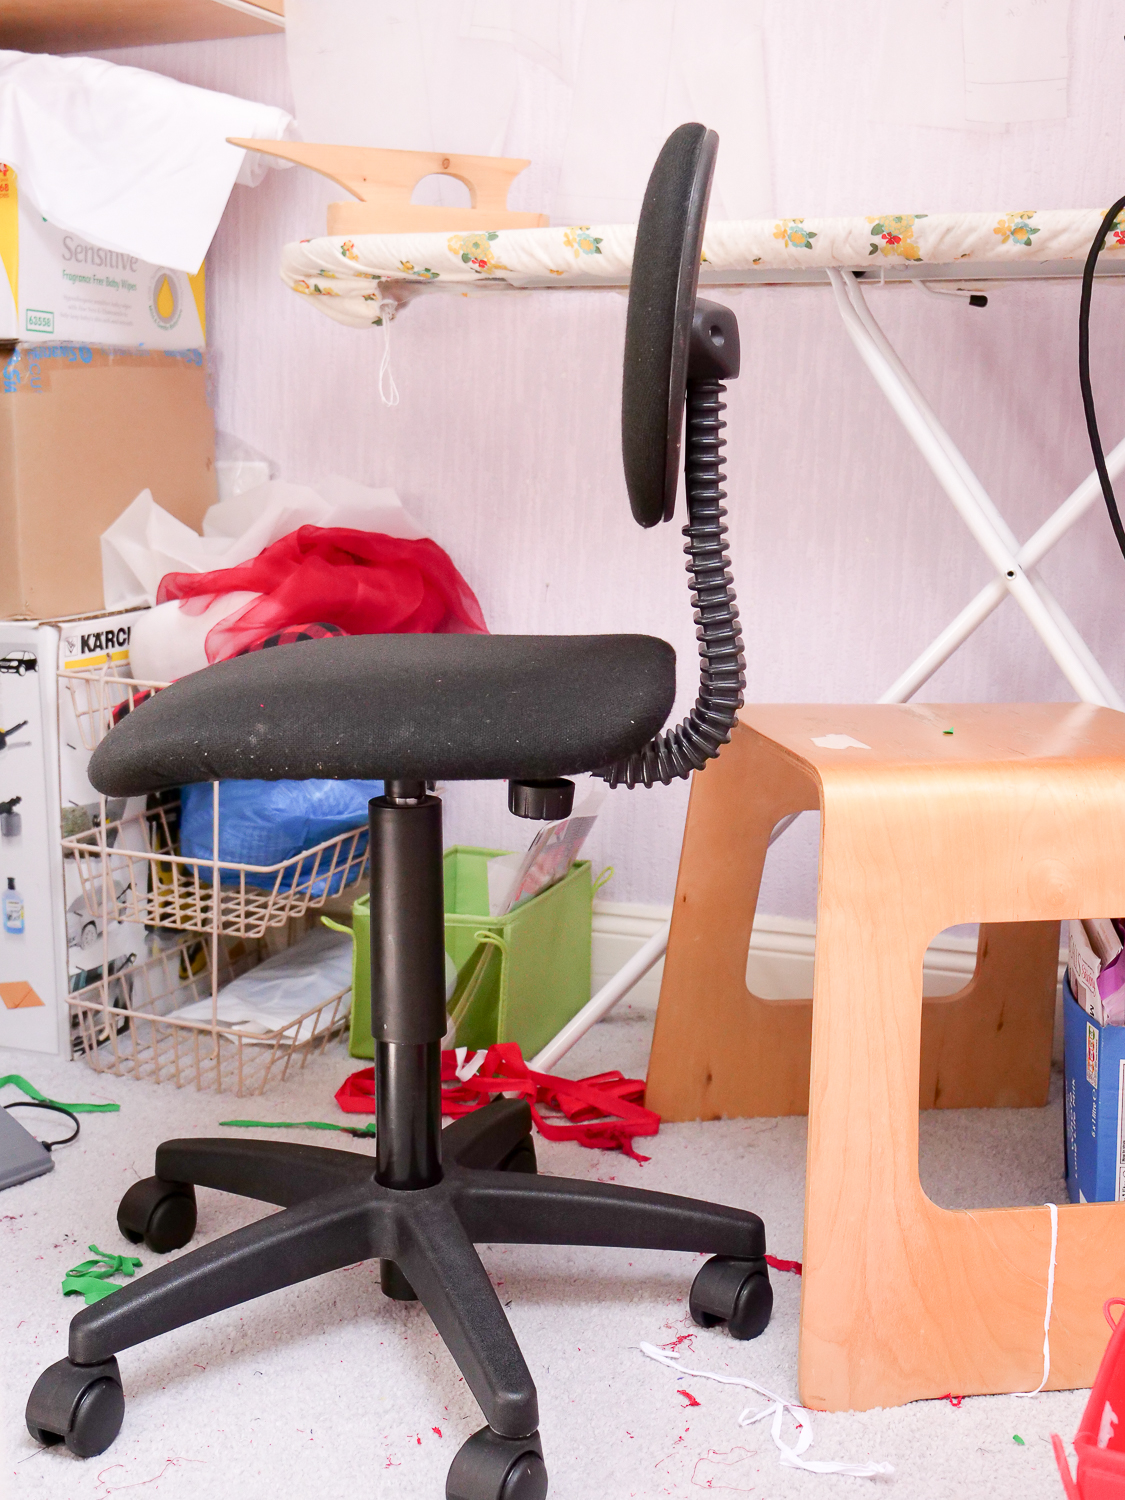
Adjustable chair with back support and cushioning.
I was using a stool before which meant I couldn’t control the angle of my knees or elbows which caused more strain. A low back task chair with swivel casters is great for sewing. Ebay and Gumtree are also good sources of preloved bargains.
Positioning your iron correctly to avoid back pain.
This was a hard one for me because I didn’t think it would make a difference but really I do spend as much time ironing as I do sewing! I press every seam so that follows. Additionally, I iron our laundered clothes. I had never stopped to think about how to do this correctly and what a revelation! I was amazed at what a difference this made towards maintaining my posture and making ironing less tiring.
Basically, shoulders should be relaxed and back in upright position. Adjust ironing board to a comfortable level where you don’t have to stoop or bend over and stand with one knee bent as you iron. You can use a stool as well but adjusting so the elbow angle is at a right angle.


Align your feet and hips
You know that pesky thing happens when your machine pedal moves about and before you know it you are in a bad posture chasing the pedal. Well, the SureFoot System aligns your feet and hips to provide maximum comfort while sewing. The foot wedge gives your non-pedal foot support and the floor mat and pads keep your pedal from moving around under your table while sewing. No more pedal chasing!
You can also get the full ergonomic system which includes the Tilt Sewing Machine for sewing without bending over and the SureFoot system to keep the machine pedal in place
Hanging iron cord
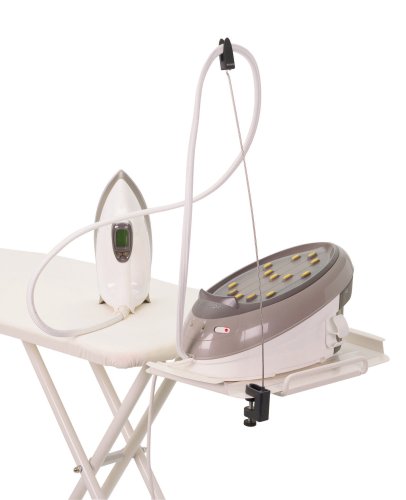
A final point in my journey is that I found hanging my iron cord so it falls to the iron has made ironing that much more comfortable. I don’t have to pull the cord along. I implemented this based on the pictures and videos I saw of the sewing industry. It’s a simple fix – I installed a hook ( I got a pretty one from Anthropologie) just over where my ironing board is.

A simple alternative is this Iron flex cord :
Conclusion
These are simple and small things that in the long run have reduced the muscle ache and strain I would get from long periods of sewing. My next project with this is to work on setting up a standing sewing station. However, this requires more financial input than is available so it is on my wishlist for the future but I have read a lot of positive things about standing workstations.

EDIT- A comment mentioned this desk which I have added to my wish list Skarsta SIt/Stand adjustable desk. It is adjustable and looks quite functional.
Another thing I did was to print out the sewing ergonomics picture and pin it across from my workstation to have that constant visual feedback and reminder.
Thanks so much for stopping by! I hope you have enjoyed this post – do you have any tips to share about improving posture and reducing muscle strain while sewing? I’d love to hear your thoughts.
Peace and love,
Hila
Further reading
A fascinating site about movement – https://www.nutritiousmovement.com/a-day-in-the-life/





Chris - makeandwear
September 29, 2018 12:58 pmVery useful post Hila! Years ago, my Dad made me a large table that is at elbow height when I’m standing. It has saved my back so much pain..I can easily lay out and cut patterns and also have my overlocker on it, which I use standing. I have found that I work faster when I’m standing!
Hila
October 2, 2018 4:21 pmThats great to hear Chris! It always reassuring to know that other find it useful. It makes that much easier to part with money for setting myself up with a standing station. I am very encouraged to go for it! Thanks for sharing and how lucky you are to have a dad who could make one for you. x
CurlsnSkirls
September 29, 2018 1:09 pmHave been aware of this issue for some time, both for sewing and for other work and home tasks. Am so glad you wrote this post – thank you!
Had not thought about a permanently slanted machine so will give that a think whilst searching for one over here.
Hila
October 2, 2018 4:19 pmSO glad you found something useful Del. The tables seem to be more available in the US than here. Not sure why that is. It been a good investment for me. xx
Marial Shea
September 29, 2018 10:12 pmThanks for this thoughtful post. I, too, have thought a lot about ergonomics. One suggestion that’s worked brilliantly for me is the Ikea Skarska desk. It comes in two sizes and winds up and down (or you can get one that has an electric motor). On the smaller one, I’ve got my serger and sewing machine. I wind down the larger one for my dining table and then wind it up for tiling together pdf patterns and cutting fabric. So great to have a table at standing height. I live in a 500-square-foot apartment and these flexible tables have made a world of difference. Also, I’ve learned a lot from biomechanist Katy Bowman, who teaches about natural movement (www.nutritiousmovement.com). She emphasizes varying our position frequently rather than looking for the perfect position. The problem, she says, is holding any position for long periods. So, for example, I stand at my tall table for some work, then sit at my machines, then maybe sit on the floor to do hand sewing or unpicking a seam. Love your blog!
Hila
October 2, 2018 4:18 pmThanks for those informative links. Ilike the look and functionality of the Skarsta desk – its been added to my wish list :-). Lesley also echoed the benefit of moving around and avoiding holding the same position for long. Thats something I need to be more wary of. My problem is when I get into a flow sometimes I loose track of time – I may need to pomodorro it while trying to get into this new habit of varying my position. Thanks so much for sharing !
Su
September 30, 2018 12:30 amInteresting post, sewing can make you ache! I shall try some of those tips, thank you.
Many years ago my grandmother had an attachment on her ironing board to feed the cord through, I just did a search and they are still around under various names (flex/cord/lead holder/guide/minder) and not expensive. Handy if you don’t have a dedicated sewing room.
A friend loves her strip of special sewing machine lights that you can stick directly on the machine.
Hila
October 2, 2018 4:14 pmThanks for sharing the tip on the strip of sewing machine light. I’d love to get one of those especially as we move to the darker winter months. Is there a specific site to get them from? I didnt know about the felc cord holders! They are what I would have got had I known. Thanks for sharing that. I have updated the post to include them in case someone else didnt know like me :-). x
Su
October 2, 2018 7:02 pmI hadn’t seen a cord holder for.. ahem, 40 years, It’s surprising, isn’t it, for such a handy gadget?
The strip lights seem to have dropped a lot in price, going by the 2 biggest websites for buying online. Going by the comments you may need double-sided tape too. I was put off by the other little bits that stick to the machine maybe getting in the way of my machine’s hard case, but at that price it’s worth trying to find a solution!
Su
October 3, 2018 10:55 pmJust heard back Hila, and the light strip she has is the Bonlux from Amazon £6.99 and it stuck on fine after cleaning the surface with alcohol. Extra tip: check the lights won’t shine in your eyes before sticking! In fact she prefers an LED light on a flexible arm, which also sticks to the machine – the Daylight Company Naturalight, also from Amazon at £21.50, which she now has on 2 other machines, so you might want to check those out.
Shell
September 30, 2018 2:37 amThankyou Hila, such a great post. I recently attended a workshop that incorporated some Alexander technique principles to help makers. The big takeaway I learnt was to watch our alignment and muscle tension in every movement. To be mindful I suppose, so I’m trying to notice how I do things. I’m going to investigate tilting my machine and lighting from your post, thanks!
Hila
October 2, 2018 4:11 pmSo glad you found something useful. I have read about ALexander technique but didnt go into depth with it at the time because it seemed like some of the same principles I was learning with yoga. Things like being aware of alignment as you mentioned. I need to go back and read in depth on it. Thanks for sharing. x
Lesley
September 30, 2018 8:35 amGood article. Hadn’t thought about the tilt on my machine before. I have put a standing desk in my room though for my overlocker and iron after getting one at work and loving it. The up and down as I switch between machines is good and keeps me from getting all scrunched up in one place.
Hila
October 2, 2018 4:09 pmI really like the idea of switching it up. Thanks for mentioning that as that is something I hadnt considered before. Currently my only up and down is for going to the ironing board. Do you mind my asking how you figured out the correct height for you? Thats something I am sort of worried about.
Becky Thompson
September 30, 2018 3:08 pmThis is a great and timely post. I sewed all yesterday and I’m so sore and stiff now! I’m taller than most with a 34″ inseam and my sewing table is designed for someone must shorter so my knees bang into a shelf under the table. This forces me to roll further back from the table and lean in to reach for the machine. Of course, you don’t realize this until you spend the money, lug it home, and take hours to put it together only to find I can’t sit properly. My secretary’s chair was a thrift find, but the cushion is nearly gone so I put one of those supportive seat cushions on it. More comfortable to sit on but it puts my lower back higher than the back rest will go so now I have to put a pillow behind my back for support which always seems to be on the floor at every movement. At least my ironing table is larger than most so it’s a good height. Ikea opens near me in January and this post has confirmed my determination to spend some serious cash to make my sewing space ergonomically right for me. It’s either spend it then or at the chiropractor later! Thanks Hila!
Hila
October 2, 2018 9:11 pmSo glad you too are fired up to make your sewing space more ergonomic. I have been browsing some of the IKEA tables and they seem to also have electric version of the adjustable desk though a bit pricier than the one that is cranked up using a winding mechanism. I am planning a trip to my local Ikea to get a feel of it before telling my husband what I’d like for Christmas. The stool I had before came with the house – and it was wholey inappropriate. The sense of completeness and “rightness” I felt the first time I used the lumbar supported swivel chair was amazing. It was one those “why didnt I do this sooner moments”. Now I find that even when I dont feel like sewing but want to sit and read or think – that chair is my prefered spot. x
auntiedini
September 30, 2018 10:54 pmI recently learned about cordless (!) irons. They sit and charge on a base when not in use. Also, weirdly, they are pointed on each end. It is on my birthday wish list.
Hila
October 2, 2018 4:07 pmI need to check those out! They sound awesome.
Becky Thompson
October 16, 2018 4:43 pmThere is one with a flat end so it stands. Same mfg. I have one i use to steam quilts on the long arm and its awesome.
Faye
October 5, 2018 11:53 pmThank you for the post, very informative.
One thing that I do that I find helpful is keeping my ironing table in separate room, separate floor in fact. My studio is upstairs and the ironing station downstairs. It forces me to “stretch” my legs walking up and down the stairs.
s4fd author
November 4, 2018 8:49 amWonderful post Hila. Nice to share all your improvments.
Hila
November 13, 2018 9:00 amThank you! Glad you found it useful.