This post may contain affiliate links. Read my Disclosure Policy to learn more.
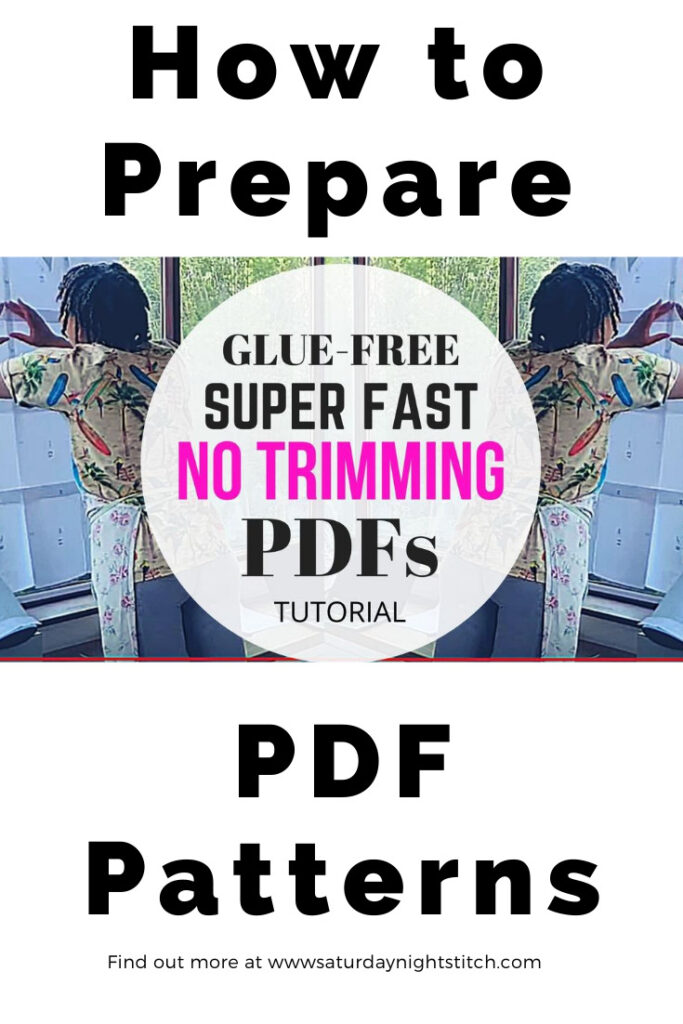
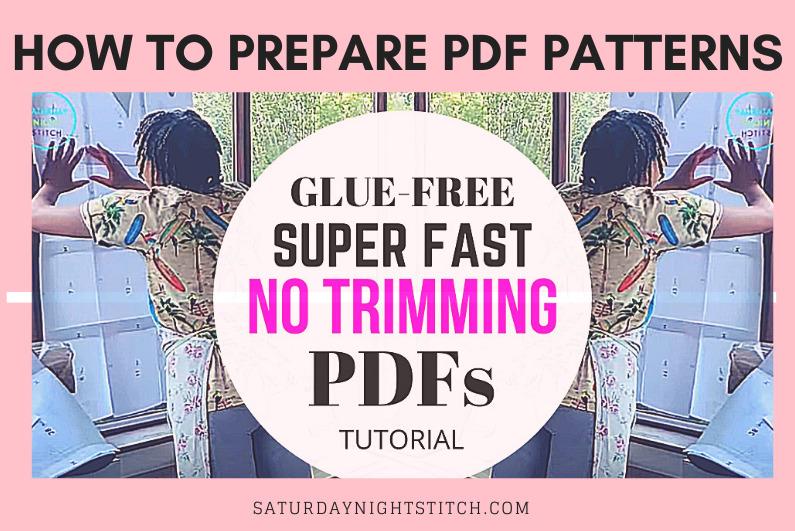
In this video post, I share how to use a download PDF sewing pattern quickly and without glue. I used to love the instant gratification of buying downloadable PDF patterns but loathed the process of putting them together. I tried everything to make it palatable – I even bought a much-lauded paper trimmer that was supposed to make trimming the sides easier. Spoiler alert – it didn’t! I have since discovered that I didn’t need to use glue, or trim the edges to get the PDF sewing pattern prepared. I didn’t need to bend over a table or floor and develop a backache as I laboured over an ever-growing sheet of paper (I am looking at you Thread Theory Goldstream Peacoat).

The method requires access to a window or a source of light. I use the light pouring through the glass to line up the sheets of paper. This eliminates the need to trim 2 sides of the A4 paper.
I use a tape dispenser to easily get strips of tape which go only where the cutting lines (for the sewing pattern). In this way, I am not wasting tape on sections that would just be thrown out.
As soon as I have a pattern piece complete I stop and cut that out before proceeding. In this way, the sheet of paper never gets too big and tedious to handle. Having a screen showing the layout helps as I can choose which pattern piece to tape up and cut first.
See also: 5 Simple Ideas to Improve Sewing Room Ergonomics
My preferred order is to do the smaller pattern pieces first, followed by the larger ones.
This method has meant that even when taping up larger PDFS like this Grasser Men’s Coat, which included lining pieces, took me just under 30 mins to prep.
How do you prep your PDFs?
Related – Growth vs Fixed Mindsets in Sewing
Save on Pinterest.


Karey
July 27, 2020 5:06 amThis effectively uses a window or glass door as a light table and is a great idea. Unfortunately the biggest window/door pane in my post-war cottage only holds two A4 (~US letter size) sheets of paper 😢
https://www.househistories.org/designs-1940-to-1959
Hila
August 6, 2020 12:50 pmThanks for sharing the pictures of the cottages – it took me down memory lane of seeing my parent’s draughtsman drawn home plans. With small window it may work for taping up the rows of pages first before putting them all together on another surface? Light tables also look interesting – I hadnt come across those.
Ev R
August 2, 2020 8:23 pmKarey. You say your window only holds two sheets of paper… She is only sticking one piece on with the glue tack and then taping one piece to the bottom of it. The other pieces just kind of dangle there. Maybe if you try her way you will see that your two sheets are all you need to see through at any one time.
My question is which piece goes up first? The last one in the column or the second last one? I can’t quite wrap my head around it.
Hila
August 6, 2020 12:47 pmHi ! So glad you are finding this method useful. I start with second from last although you could start with the first page, stick it on the blue tack to tape the second page but then you’d have to take the taped up double sheet and turn it upside down to continue like I do in the video. Hope that helps to explain it.
Ev R
August 3, 2020 1:12 amKarey. This would work for doing the single columns on your small window, but then when you add them together sideways you would have to use a different method.