This post may contain affiliate links. Read my Disclosure Policy to learn more.
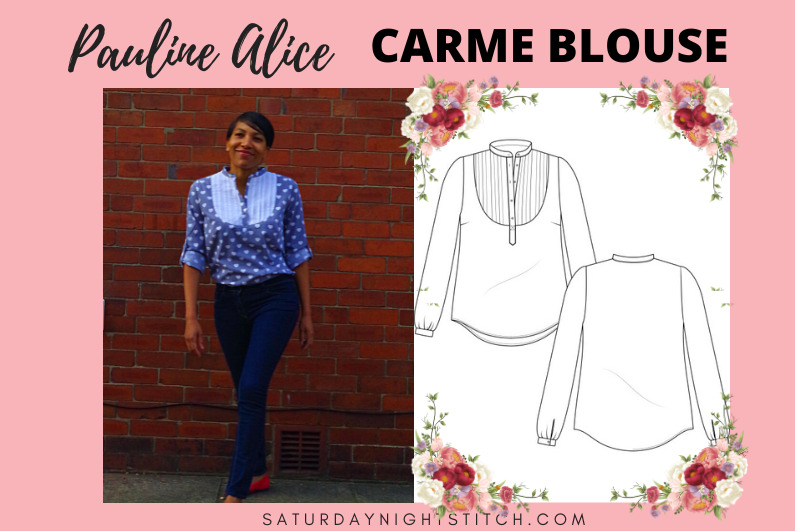
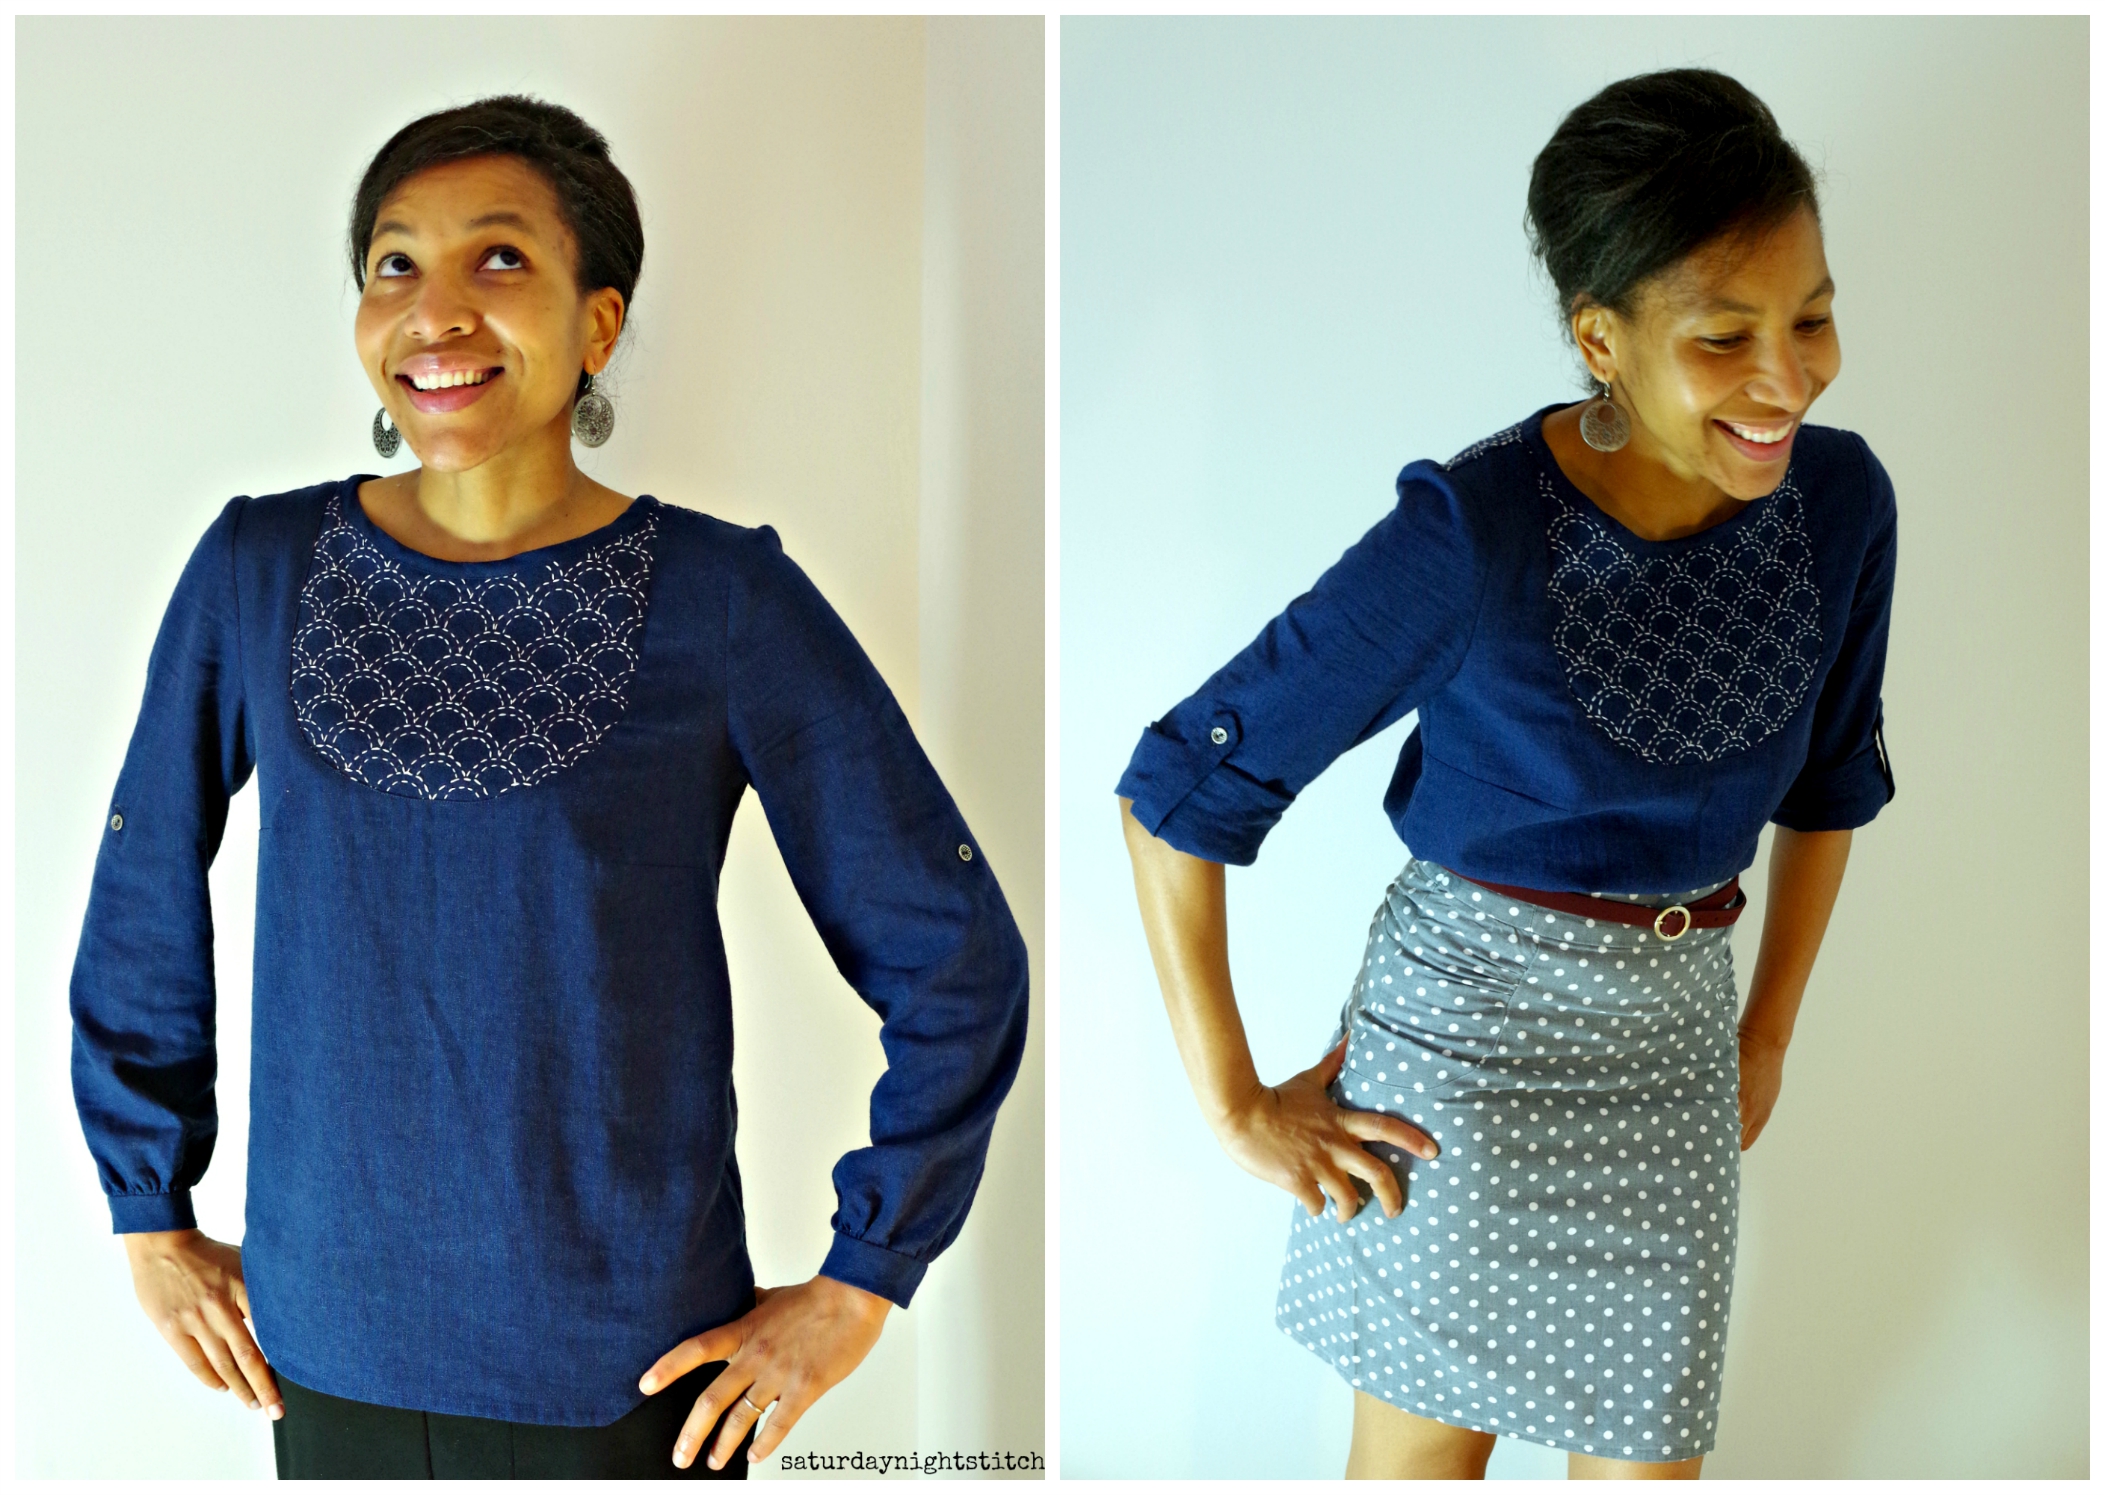
I love Pauline Alice’s Carme blouse pattern. I have made it twice before already in a grey and white cotton here and linen Sashiko version here. Its a simple chic pattern with a loose fit pullover style. Its certainly one of the tops I first made to a reasonably decent standard by following the video sewalong which is great for beginners.
Initially I had the placket in the same colour as the bib on the chambray but it didn’t quite look right. See what I mean…
2 more Pauline Alice Carme Blouse Sewing Pattern Review
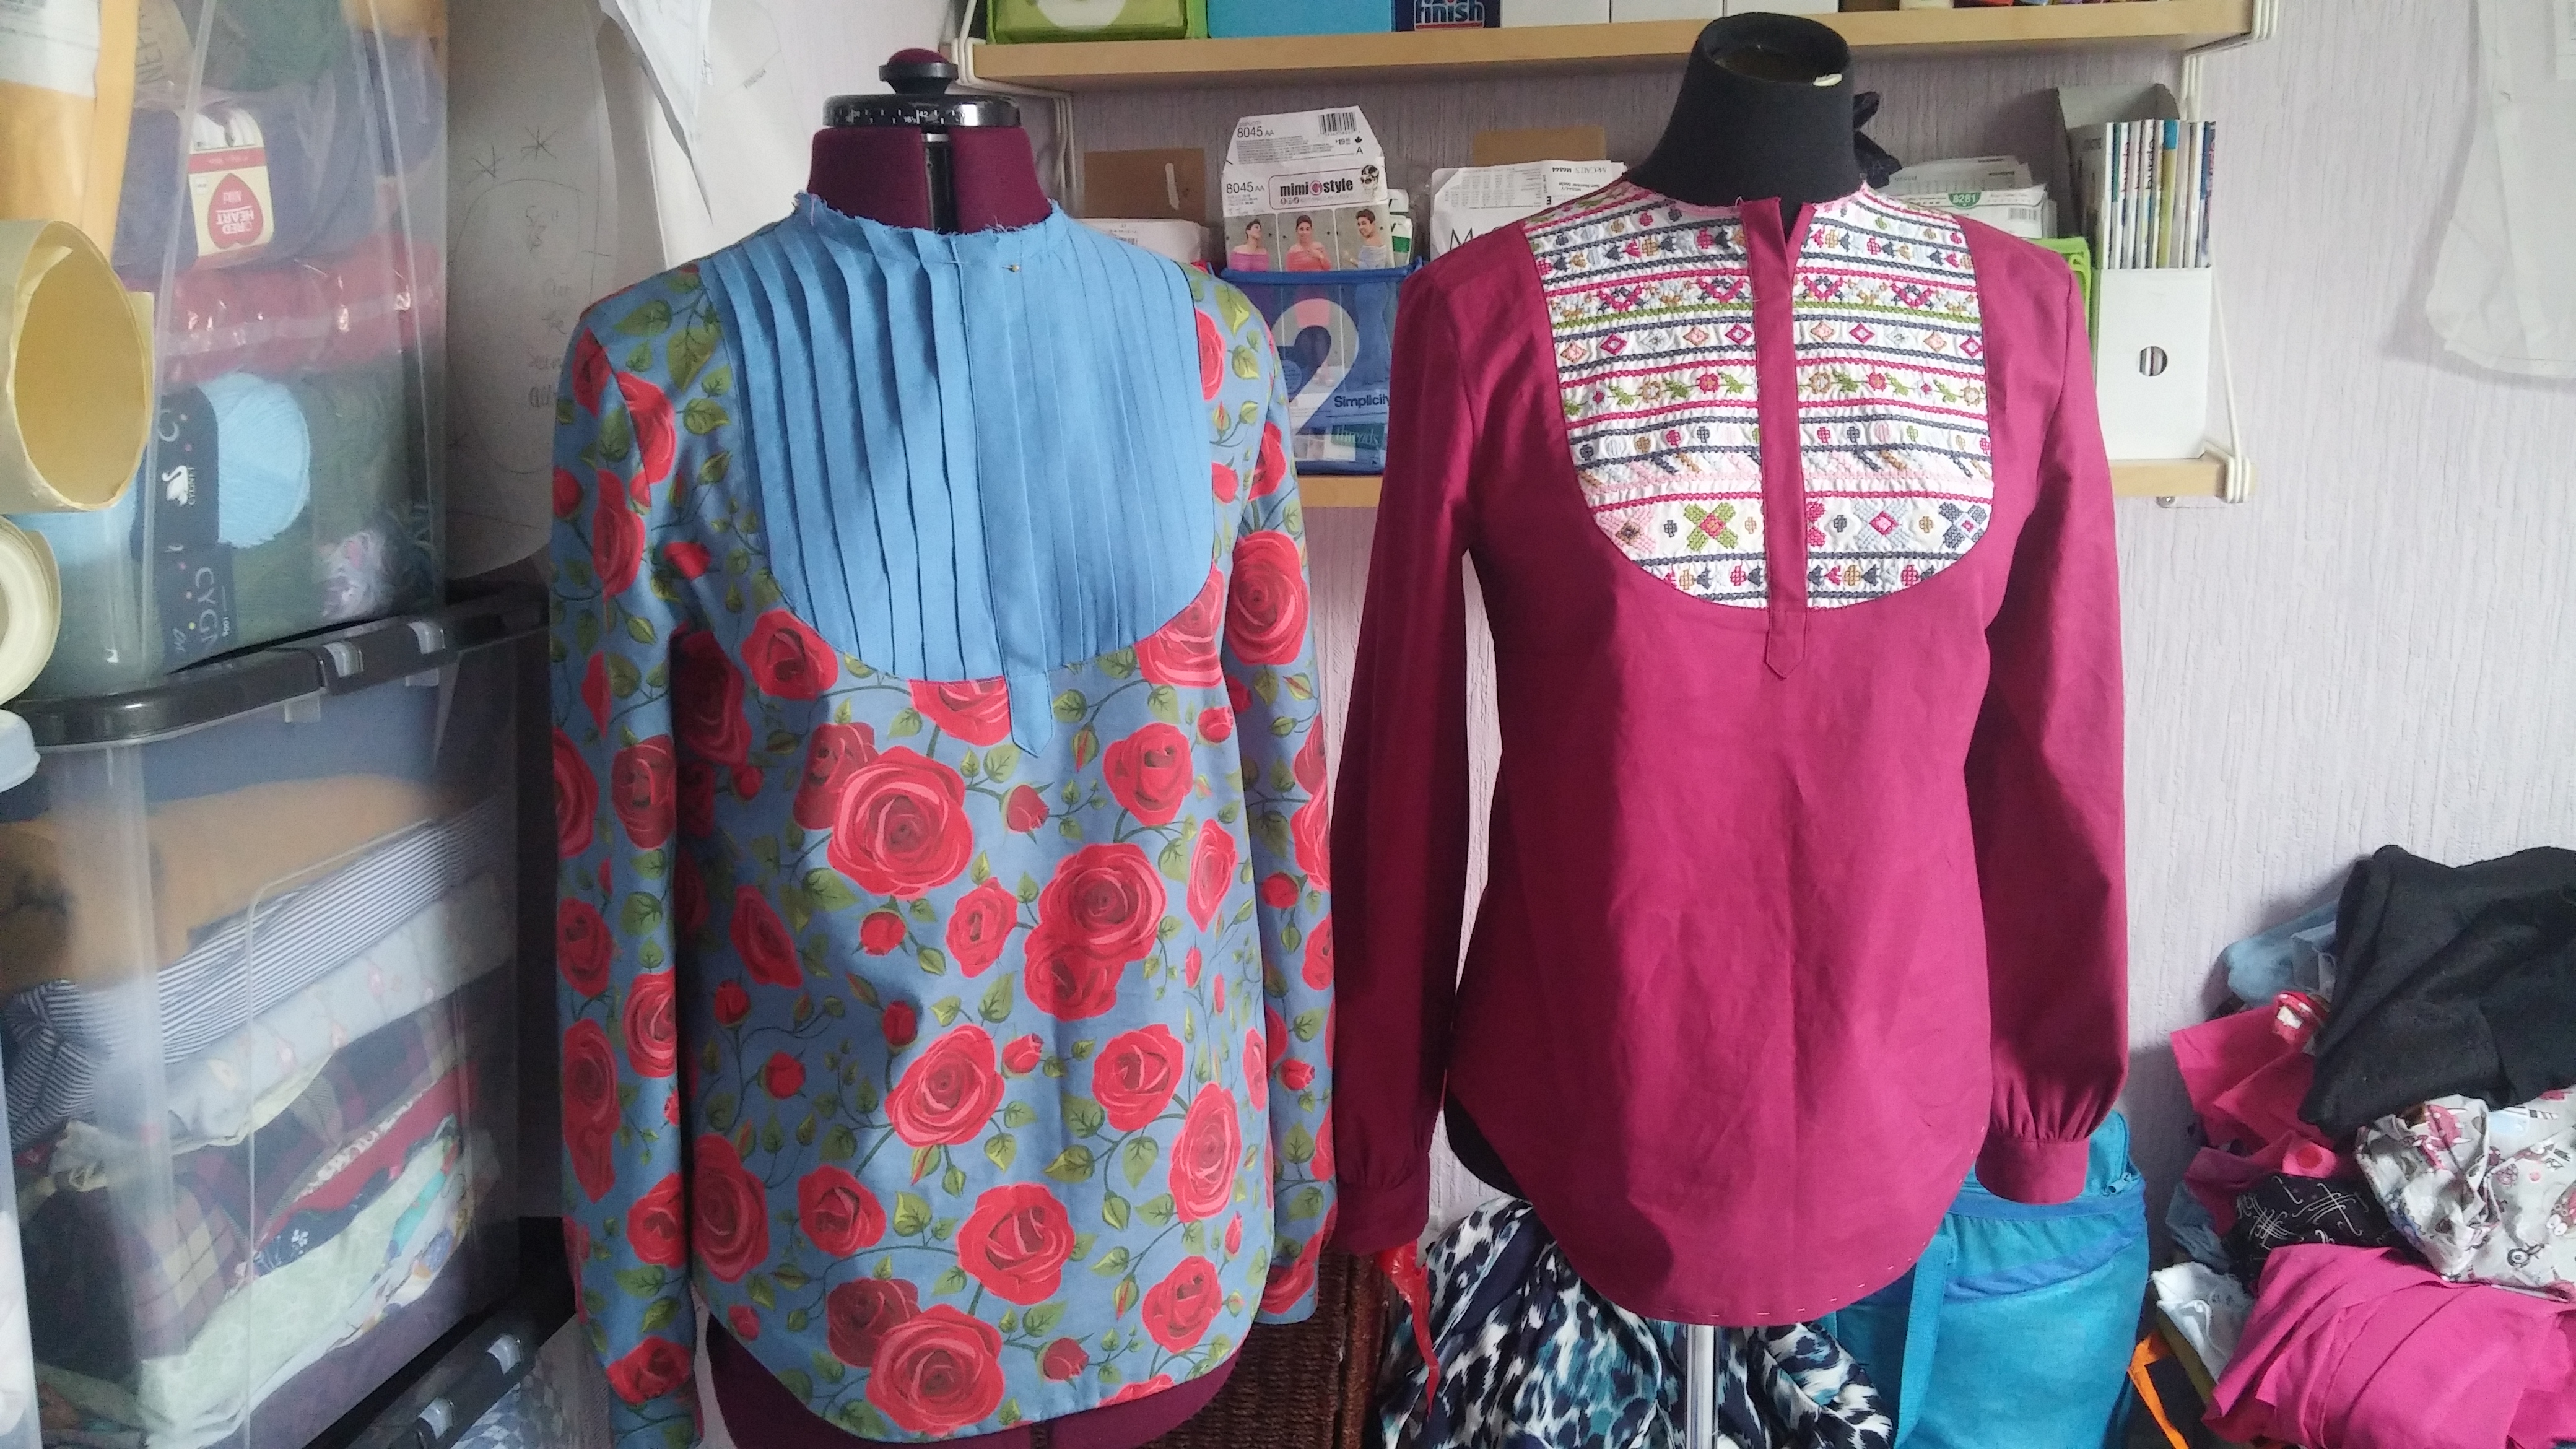
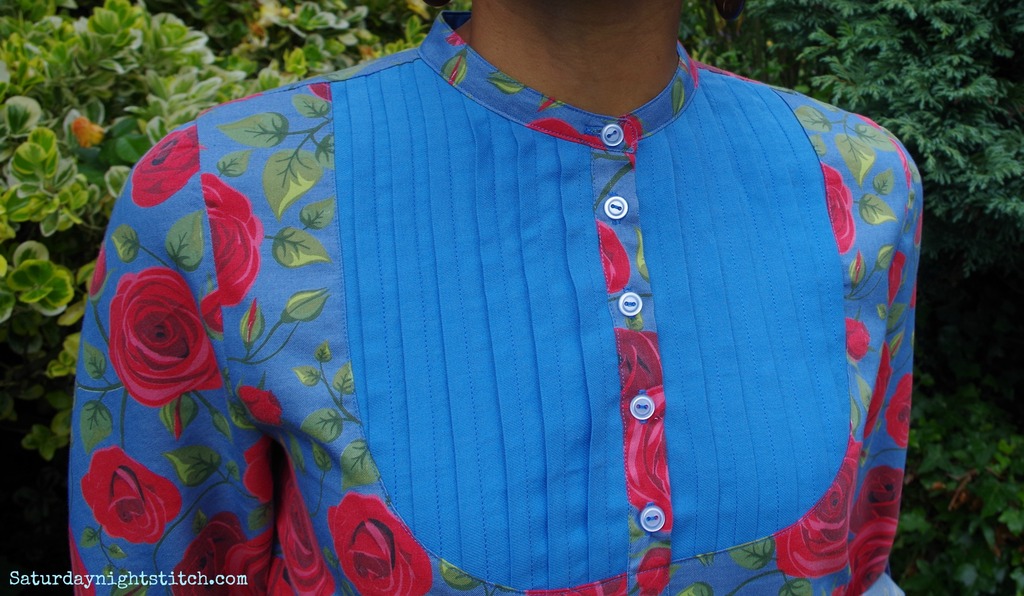
So I had to redo the placket. I did try to pattern match the placket point to the front blouse but there are limits to my patience. I am really proud of how well I did the plackets on both blouses. Unfortunately I am yet to master the consistency of making all my plackets face the same way.
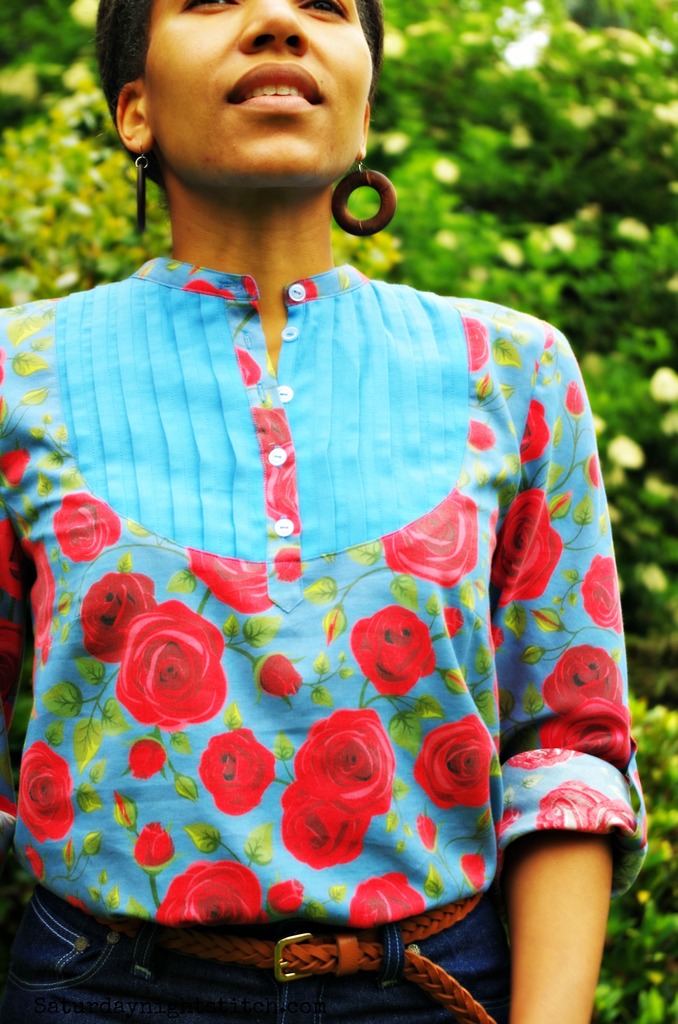
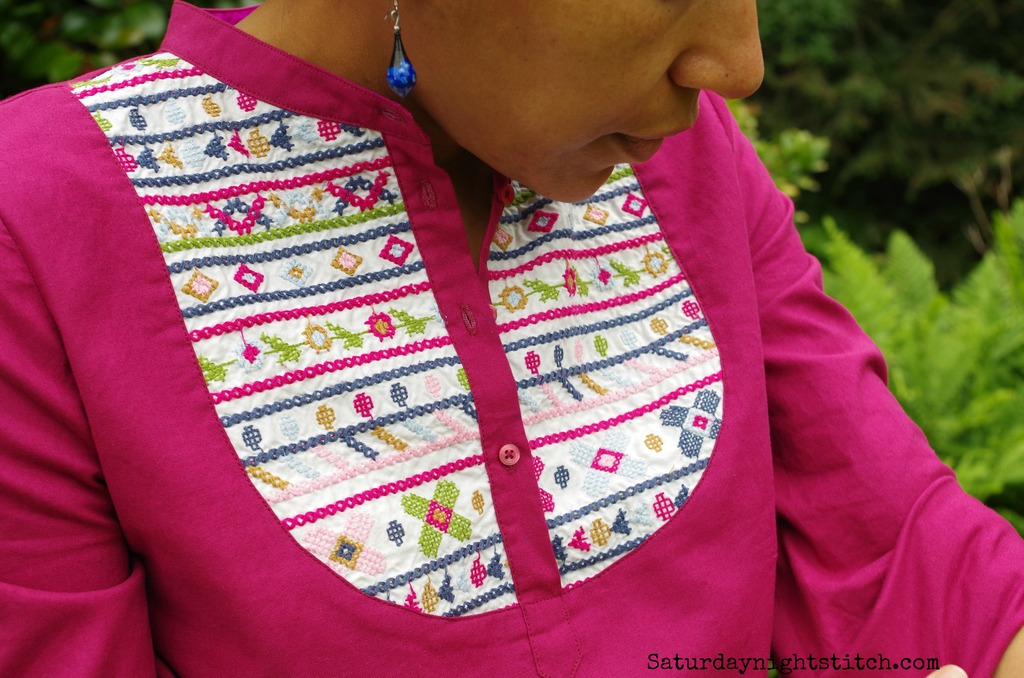
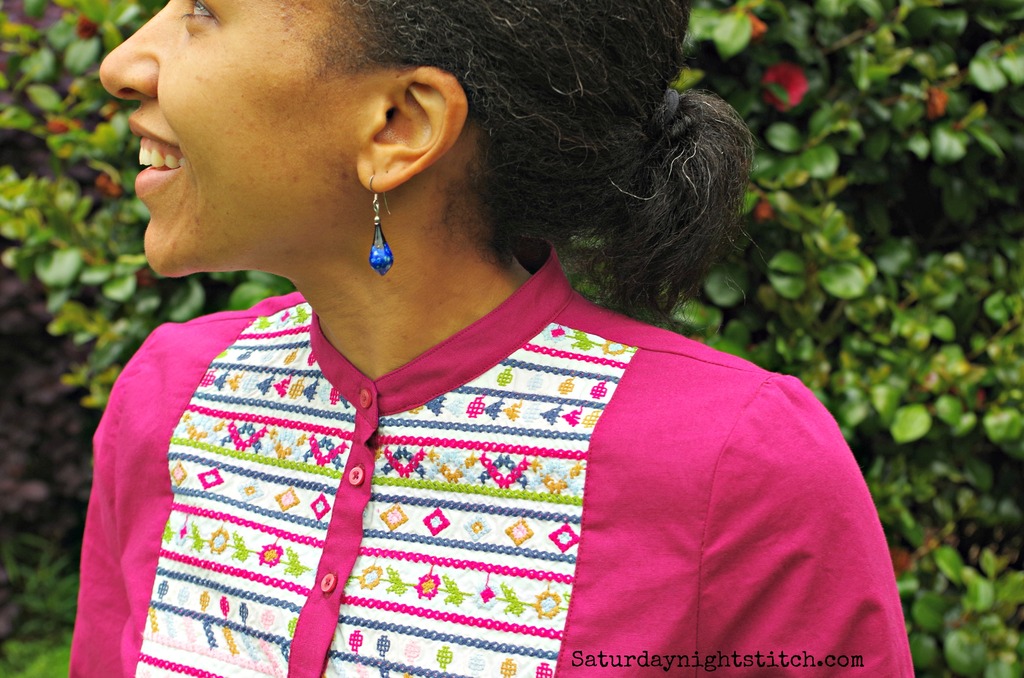
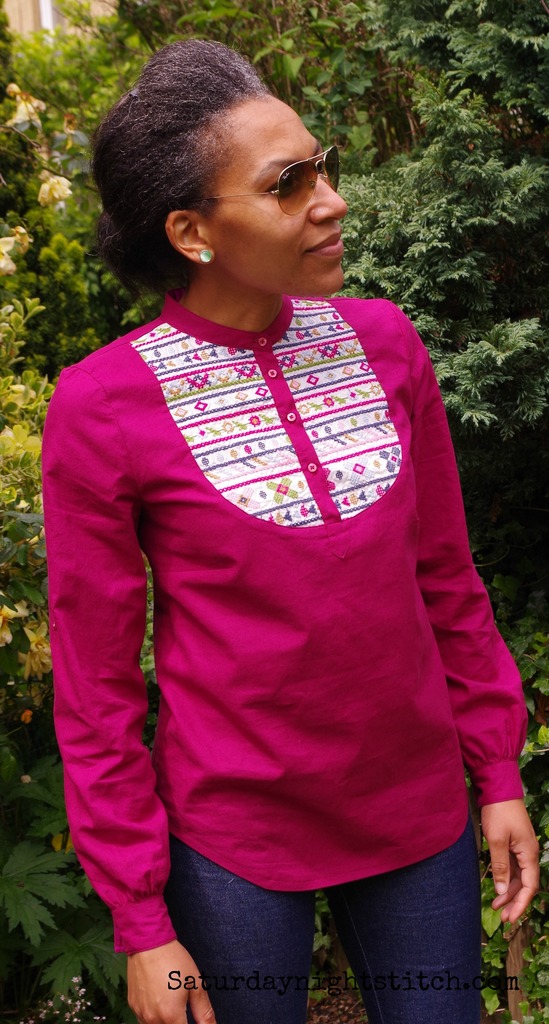
I decided to to do one in a floral chambray for main fabric with a plain bib front and the inverse on the other. The second Carme is made from a medium weight 100% cotton while the bib is from an embroidered small tablecloth that my mother gave me years ago. I never used it but always thought it might make a nice elbow patch. When I saw this magenta fabric I had a light bulb moment realising it would match perfectly – lucky there was just enough of the embroidered fabric to cut out the bib front.
The weather has been poor in the North of England this week so the pictures don’t quite convey the intensity of the colours. The blue is really a lovely vibrant conrflower blue while the magenta top is quite a fabulous bright jewel tone.

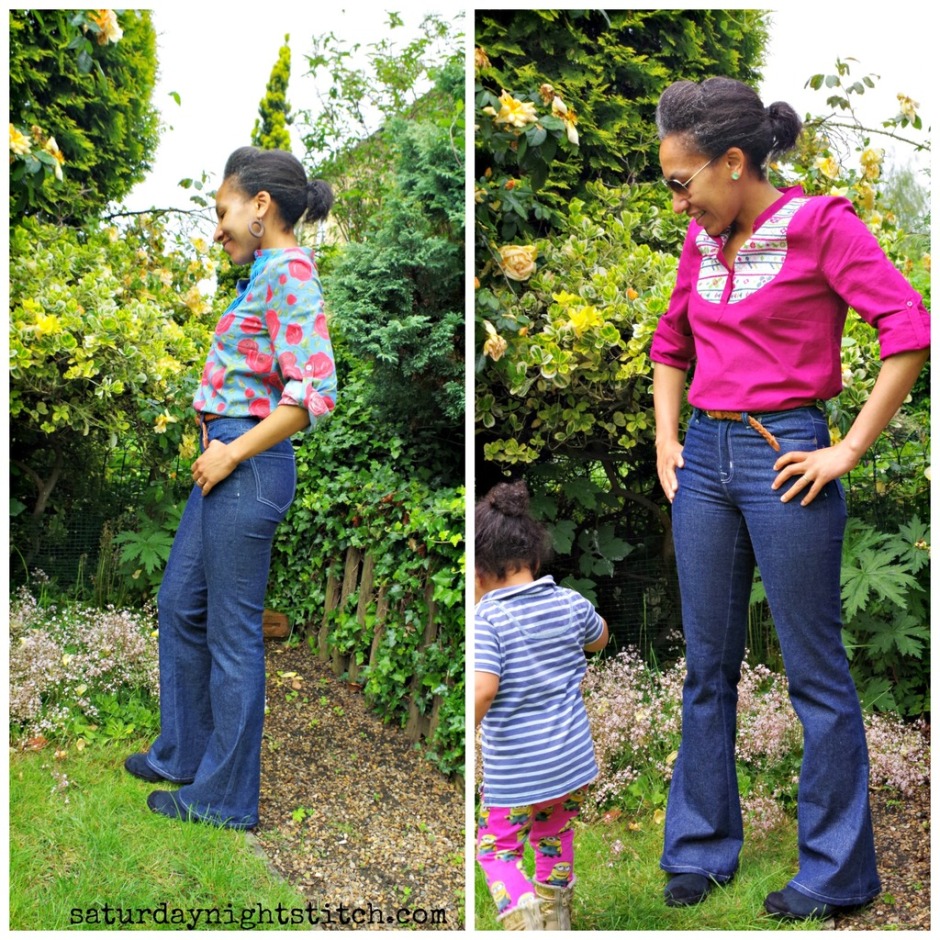


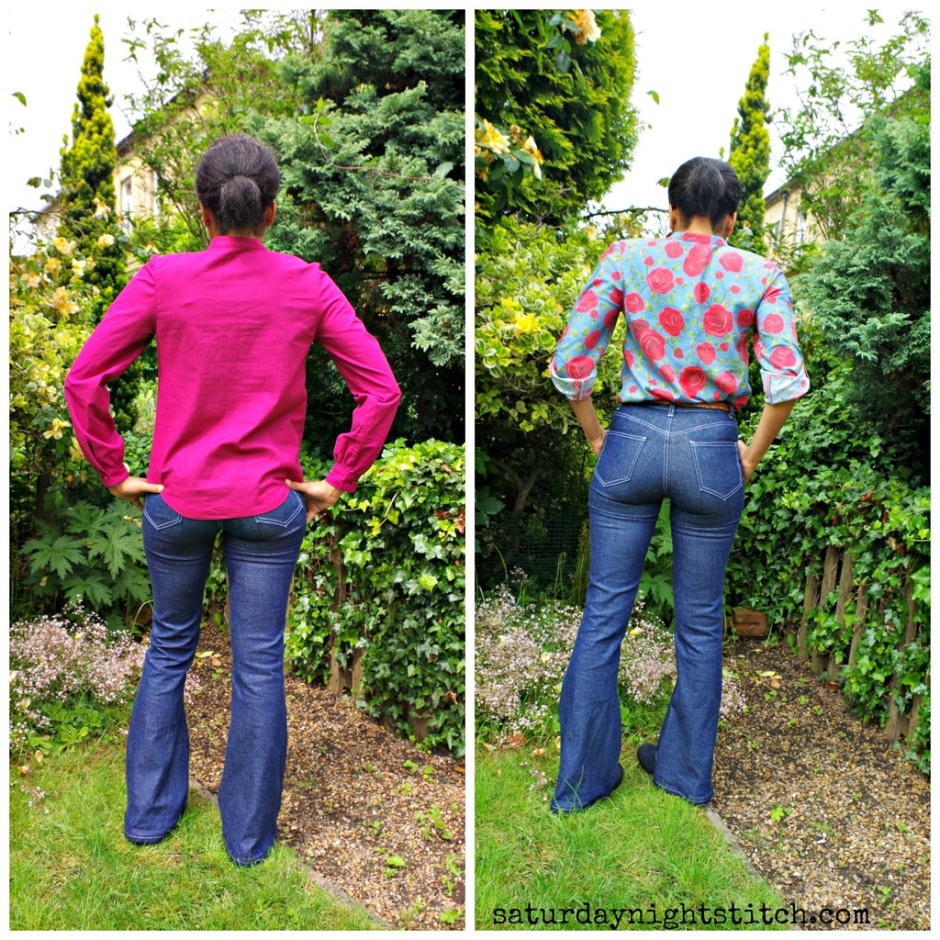

Over the course of 4 makes , I have made the following adjustments to this pattern (I have ordered them chronologically from first to most recent),
- Lowered the bust dart by 1.5″
- Lengthened sleeves by 3/8″
- 5/8″ broad shoulder adjustment (this has become a standard adjustment for me now)
- Lowered front neckline by 3/8″ – I didn’t quite like how high the collar was over my collarbone.
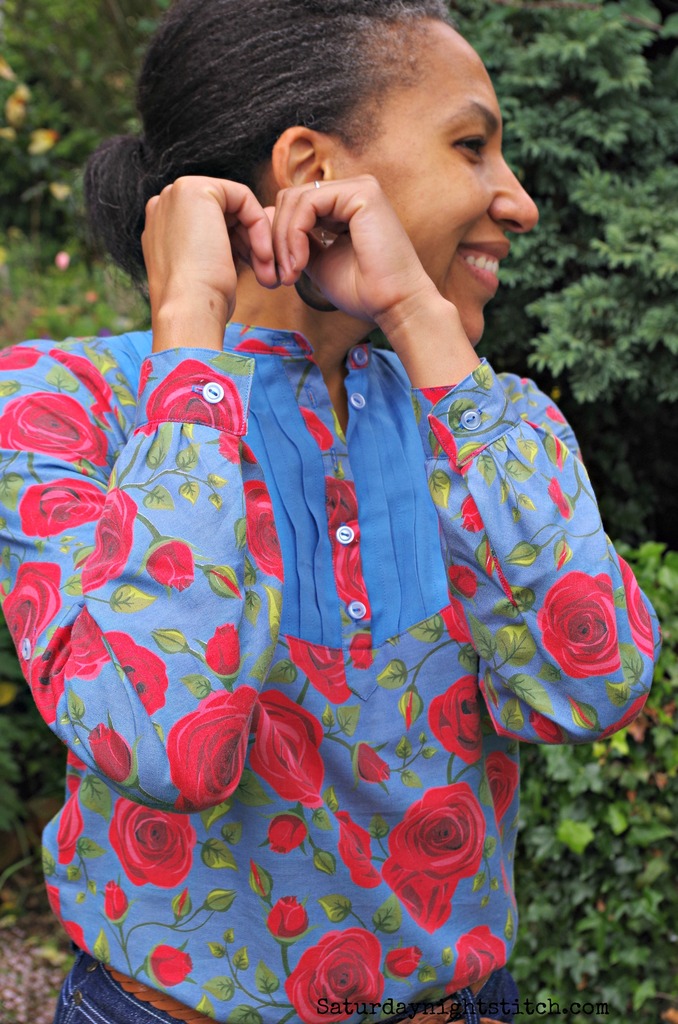
On the blue floral chambray one I experimented with cutting the sleeves on the bias and I really like how they fall now.
Seam finishes – Chambray got french seams except for armholes because I do not know how to french seam an eased in sleeve. On the magenta one I used my overlocker to finish all seams.
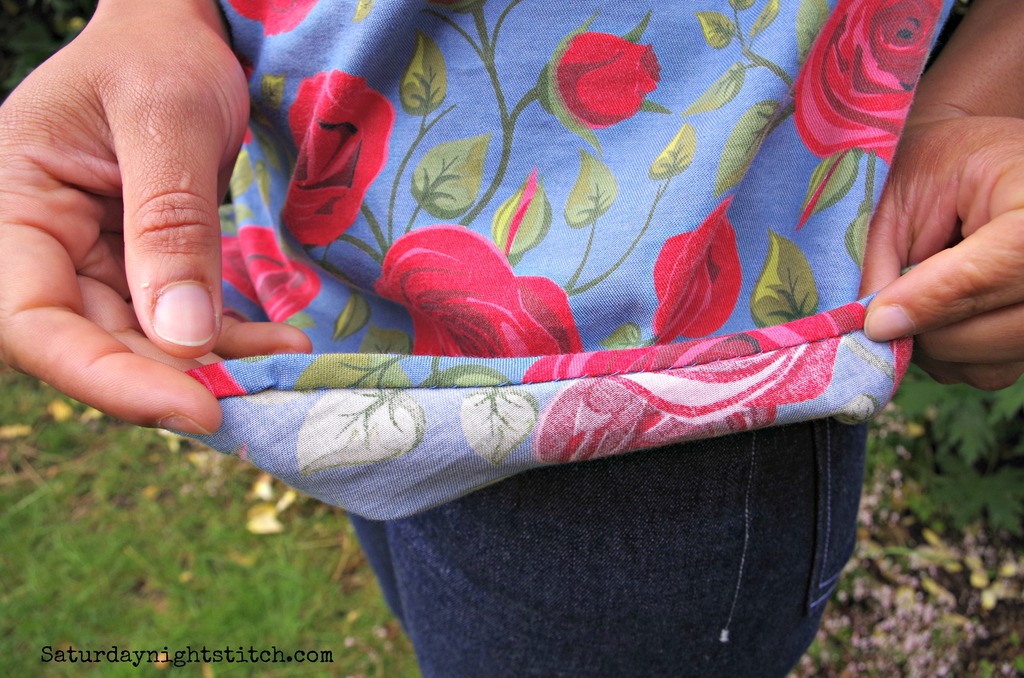
For the hemming on the chambray I wanted to keep the smooth roll of a hand sewn hem so I slip stitched it.
For the magenta cotton I finished the hem with overlocker then sewed it by machine at 3/8″. This cotton is quite medium weight so double folding it would have created a stiffer look on the hem. For the undercollar and inner cuffs I used some silk habotai in magenta. It feels luxurious. I also incorporated selvage edges on the inner cuffs to reduce finishing time.
I choose non-descript buttons for both blouses – this blouse has so much going on with the pin tucks and the placket that I felt fancy buttons did not add anything.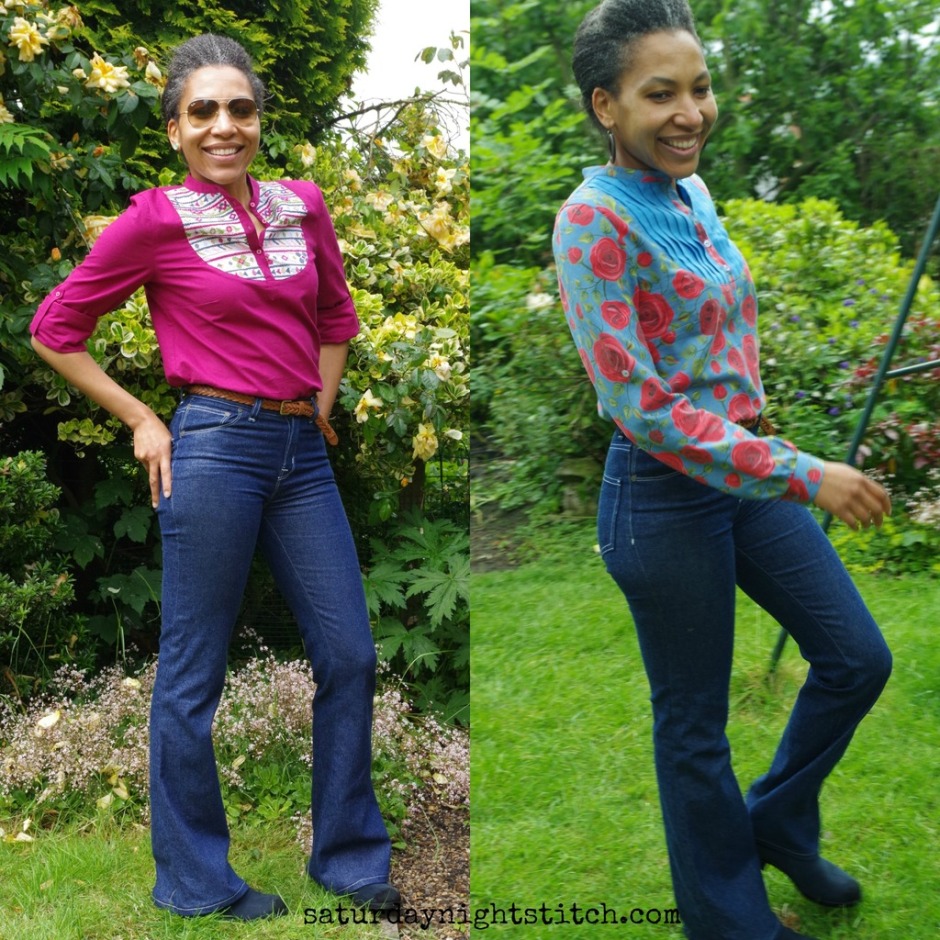
Further details……
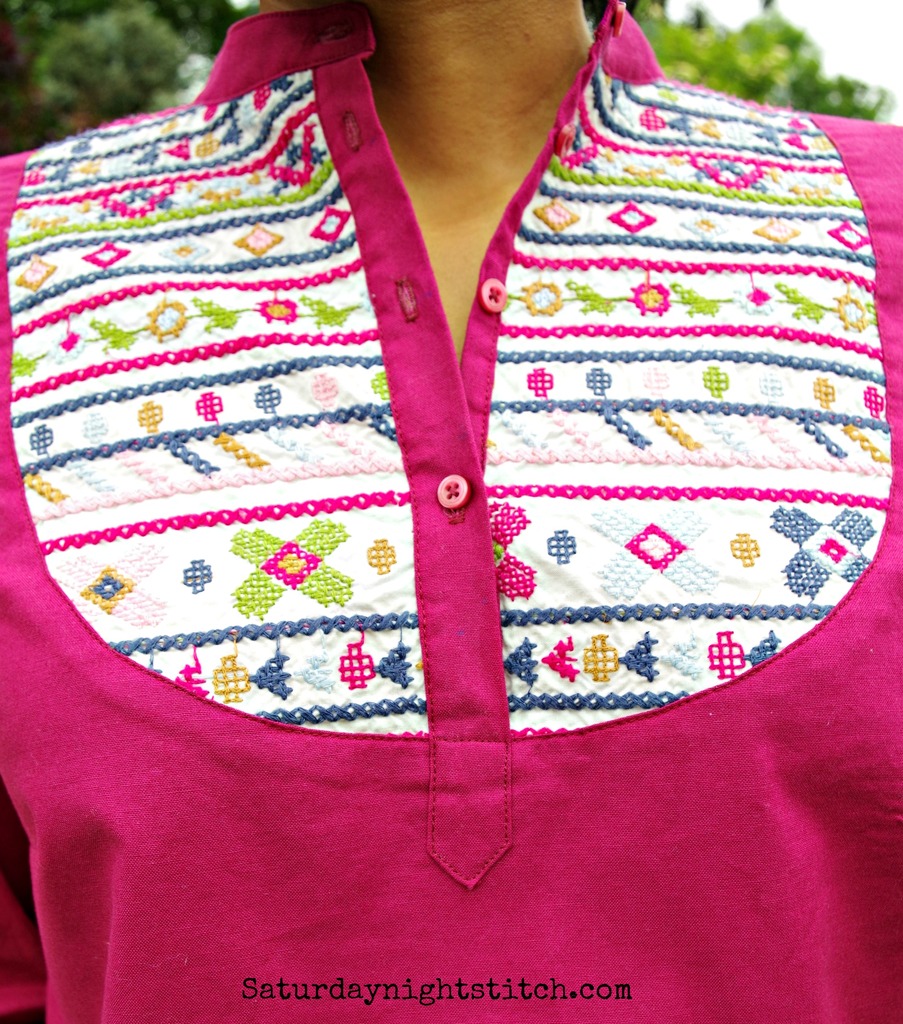
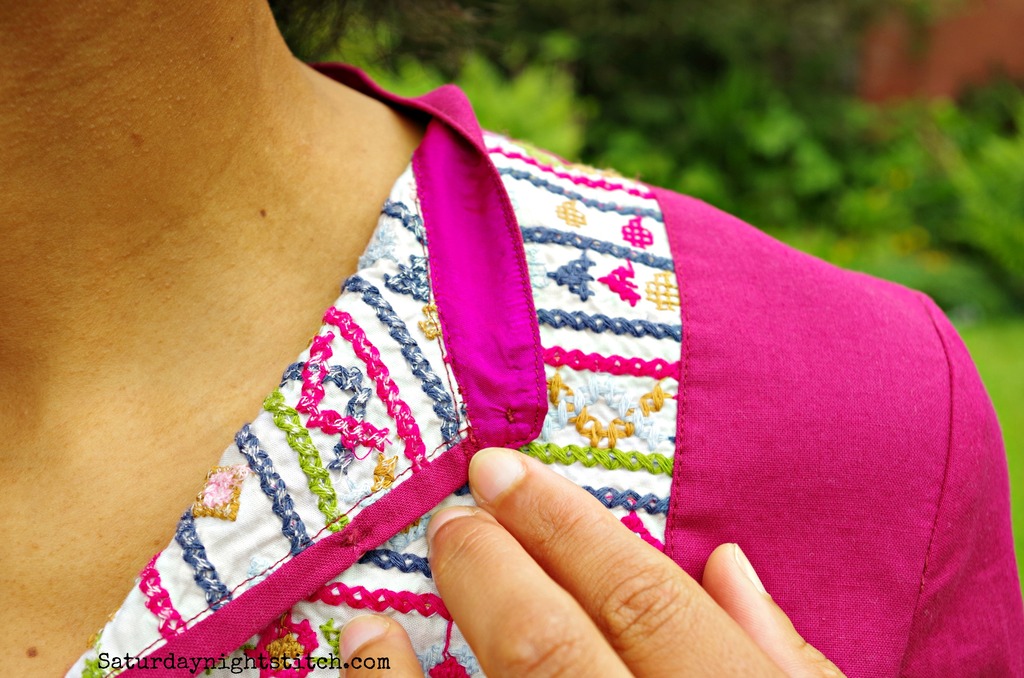
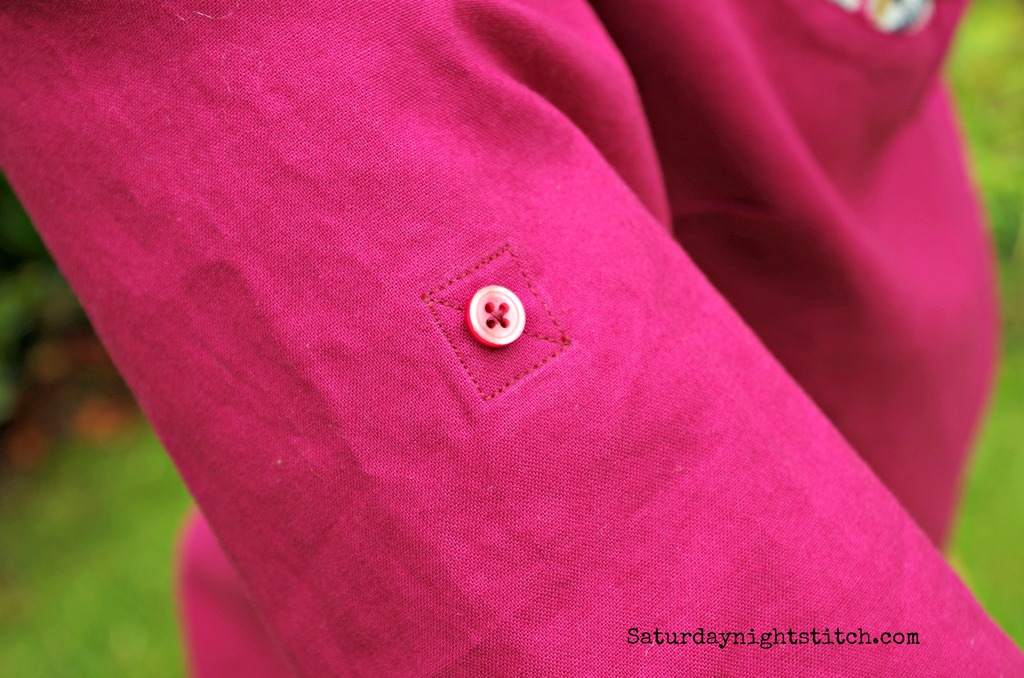
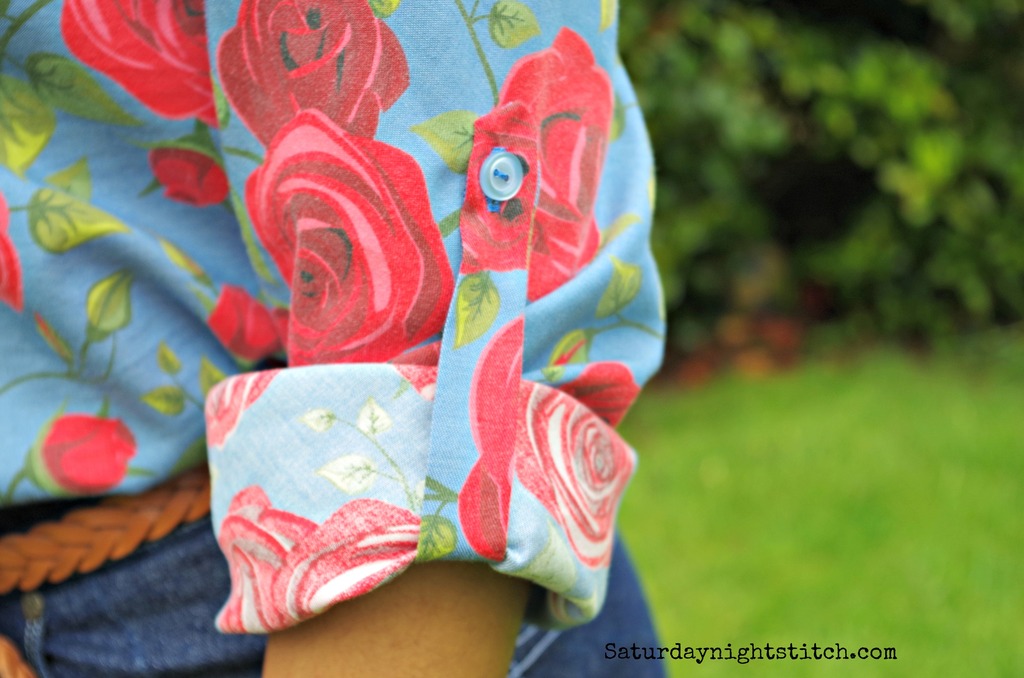
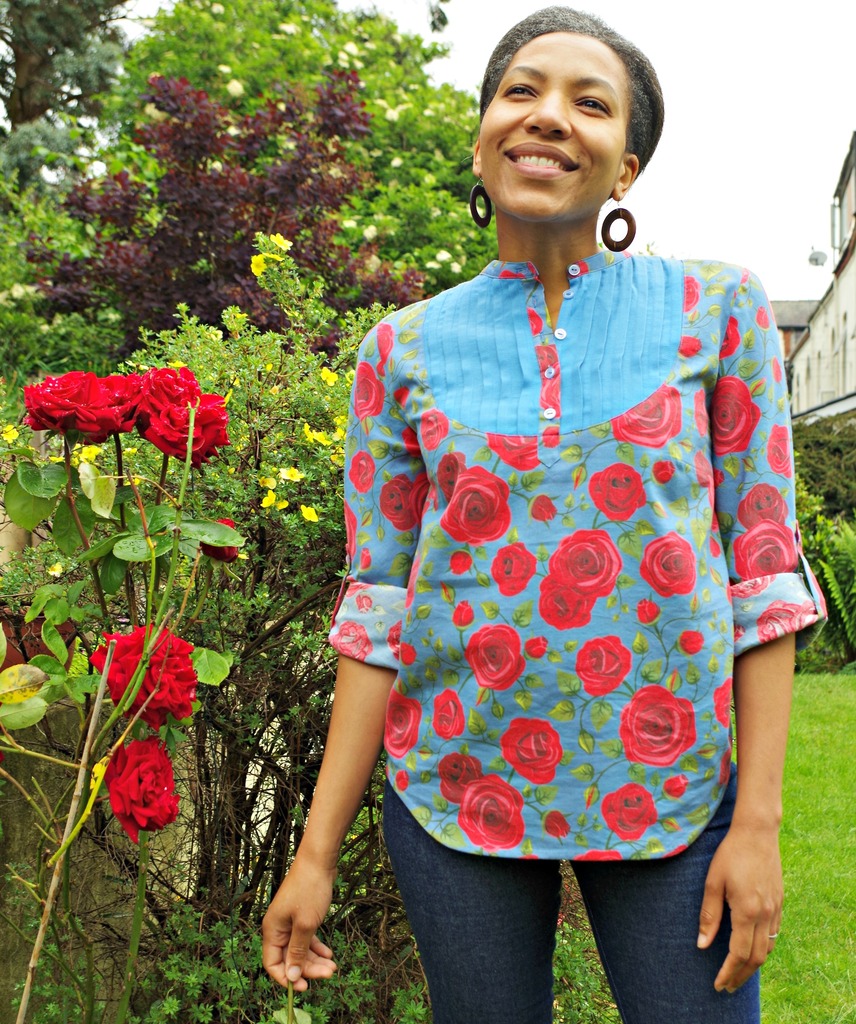
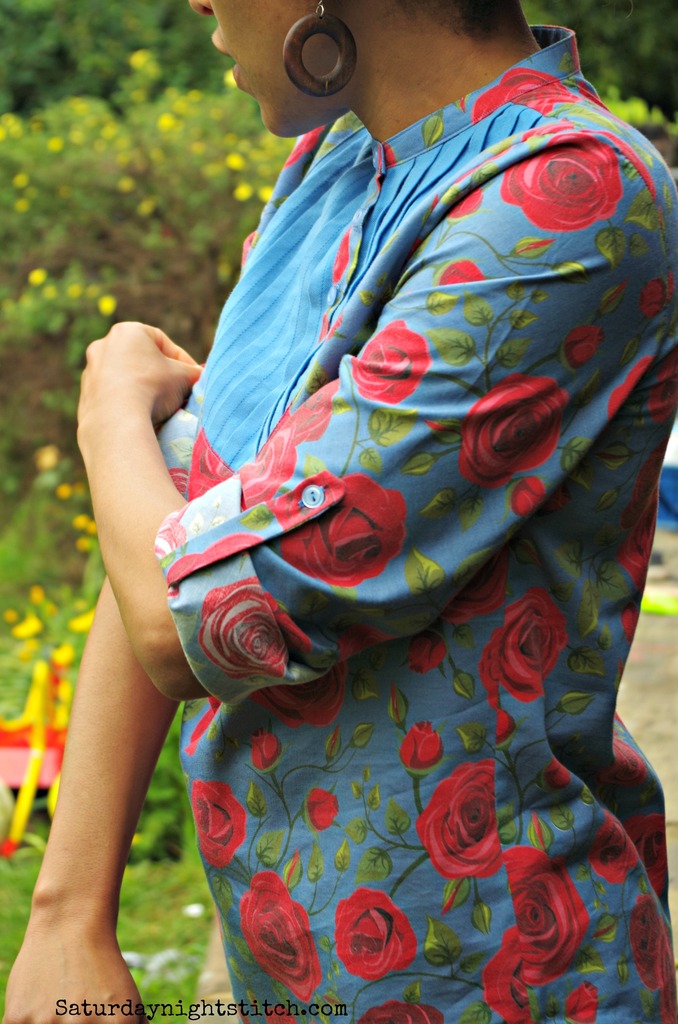
As mentioned I cut the sleeves on the bias. that made the fabric more unstable for the sleeve tab so I interfaced the little square where the tab was going to be sewn on. Its nice and strong and doesn’t drag which can easily happen.
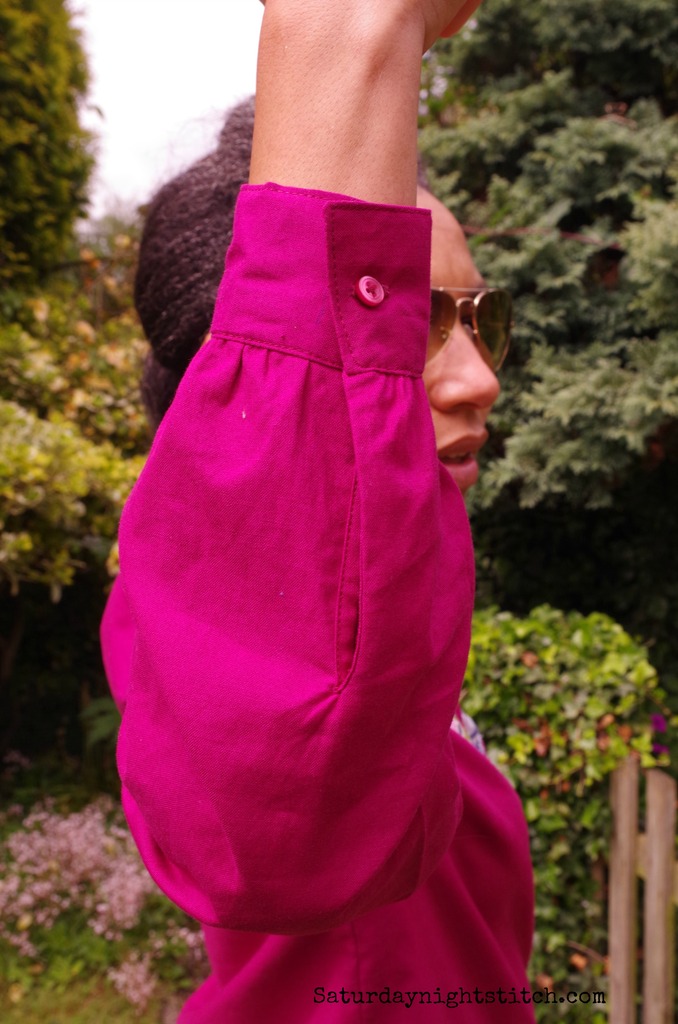
The sleeve vents are also a point of pride for me. Its something I have struggled with but here I worked really hard and used a lot handstitching to keep things in place. They took longer to do but were worth the effort.
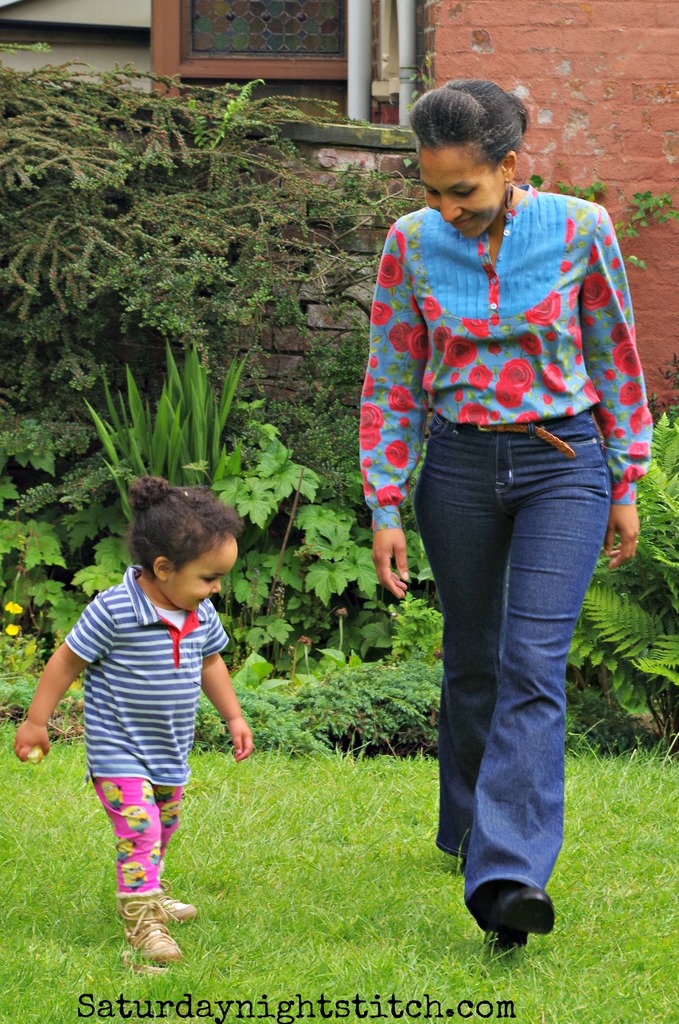
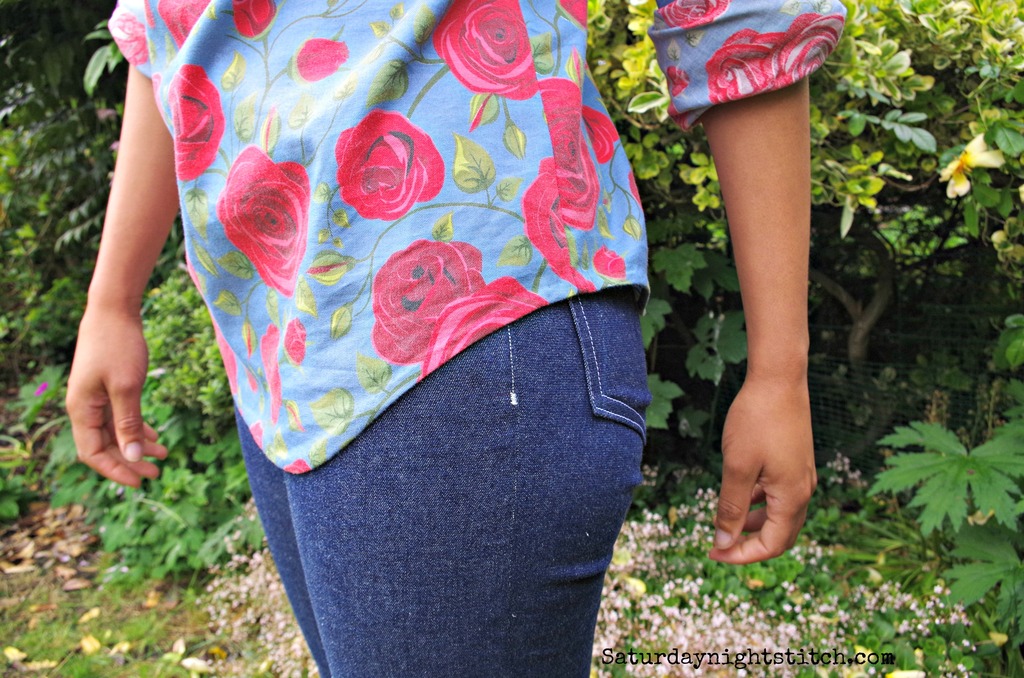
Both are quite different and I quite like (love) these additions to my wardrobe. They work really well with my Birkin Flares too. There will definitely be more Carmes in my sewing future. I am not yet done with this lovely pattern.
I still cant choose my favourite – its like asking which of my little people is my favourite :-).
