This post may contain affiliate links. Read my Disclosure Policy to learn more.
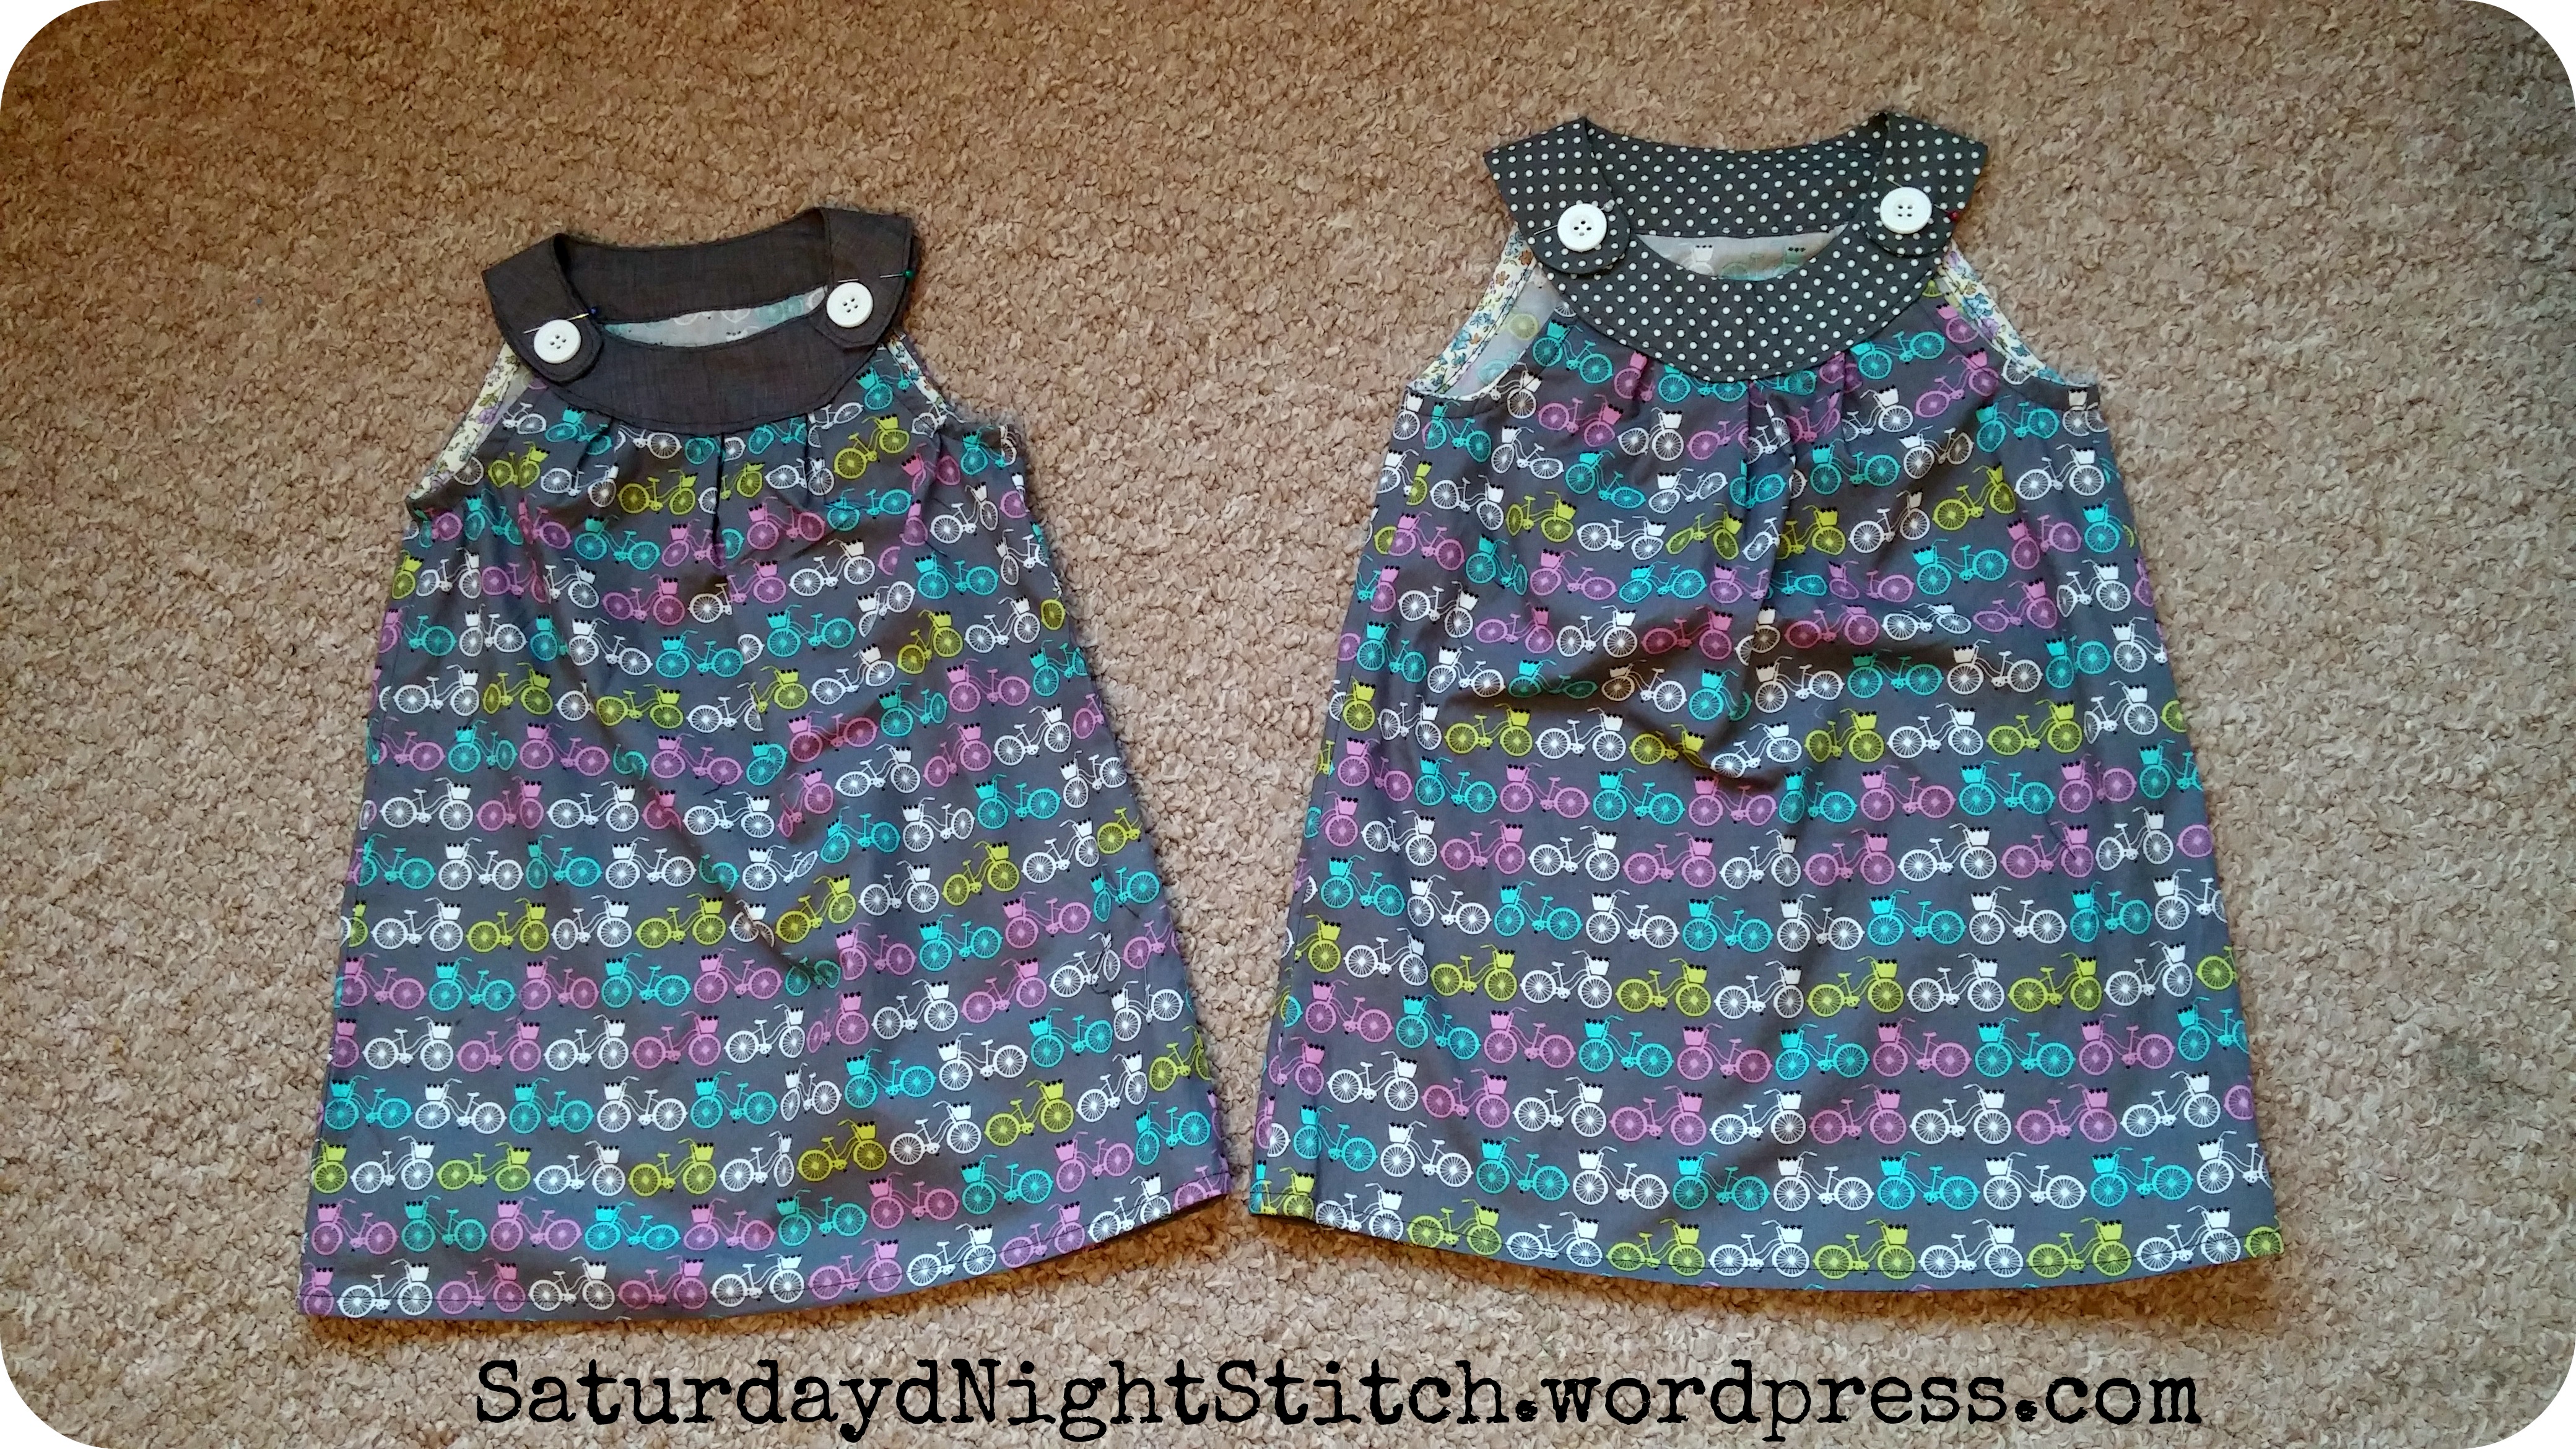
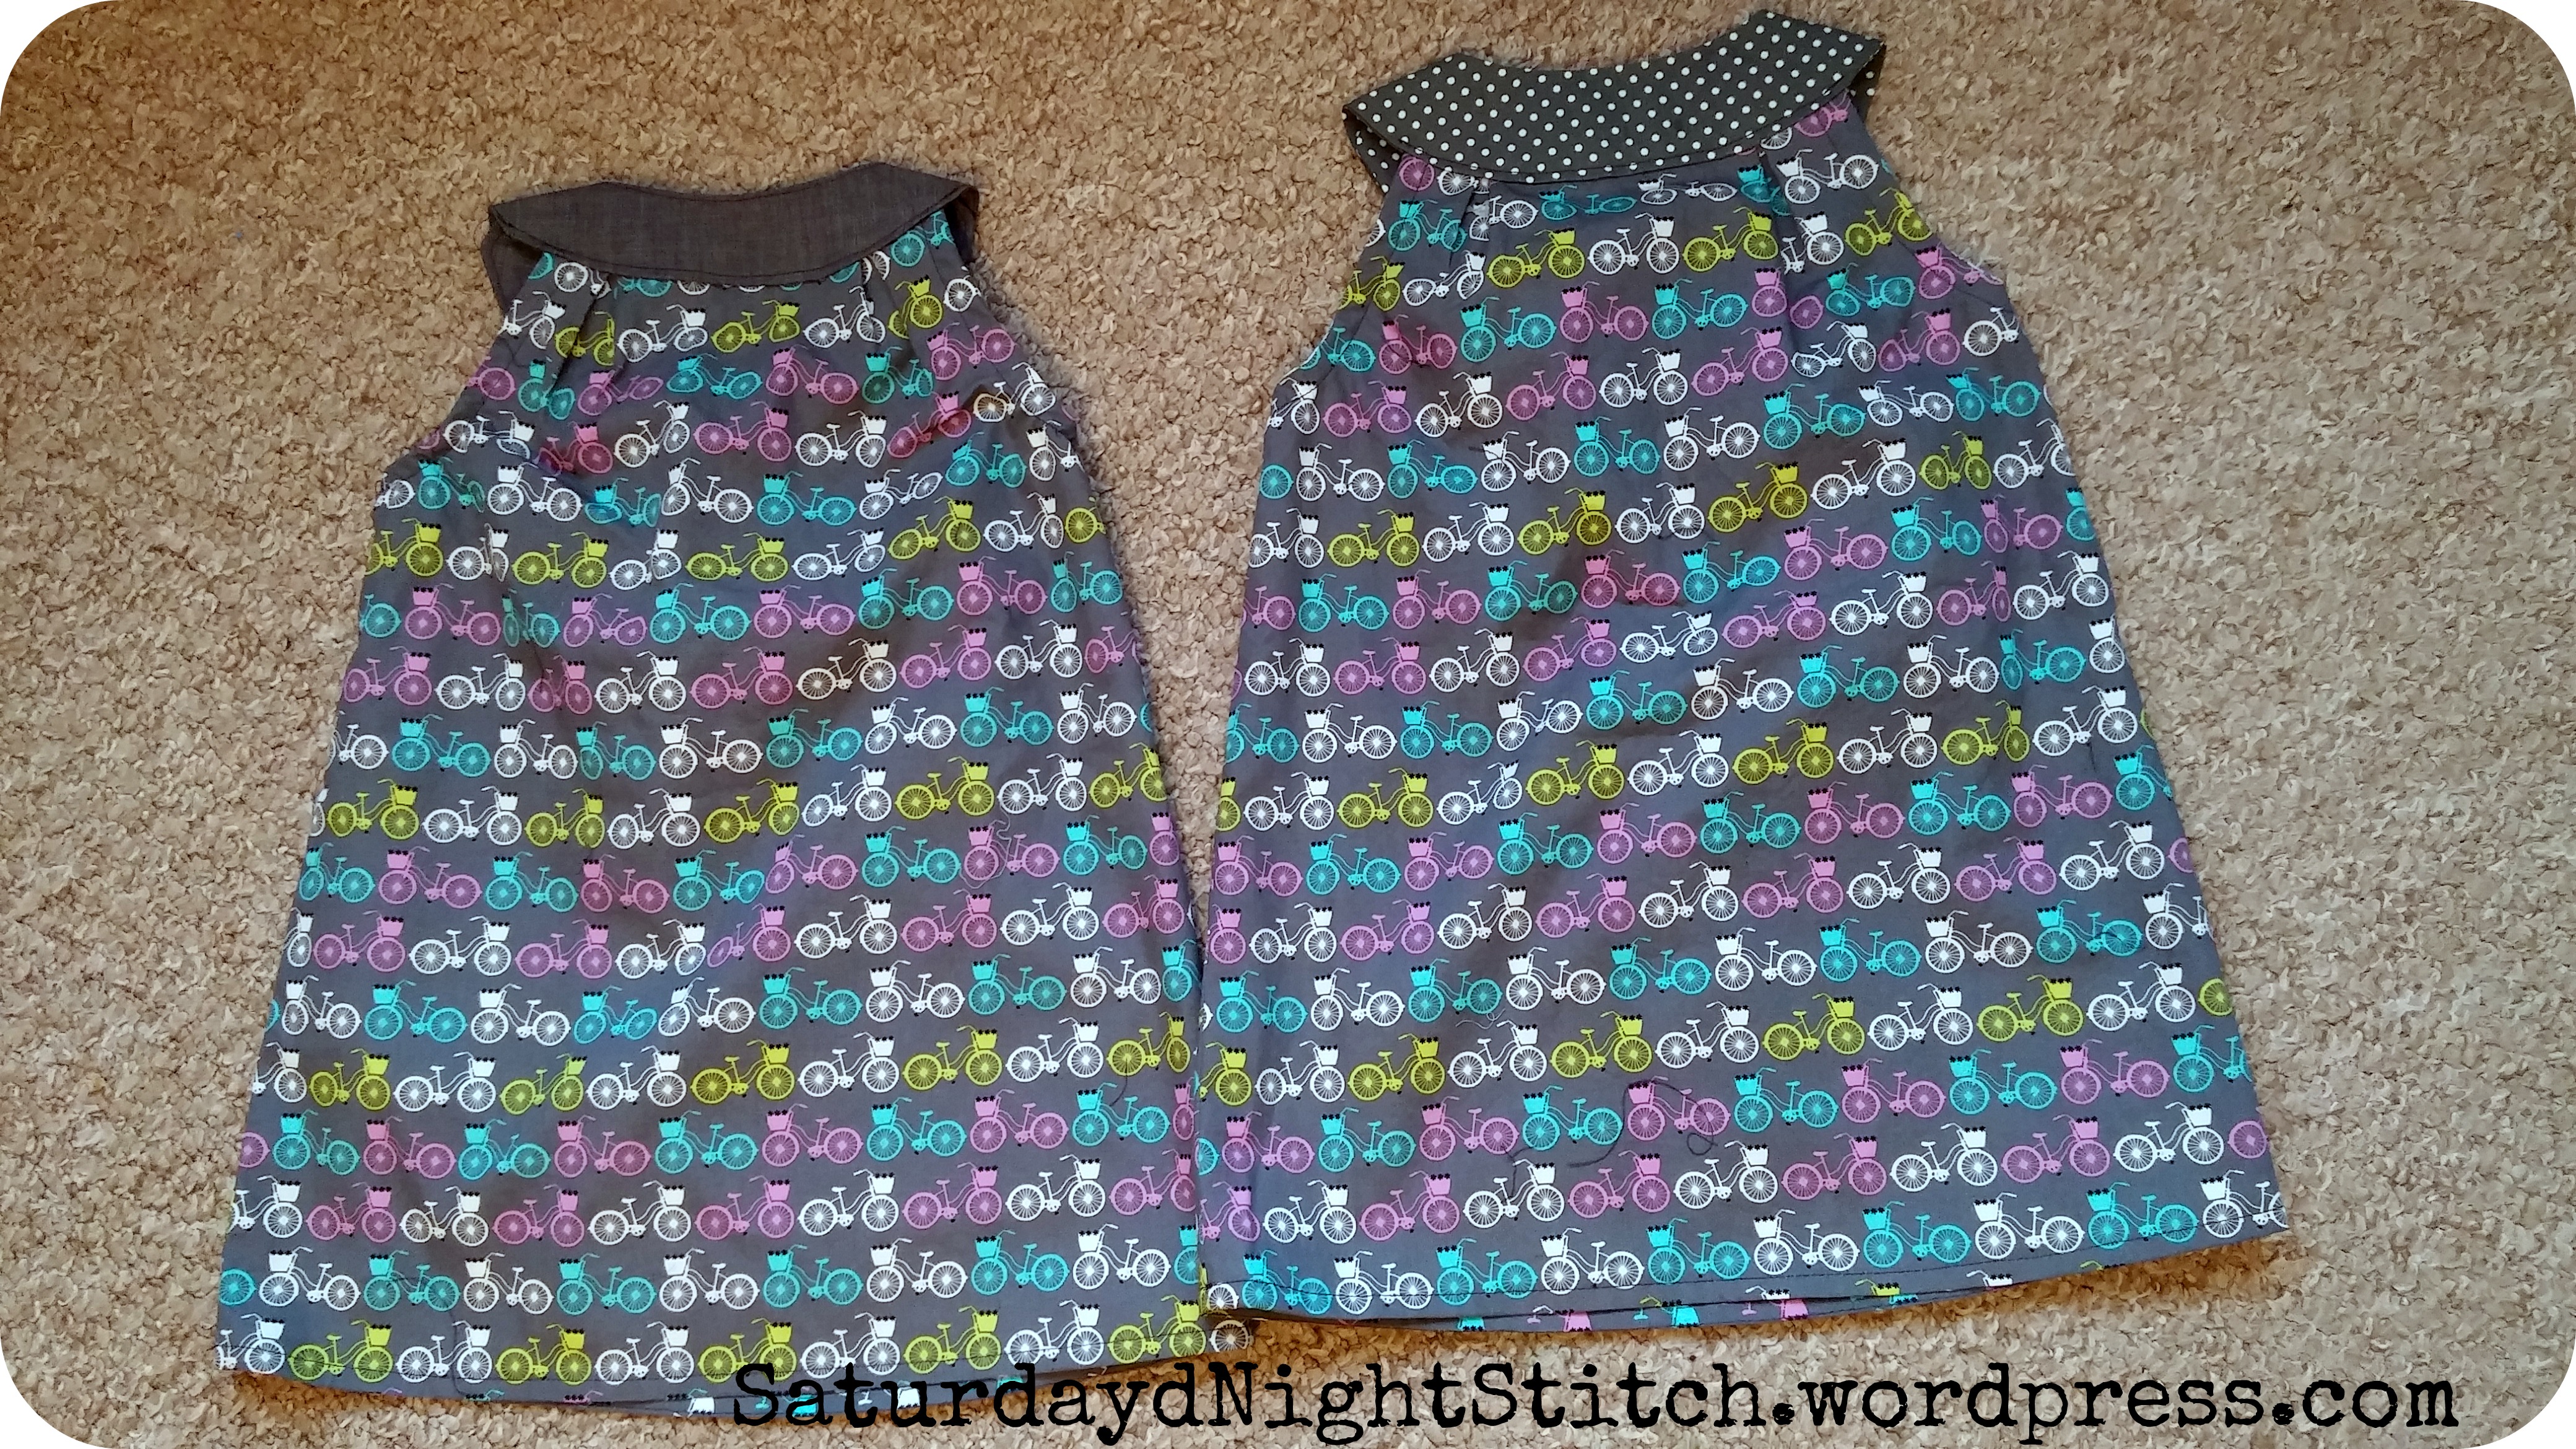
Kids Clothes Week is here! It’s when you work a little each day on kids clothes setting aside an hour a day for one week. I joined because you all know I love working to a challenge 😋. There were some lovely kids patterns that were …..vaguely on the queue but this helped me to take concrete steps towards making them.Planning began a couple of weeks ago, when I decided on which pattern to make, selected the fabric and notions. Having learnt that its best to plan outfits when sewing for my twins I decided on New Look 6016. You get a lot for your money with this pattern as it includes a knit shirt, leggings, jumper with various embellishments, and purse. Its very similar to one of my favourite kids dresses patterns McCalls M6727 that I have made before using Grumpy Owls and Scooters fabric. The main difference is that M6727 is reversible.
New Look 6016 is such a wonderful design for kids, its roomy and cute allowing for freedom of movement. This was one of the first patterns I bought when I seriously got into sewing about a year ago. I paid FULL price!!! Eeeek! In my defense I now know better…..
All patterns go on sale eventually….you just have to be patient.
It does go up to age 4 so I reckon I will get a fair amount of use.
Construction wise – the instructions were really good until I got to the yoke. I tried their way at first. I didn’t like it so with the next yoke I tried something else. For their instructions you have to interface the front yoke piece then sew it, right sides together, to the dress front. You then press the seam allowance under the non interfaced yoke piece before you stitch it to the interfaced yoke then turn rightside out and slipstitch to close. You have to construct the yoke on the dress.
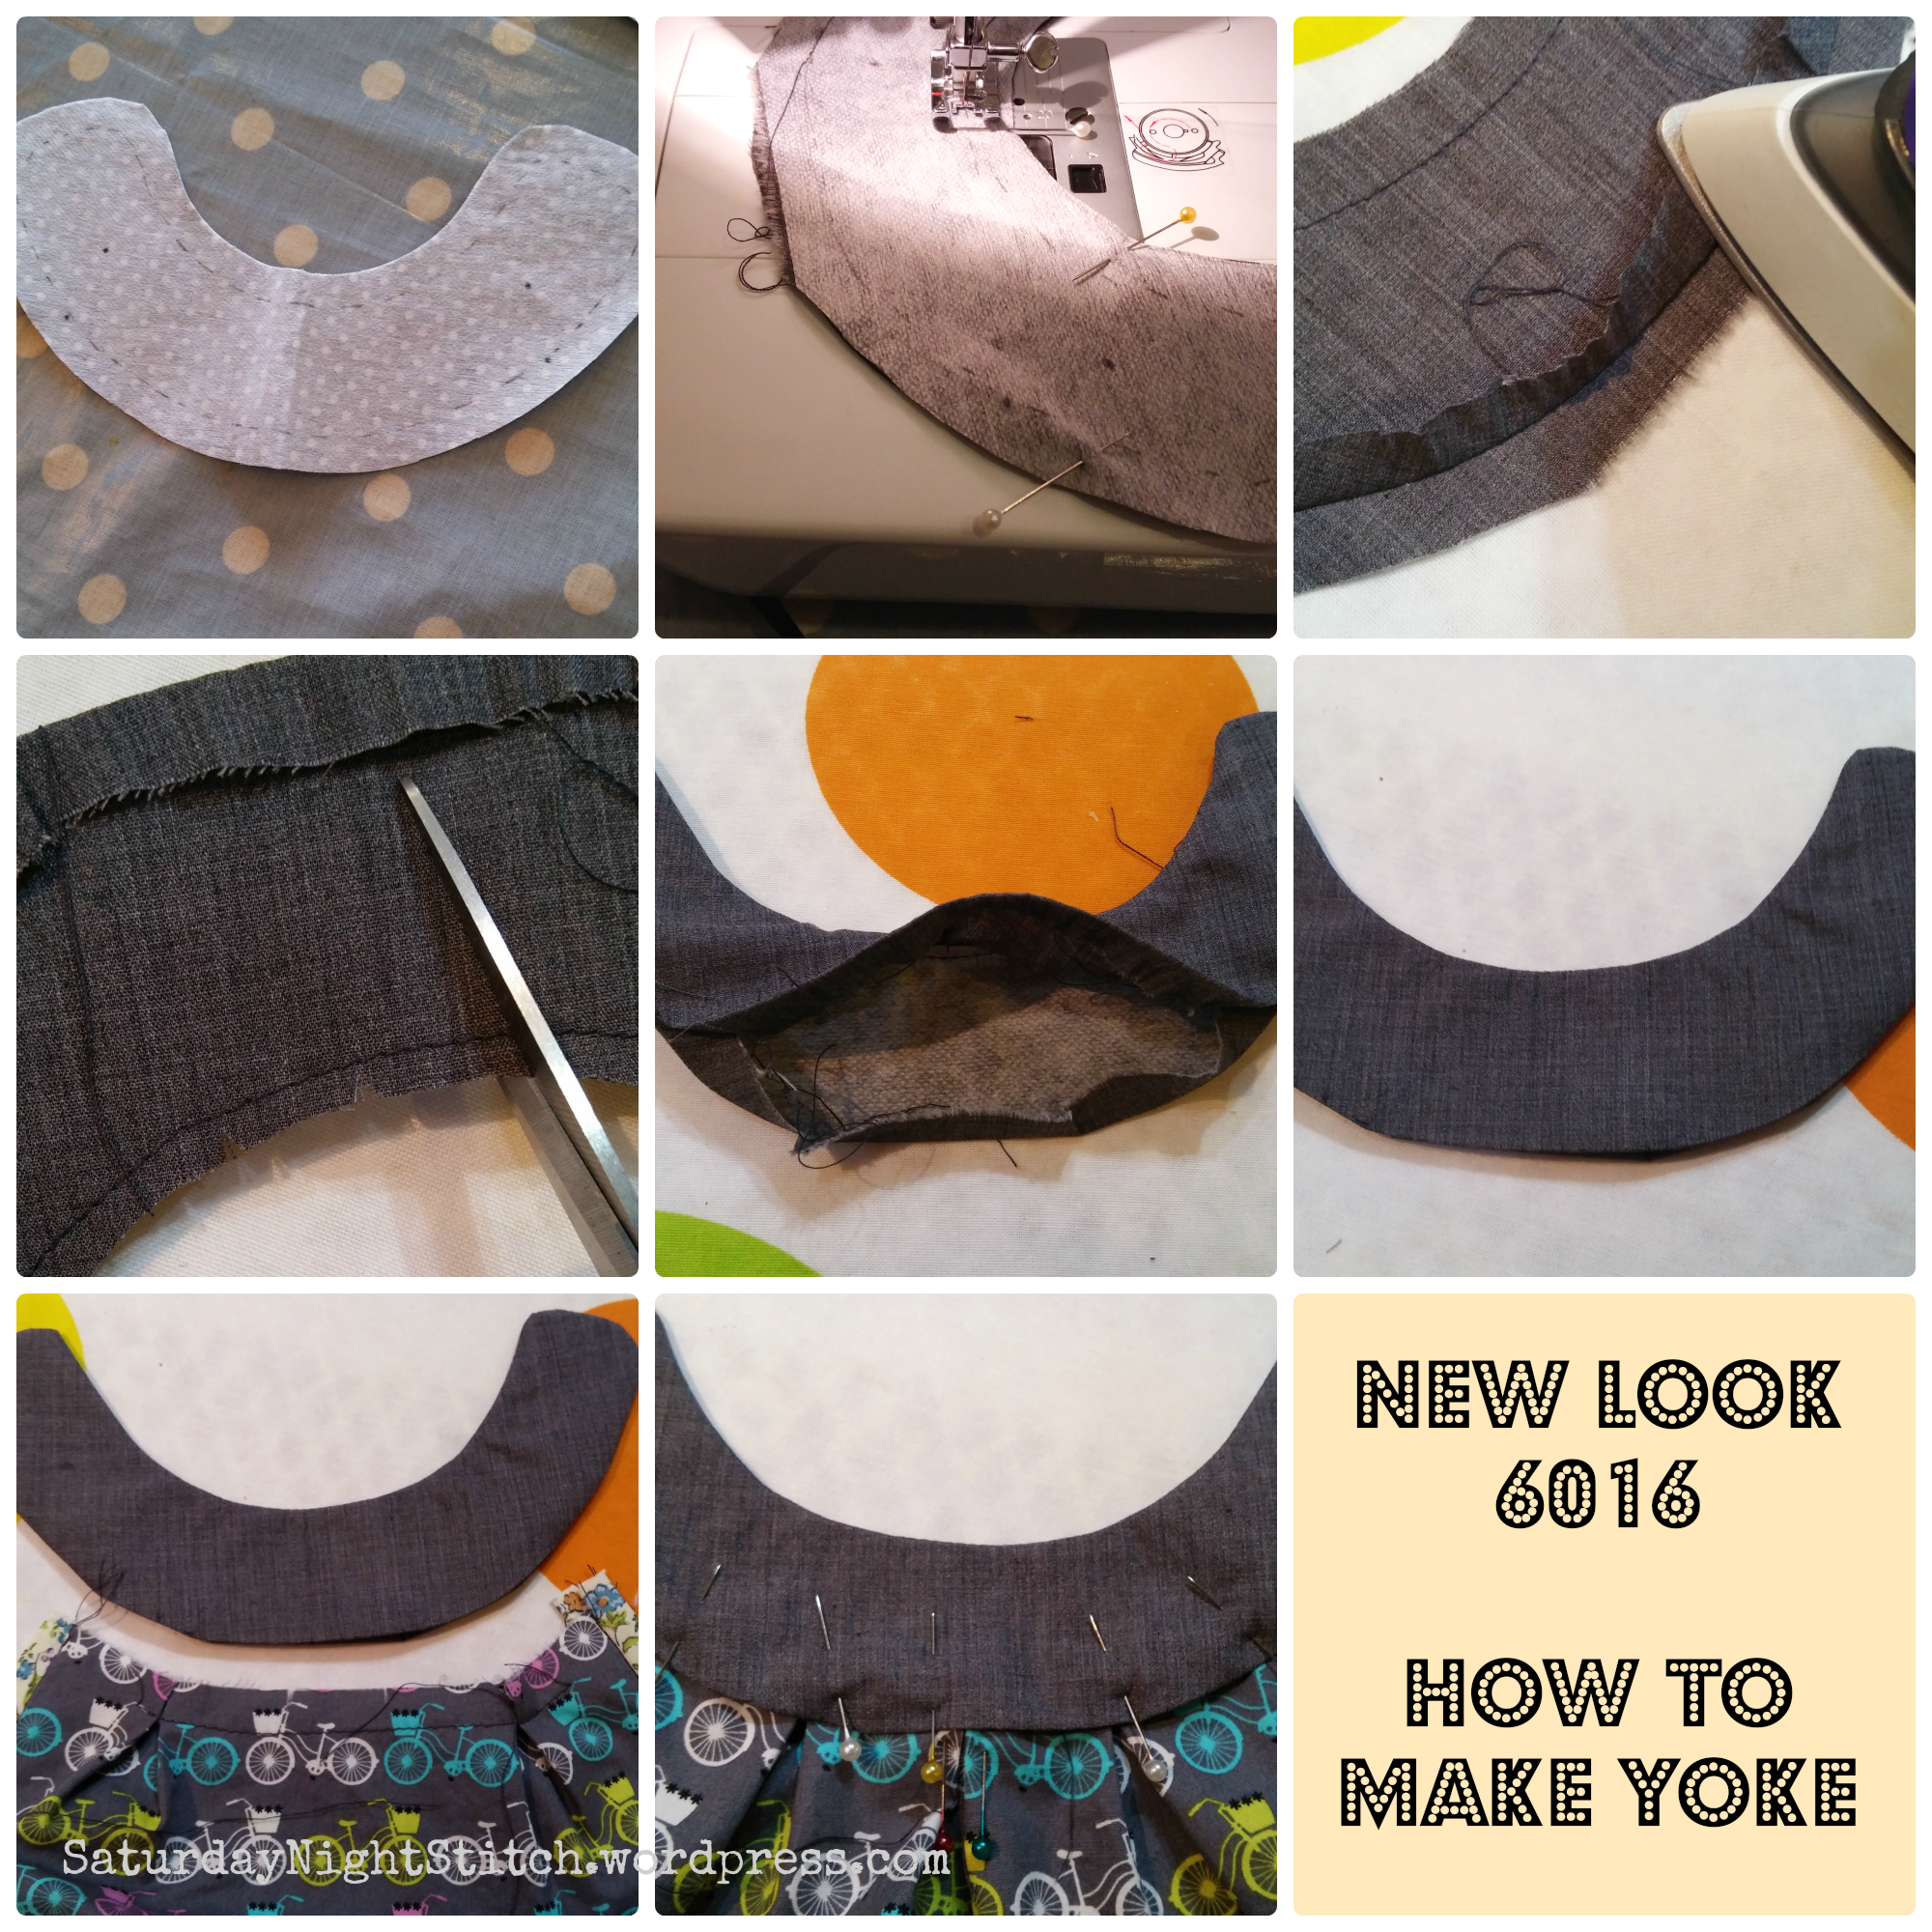
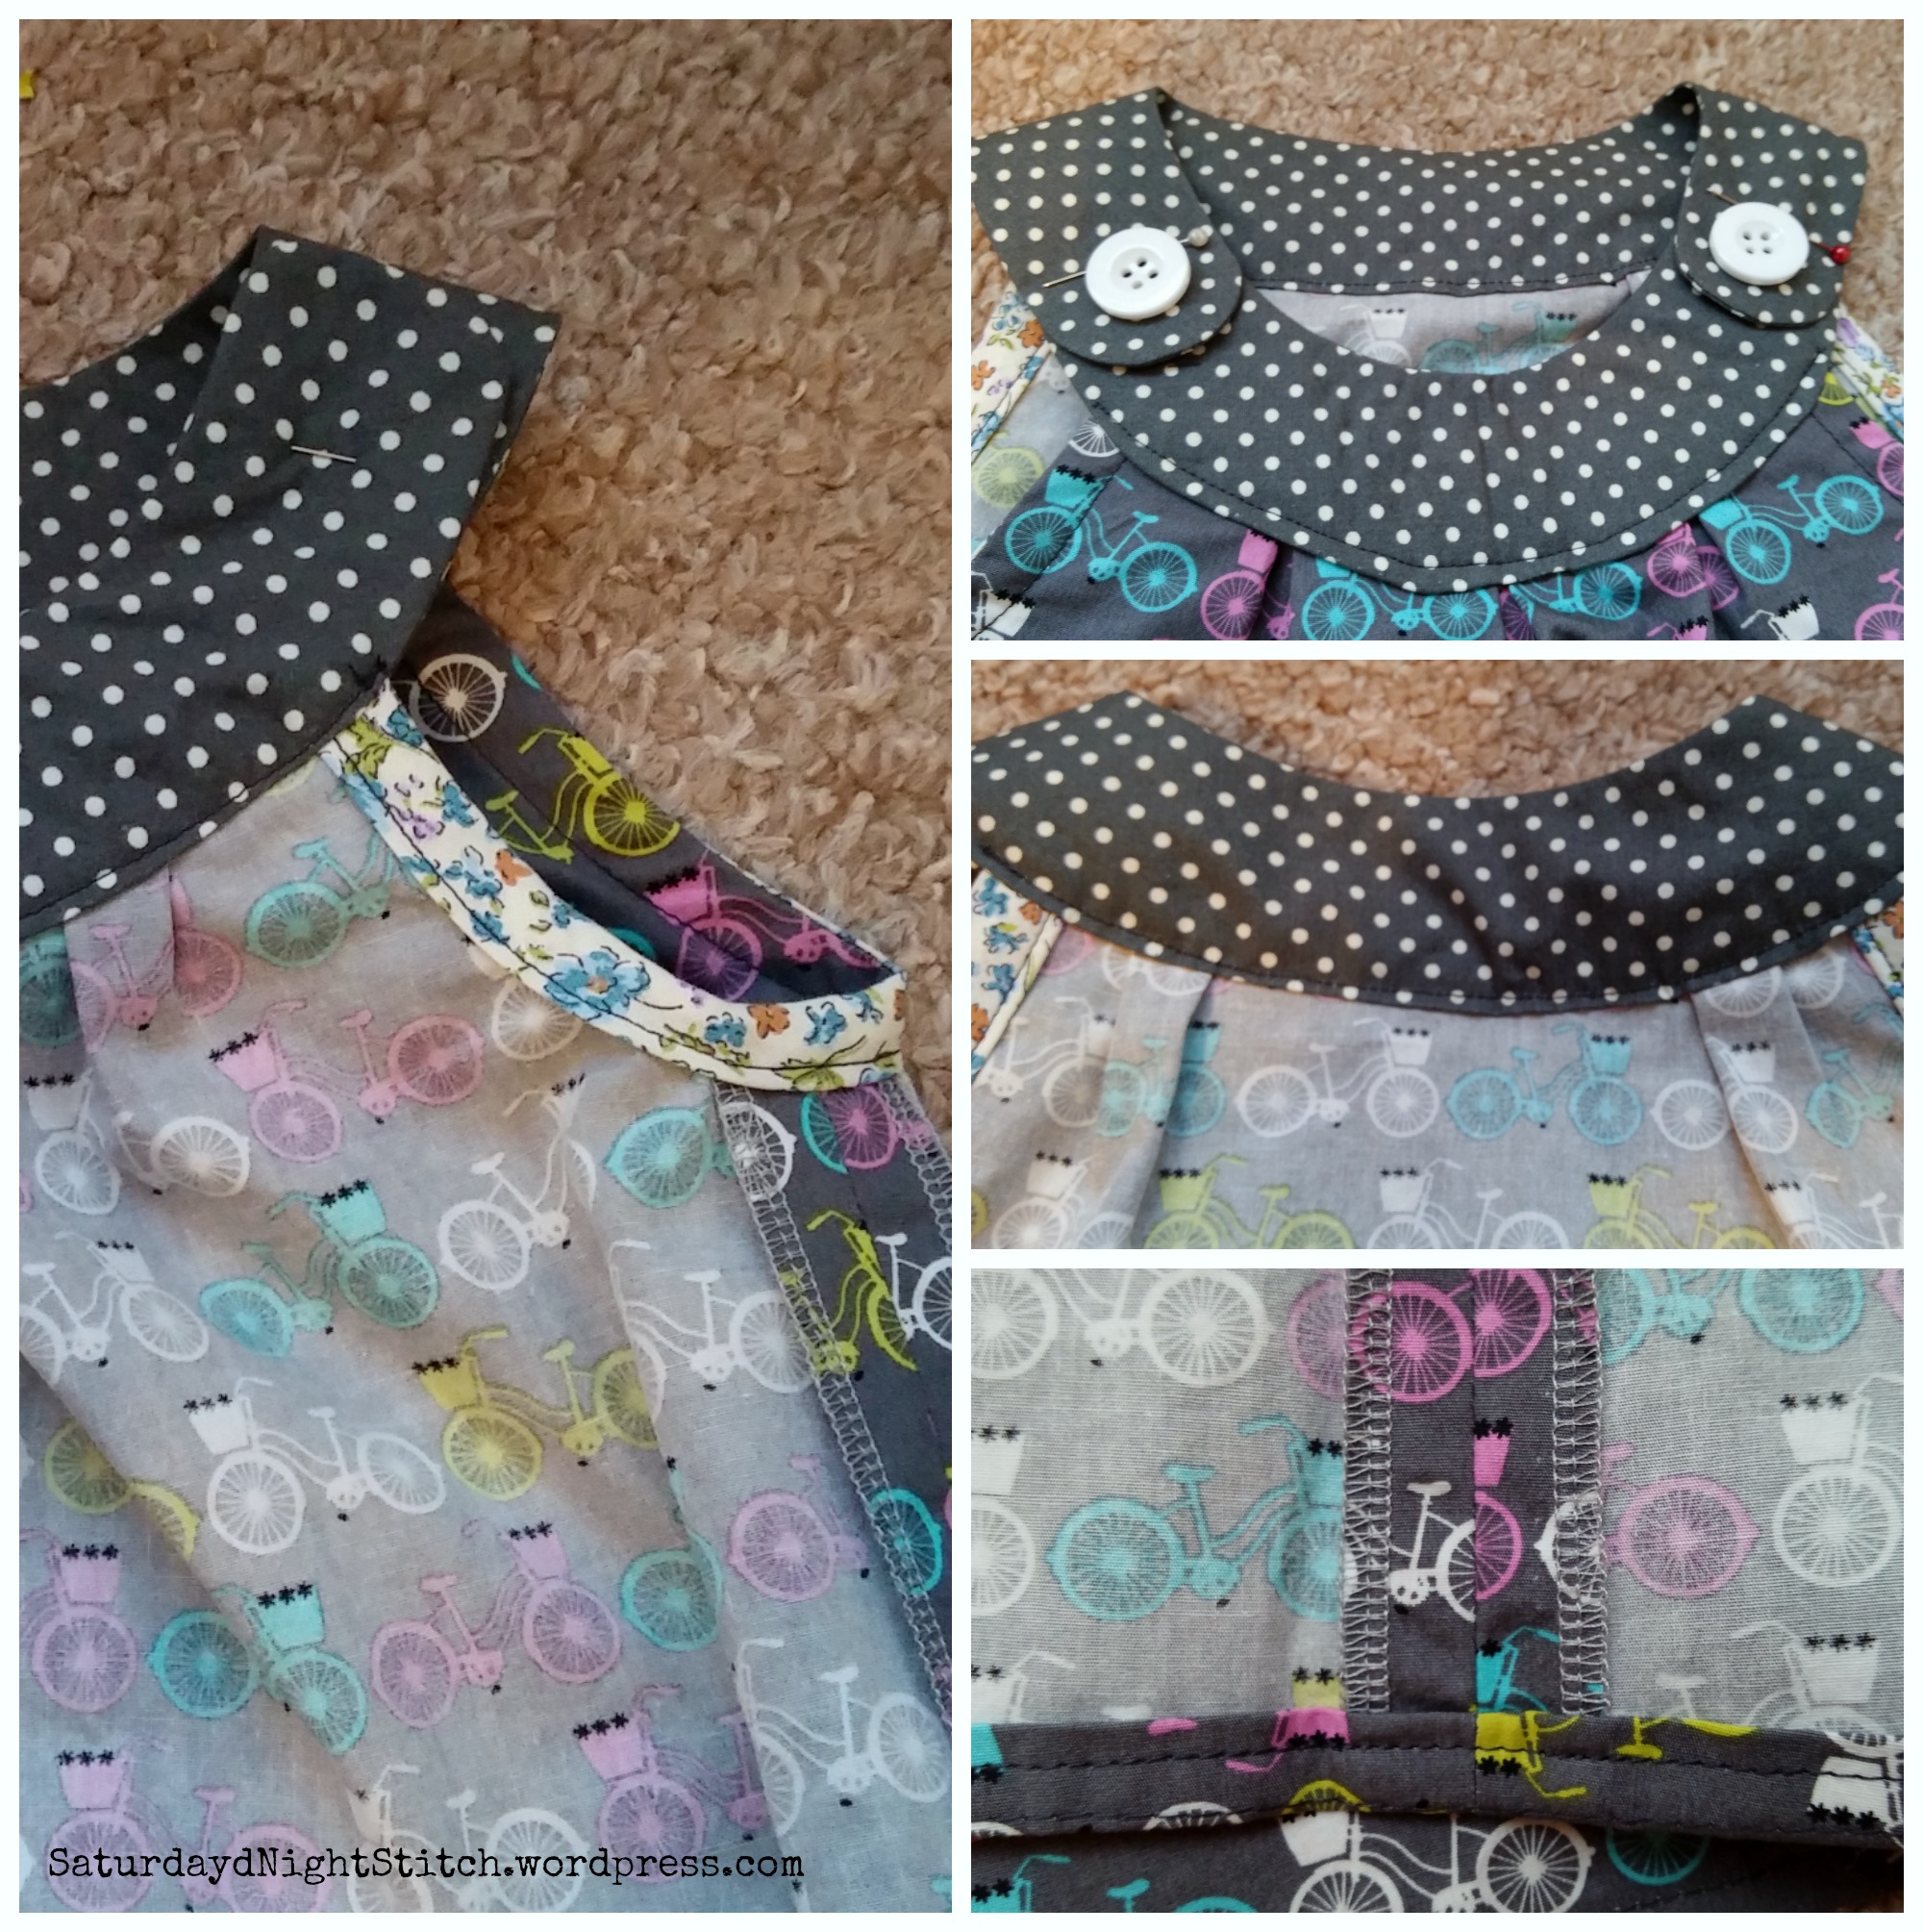
Well I wasn’t having any of that. So I decided to make the yoke first then attach it to the dress. This concept is similar to how the Carme blouse collar is sewn. I made a ‘burrito’ with the yoke then inserted the dress like so:
1. Block interface the front yoke.
2. Stitch interfaced yoke and non interface yoke together. Trim allowances and clip curves.
3. Turn right side out and press forming a burrito.
4. ‘Tuck’ the dress into the opening between the dots. Pin in place, baste.
5. Topstitch ensuring that you are catching both ‘lips’ of burrito.
Et voila!
I absolutely adore how they came out! Of course they need the under layers to make them wearable while the weather is still a bit cool. I am making leggings and t shirts in a lightweight jersey. I actually reluctantly unwillingly had to re thread my overlocker for this project.
Me (before rethreading): “OMG! I cant do this”
Me (after rethreading): “Is that all? Really! Come on it must be tougher than that!”.
Turns out its surprisingly easy to do! Go figure! I really wish I could say it was intentional. However my once (I have only ever done this 1 time) used technique of tying the new thread,crossing my fingers and holding my breath did not work. Shout out to Theresa at Navy Blue Threads for inspiring me to do something with my overlocker! I actually changed the thread tension dials! And the differential feed ;-). Joy!
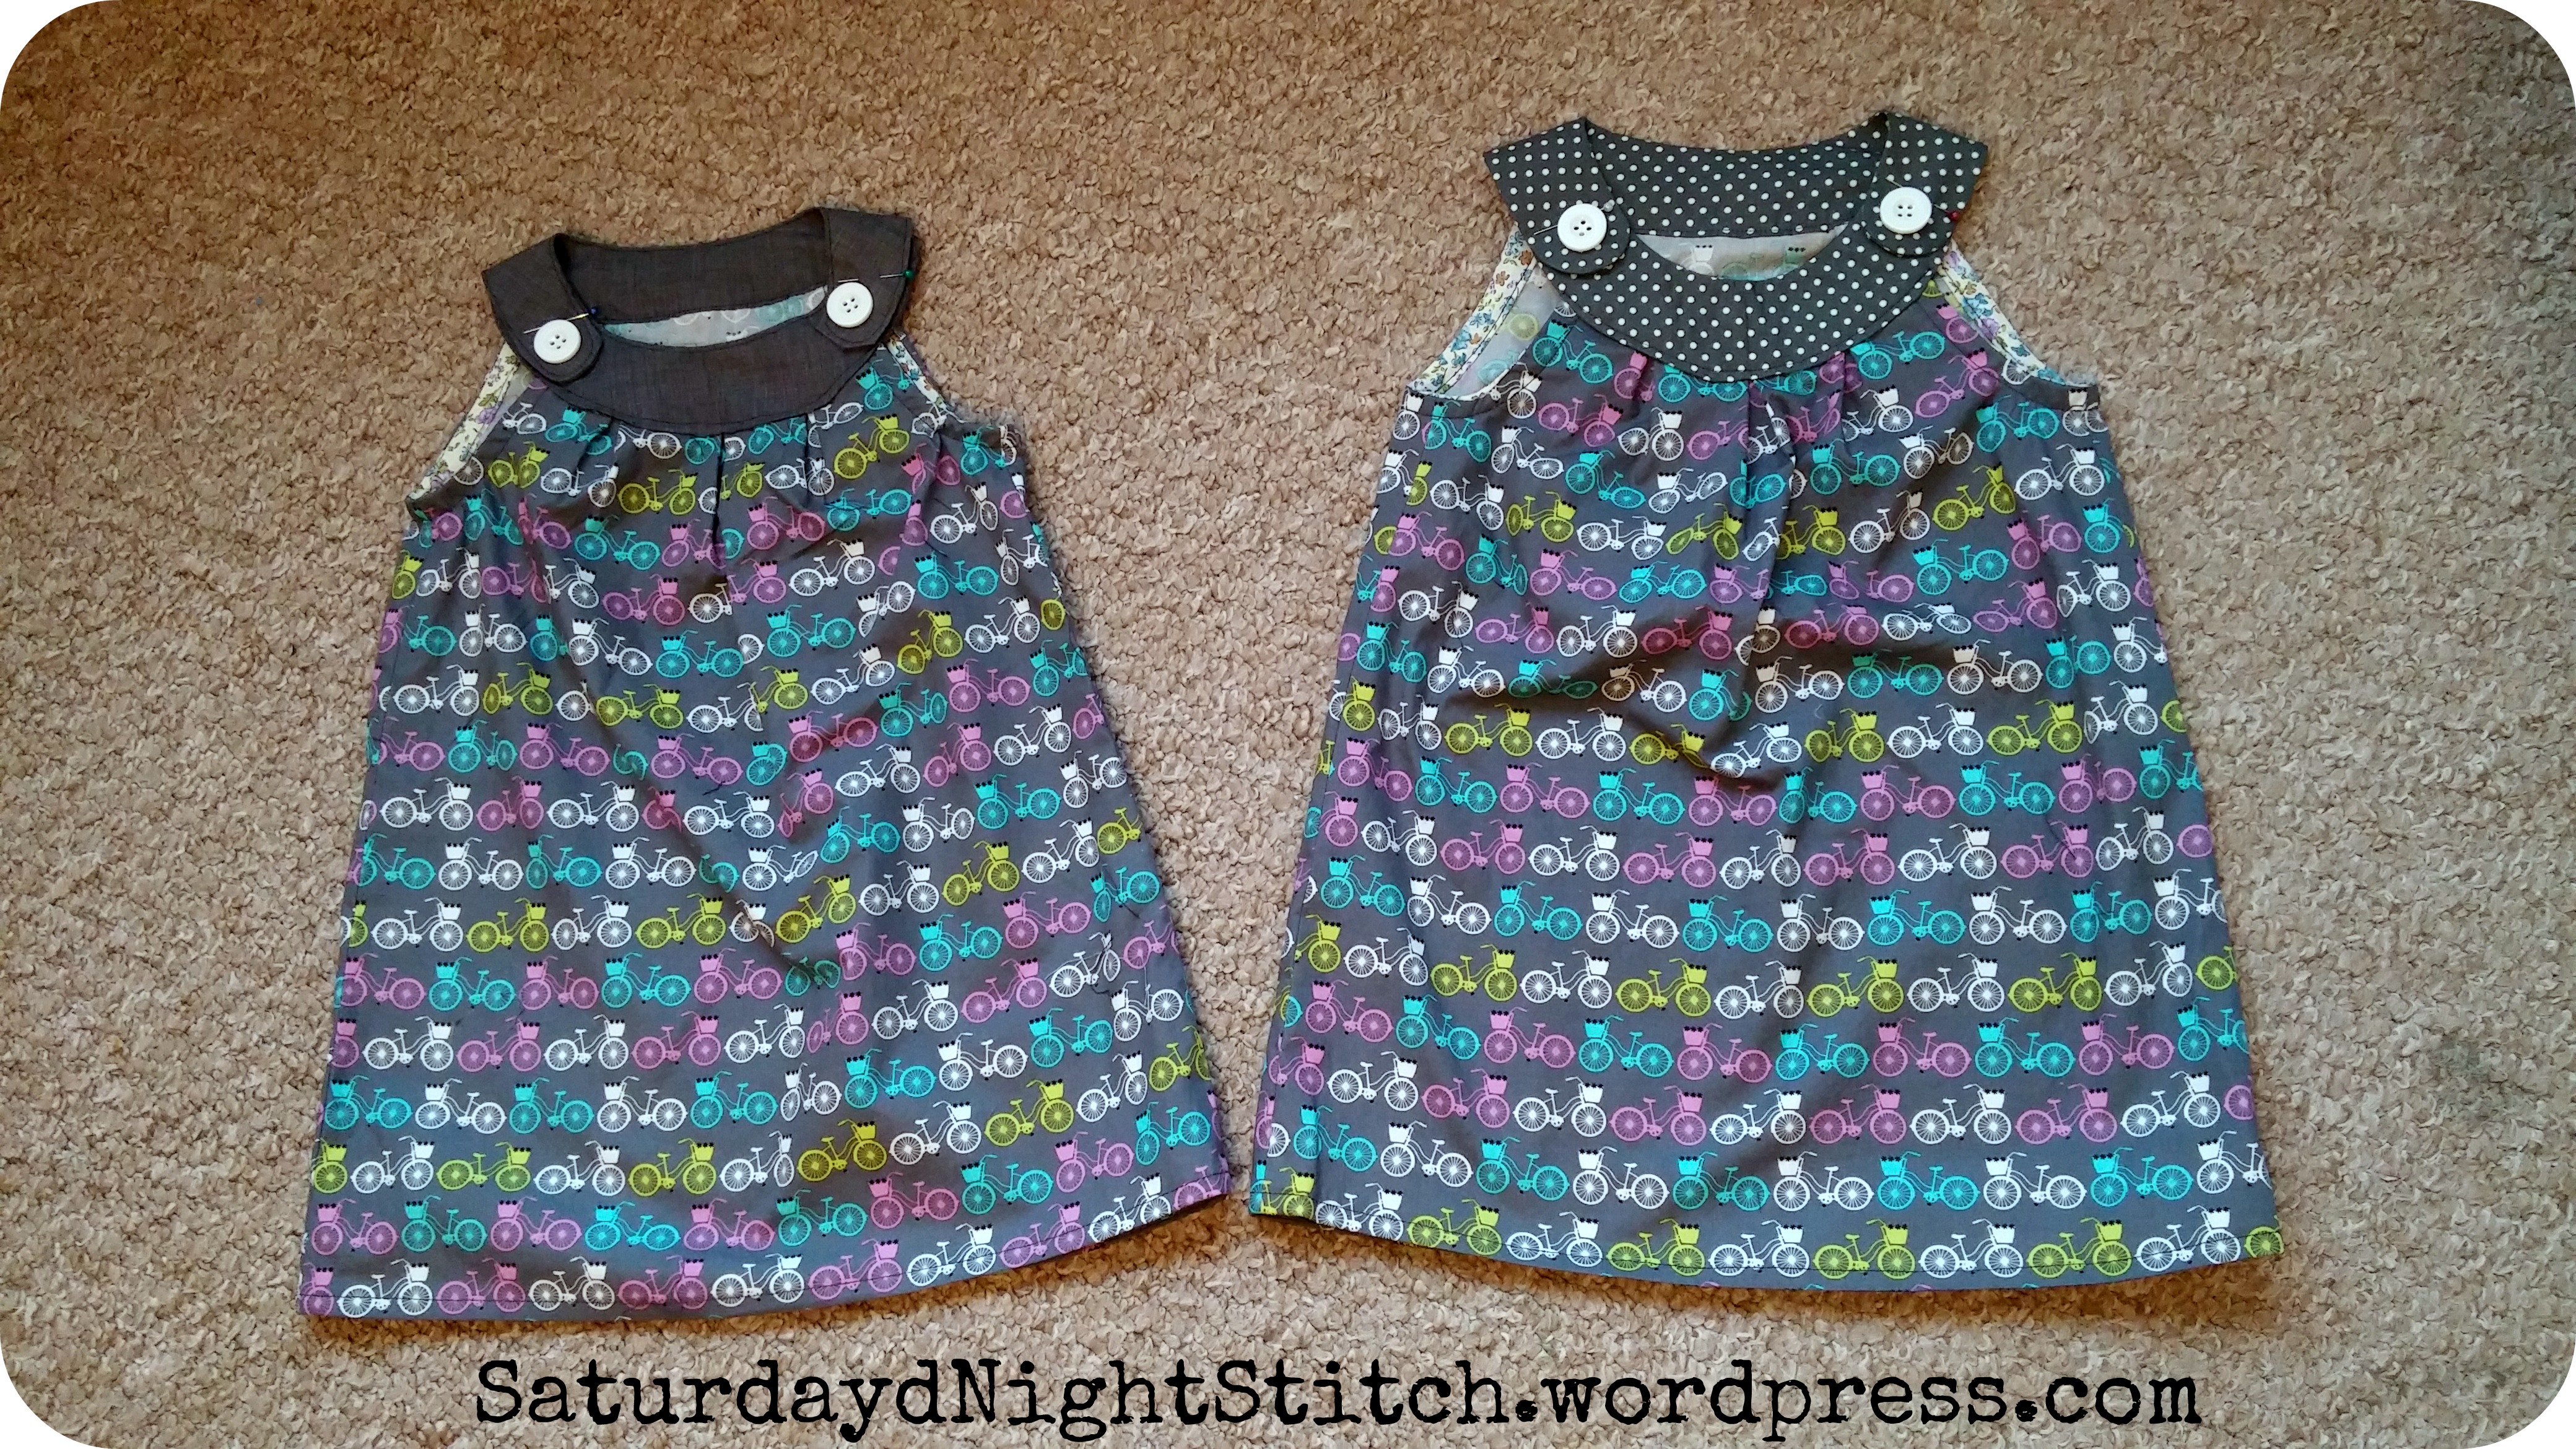
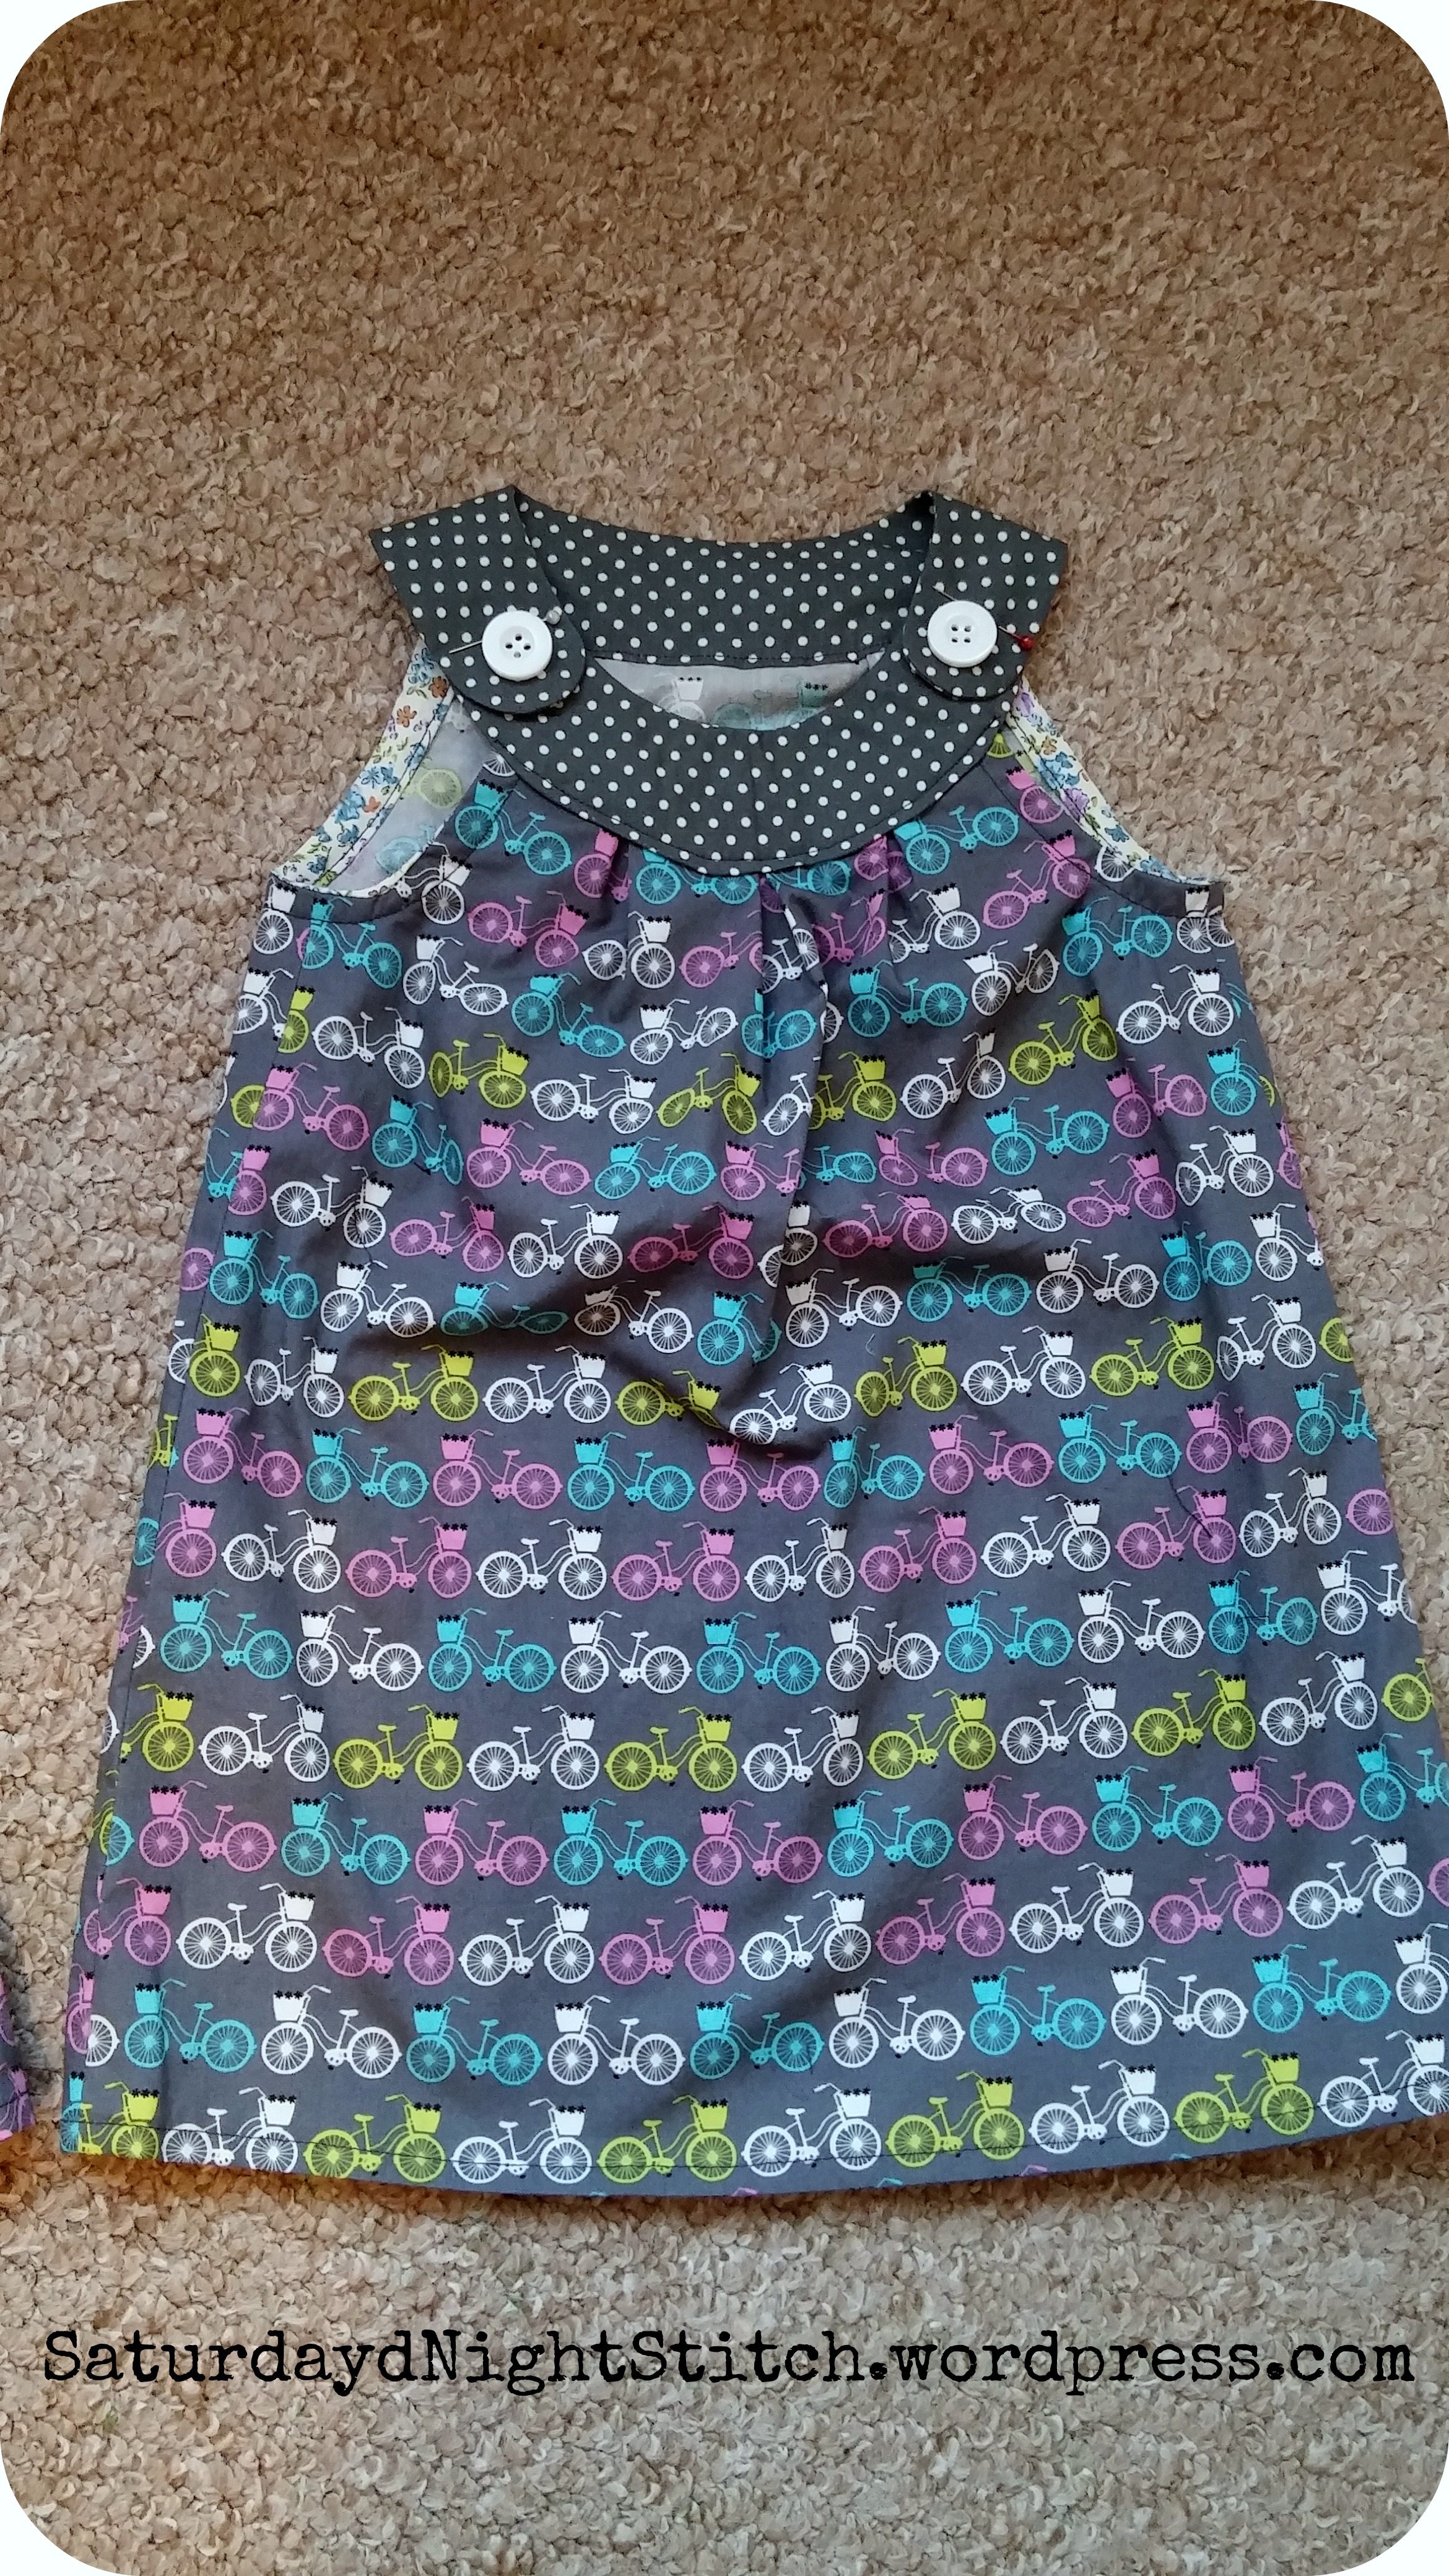
As always here are some gratuitous shots of the complete dresses.
Verdict.
Great toddler dress. Super easy to sew up . Adding embellishments can take it to the next level and give it a boutiquey feel. I shall most definitely be making more 😉
Happy sewing everyone and thanks for stopping by!
#kidsclothesweek
P.S. Buttons going in tonight but wanted to get this post out before I get super busy from tomorrow onwards 😉
