This post may contain affiliate links. Read my Disclosure Policy to learn more.
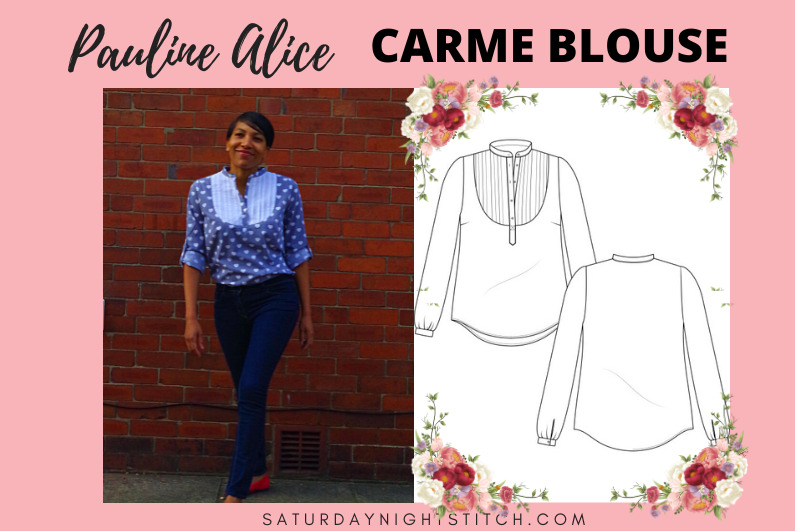
Pauline Alice Carme Blouse Pattern Review
Hope your day is good thus far. I thought I would share what I have been up to since my last post after finding out I was in Round 2 of PR Sewing Bee. Getting through turned out to be a double edged sword. Frustrating and joyful in equal measure.
On the one hand I explored (albeit in a rush different embellishment techniques) which was exciting but on the other hand my plan changed so many times.
More Indie Sewing Patterns Reviews
More DIY Skirt Sewing Pattern Reviews
My main issue was that I want to make things I will wear regularly not showpieces. I also am only using stash items. Lord knows I have a huge stash and it needs to be worked through.
With those 2 limitations I foraged around looking at different embellishing techniques. I generally haven’t done much by way of embellishing. I have had misadventures in dyeing – that was starting point for me.
Tried out crosssticthing…too folksy.
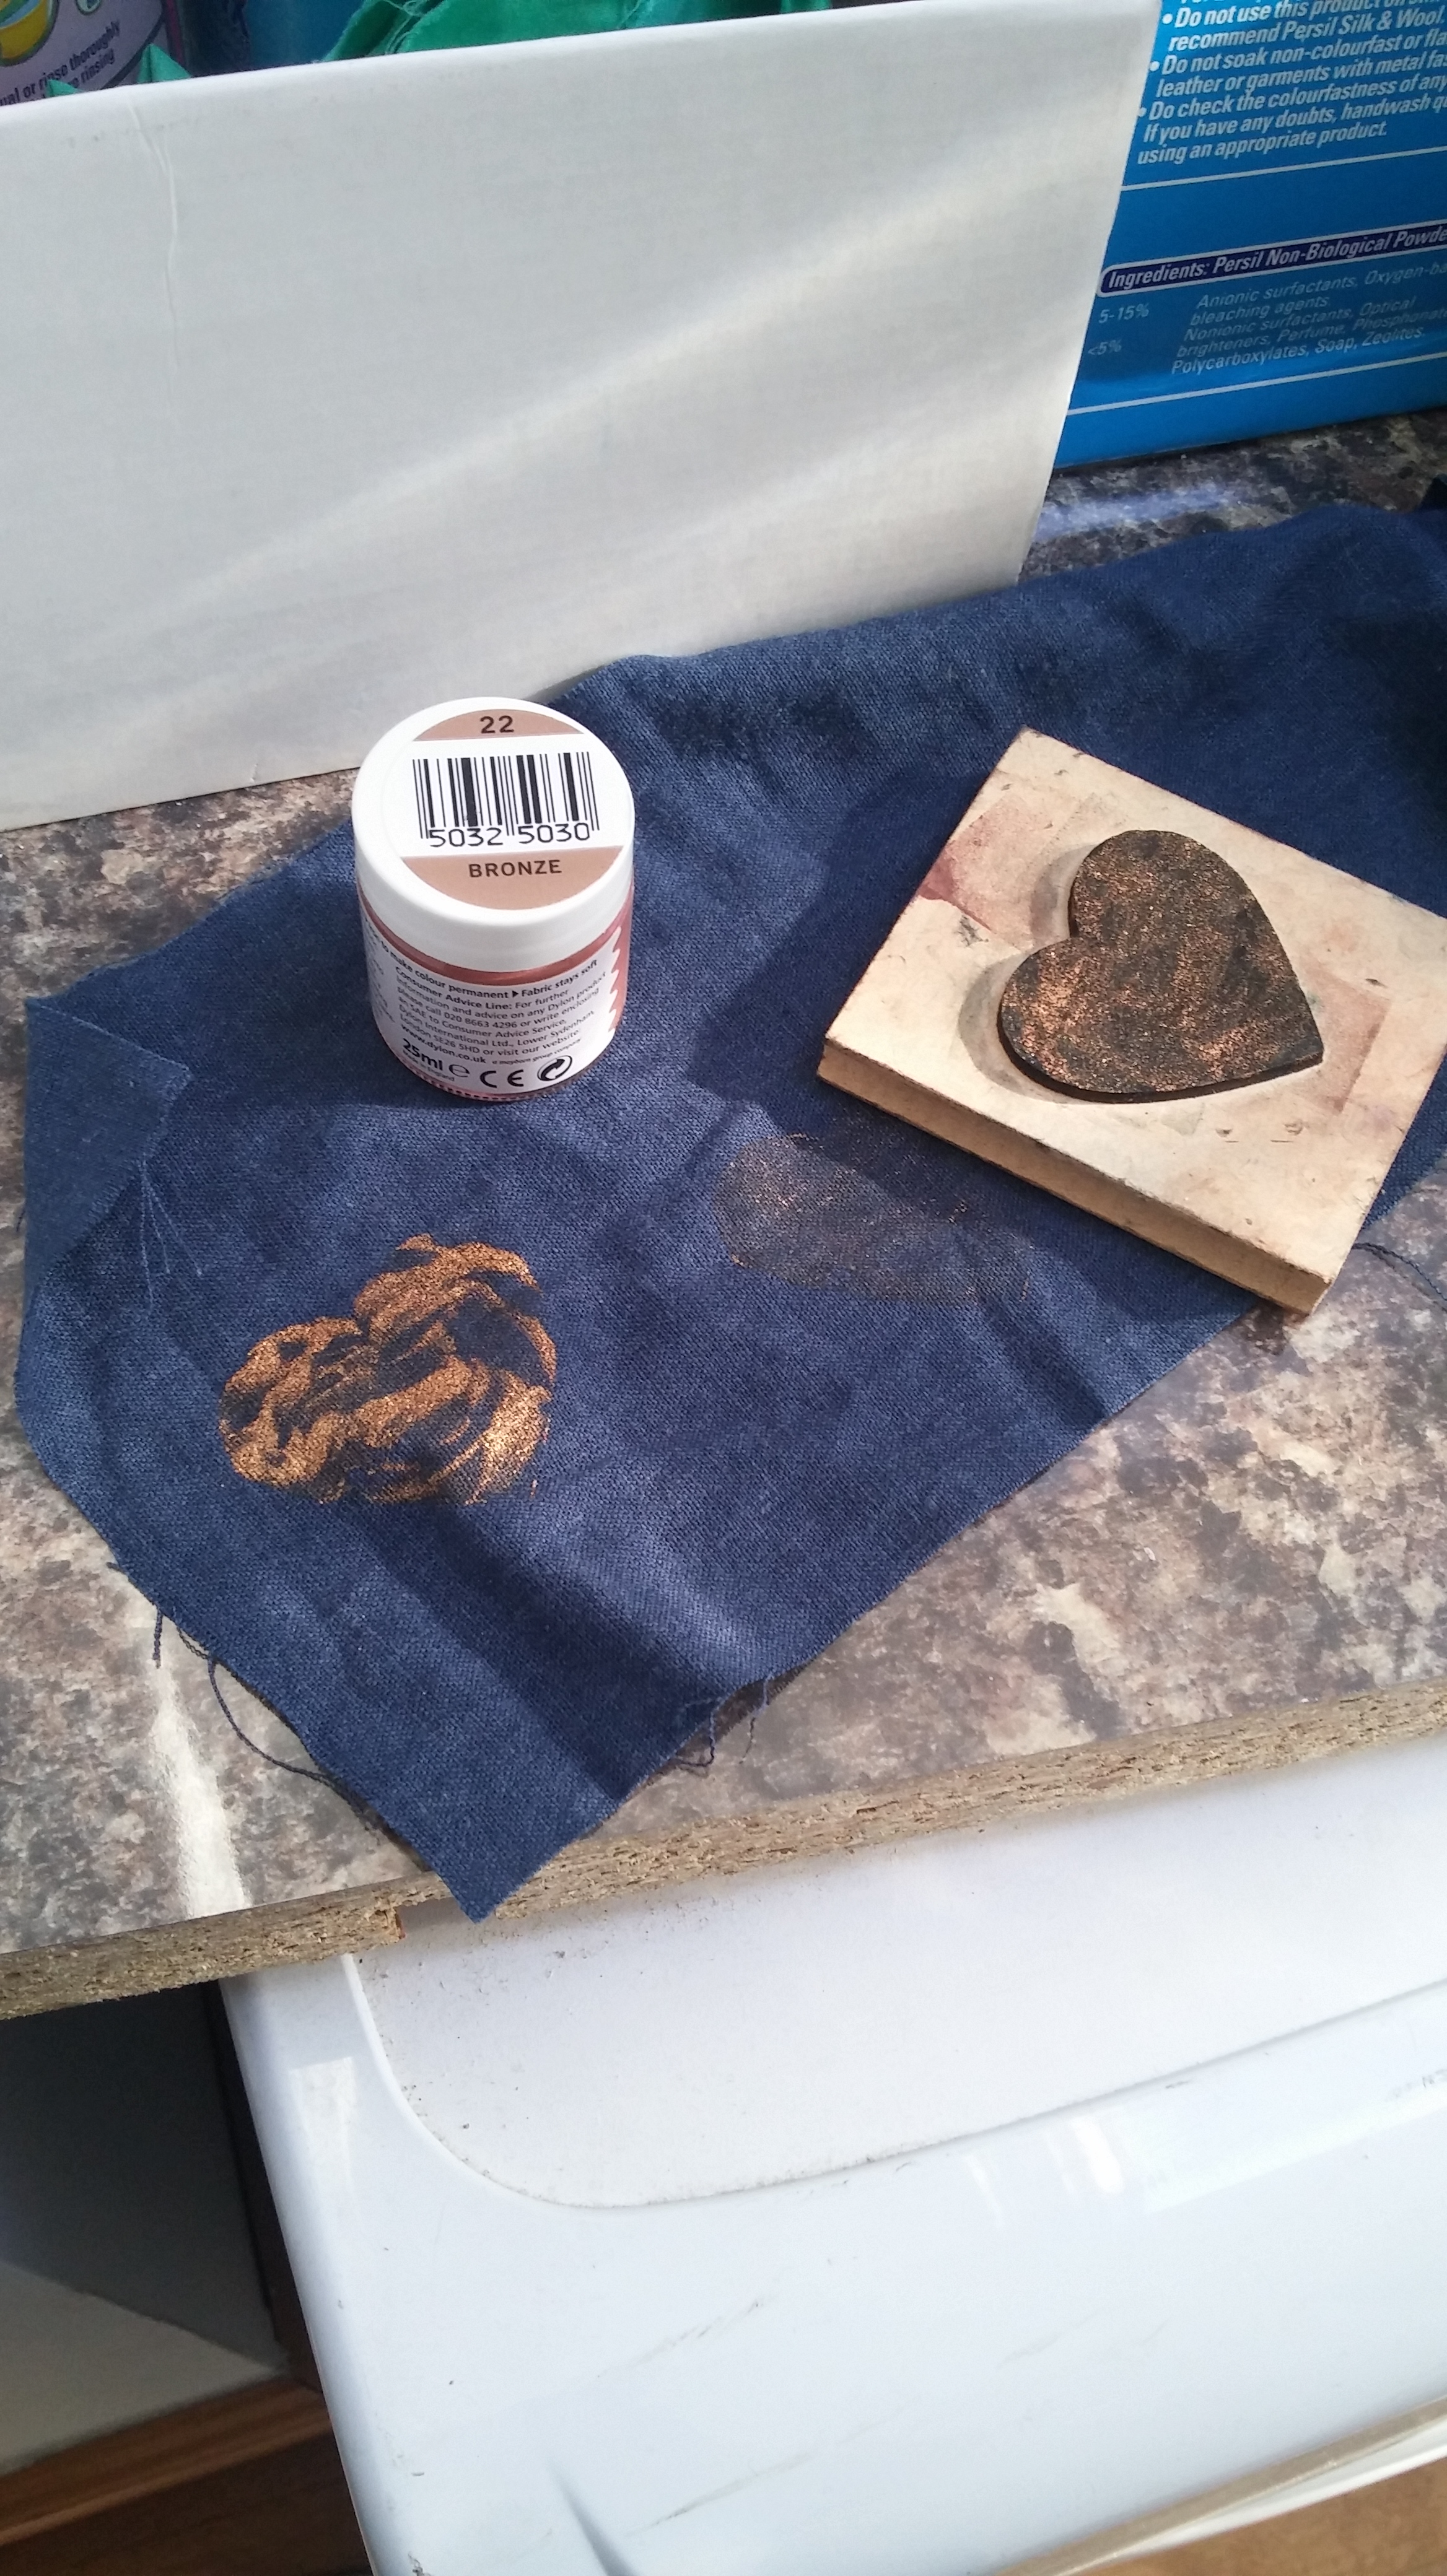
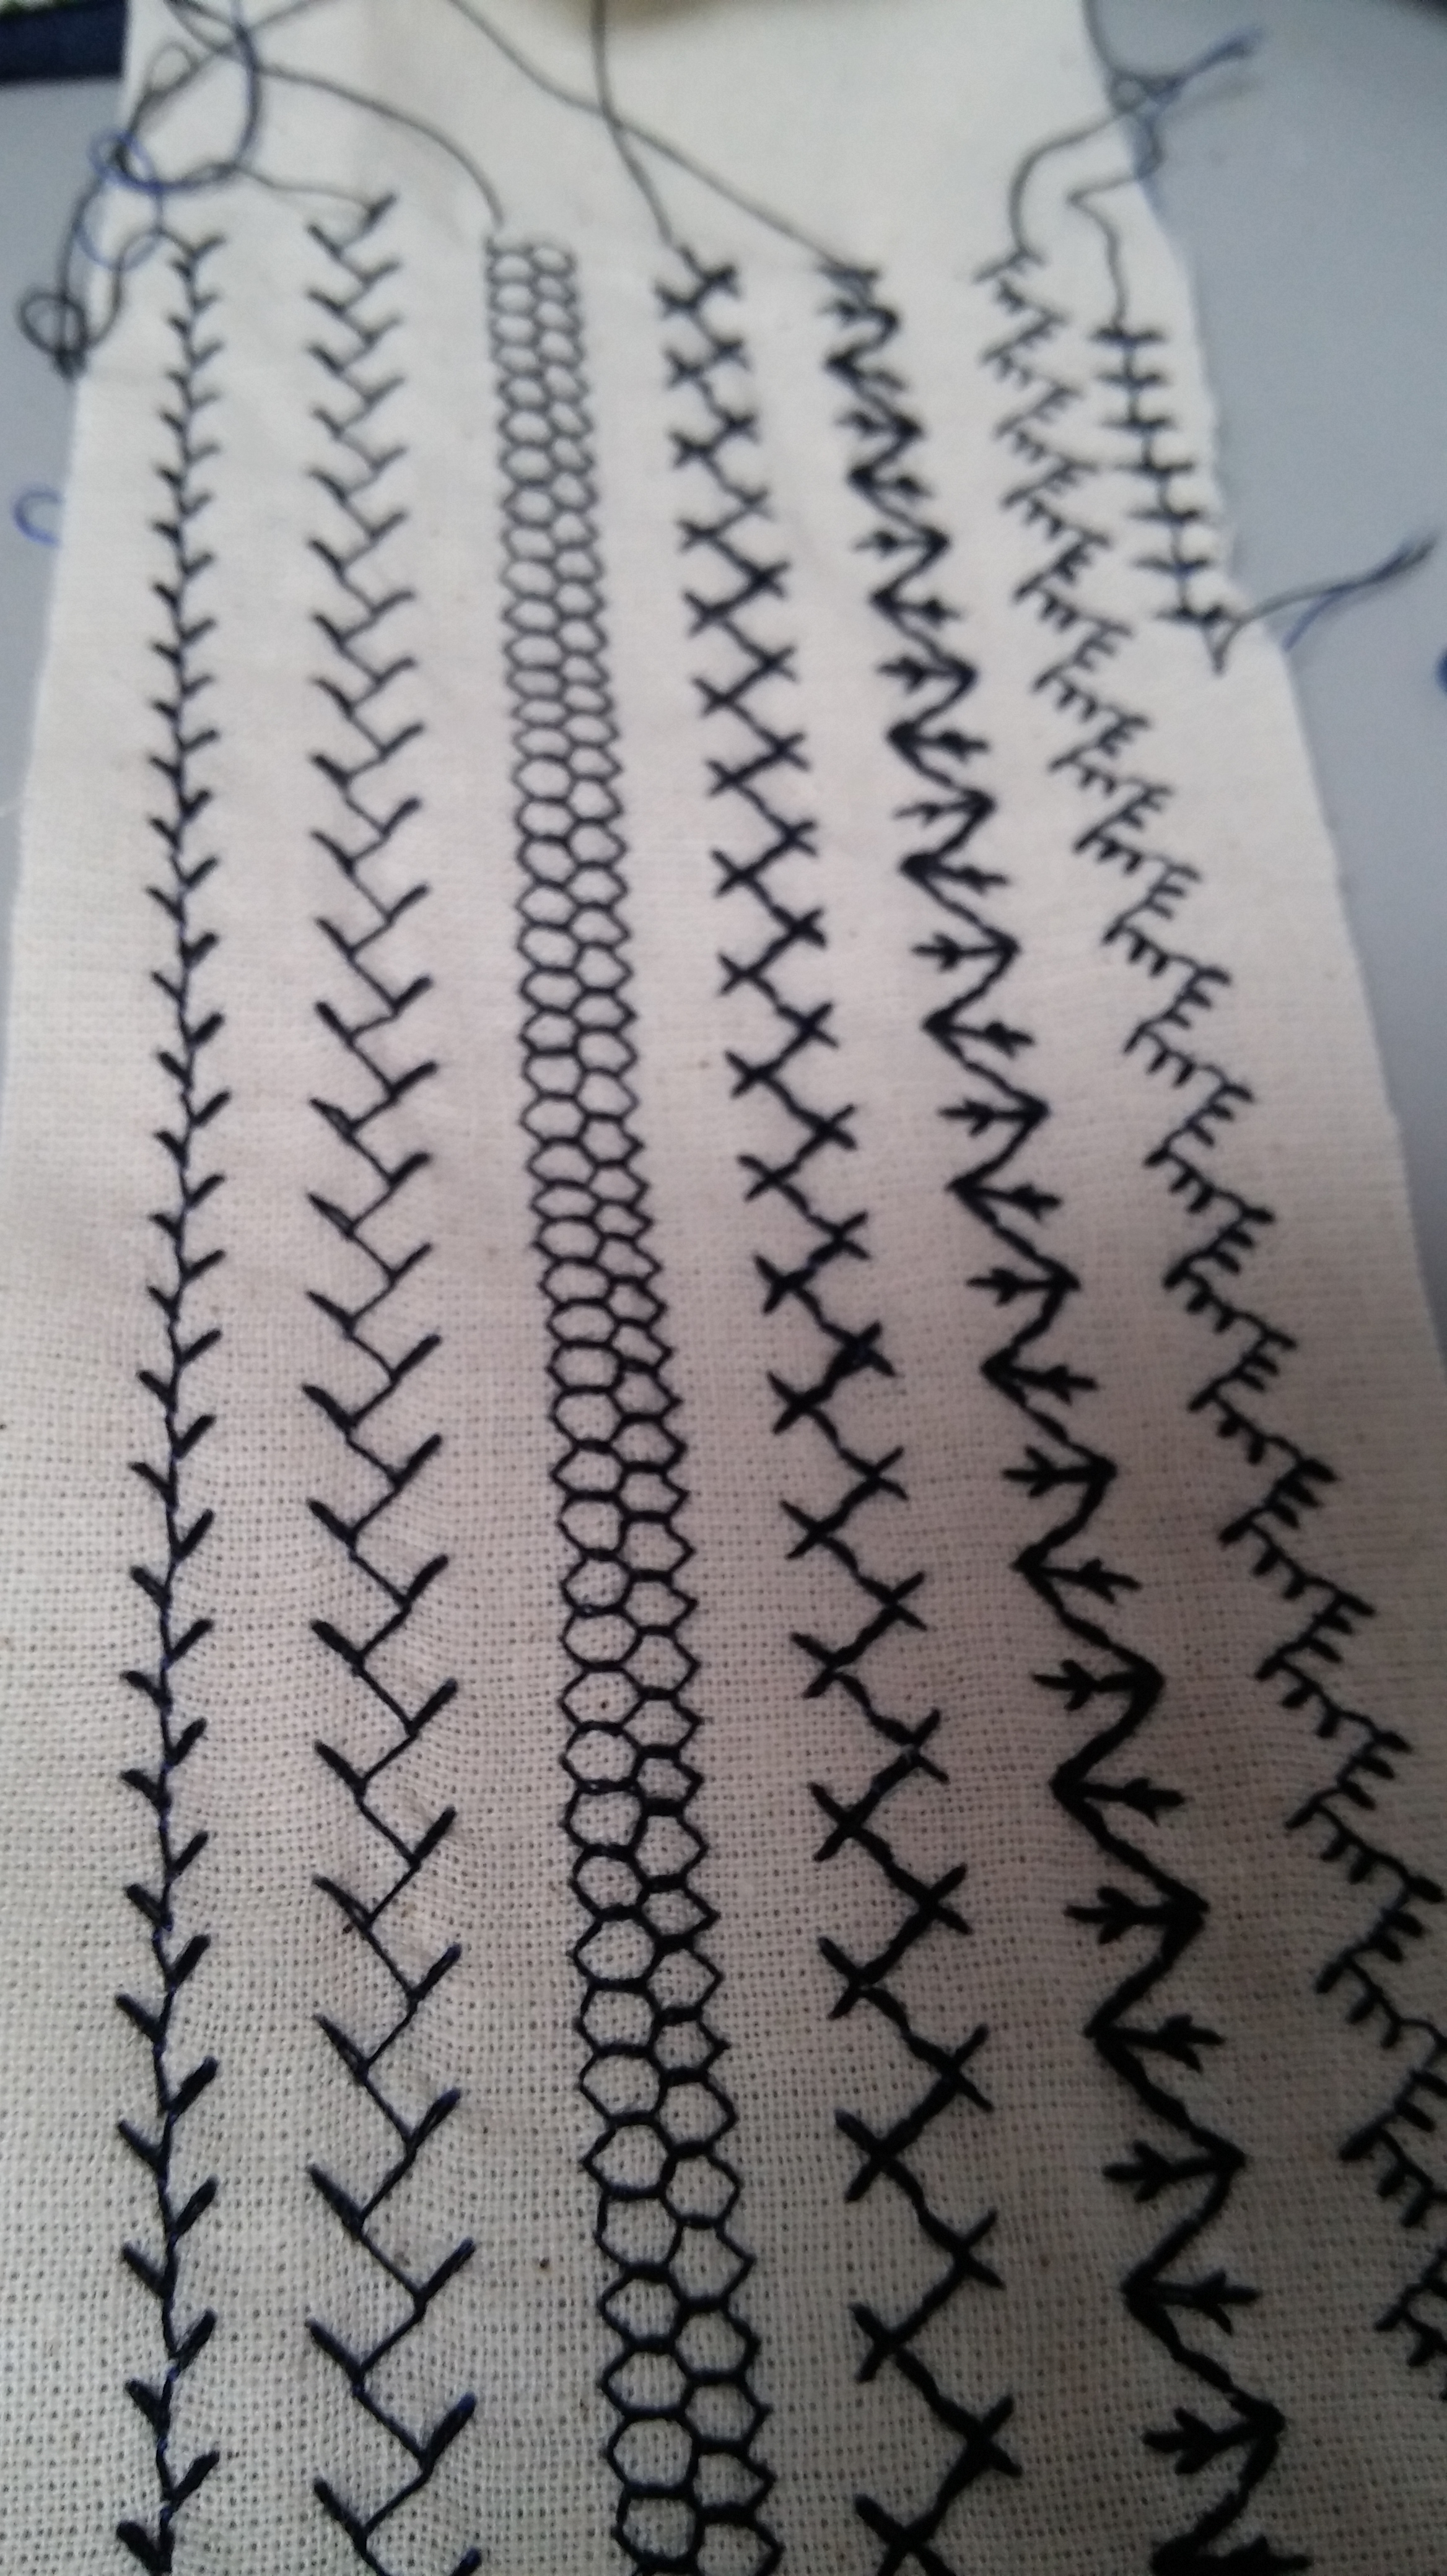
I considered stamping hearts in bronze on the linen but it was… meh.Tried machine decorative stitching…
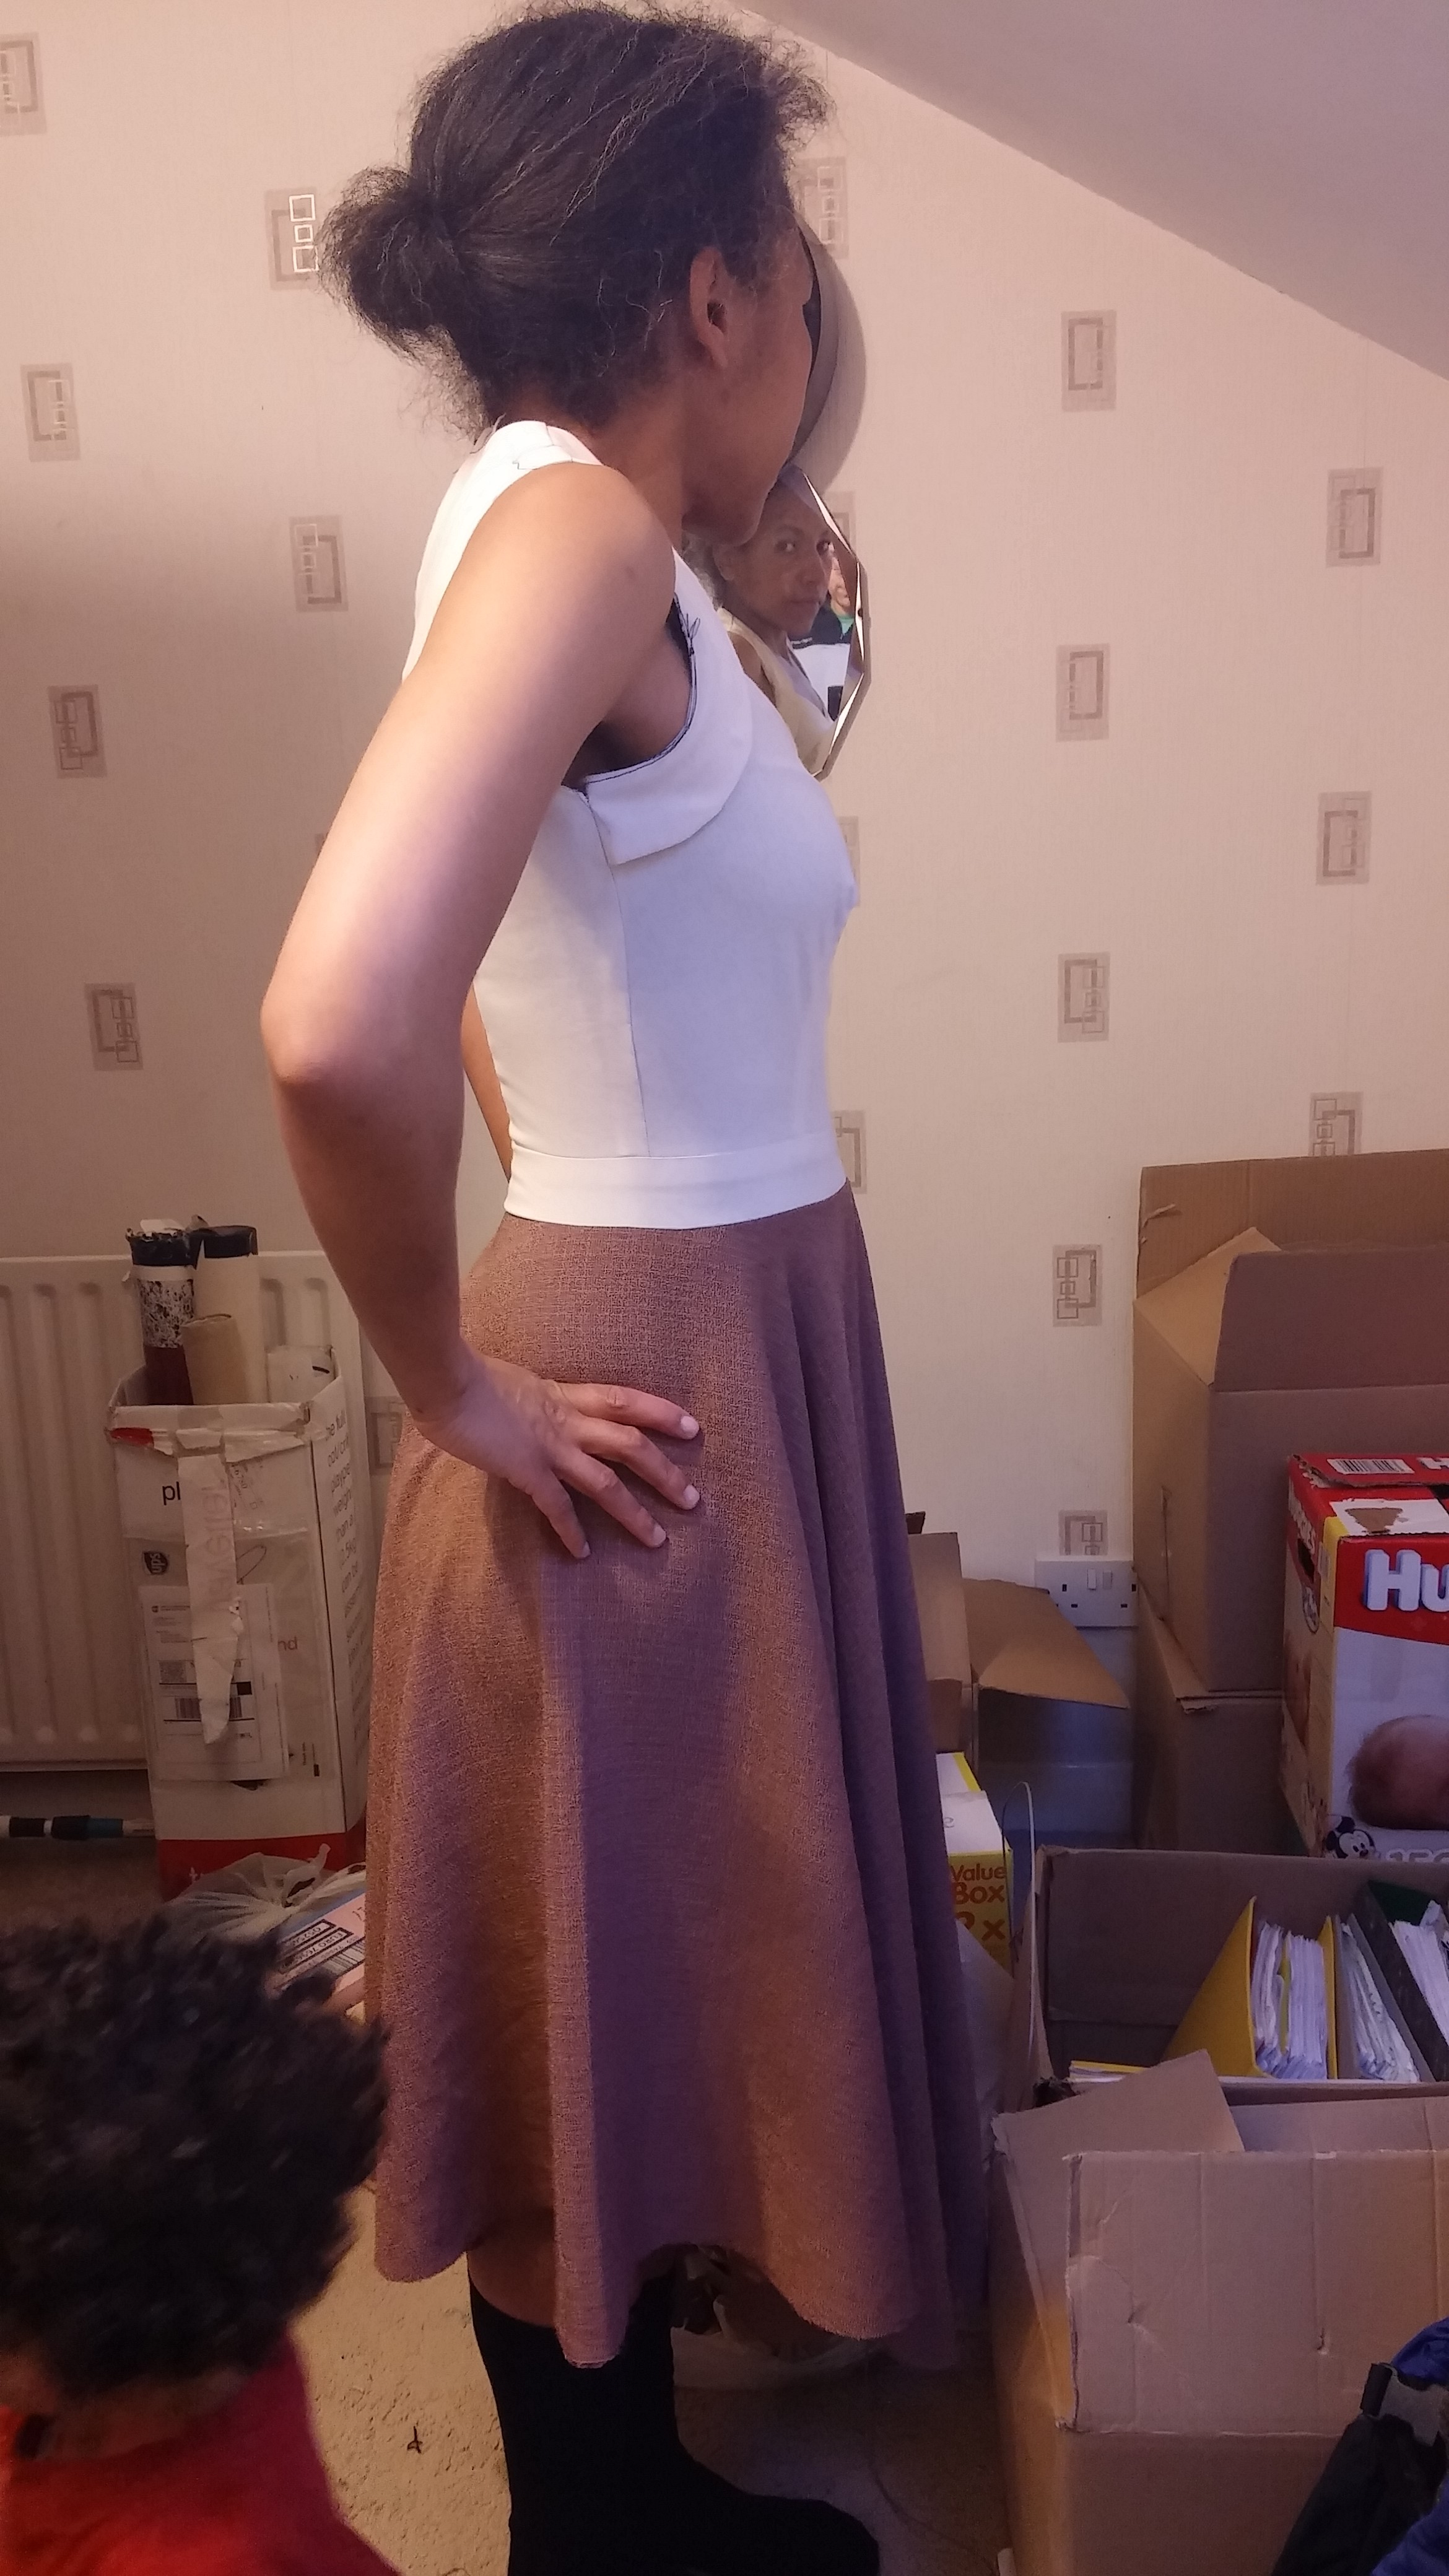
Even made a muslin of Vogue 8280 with modified circle skirt..it was underwhelming….
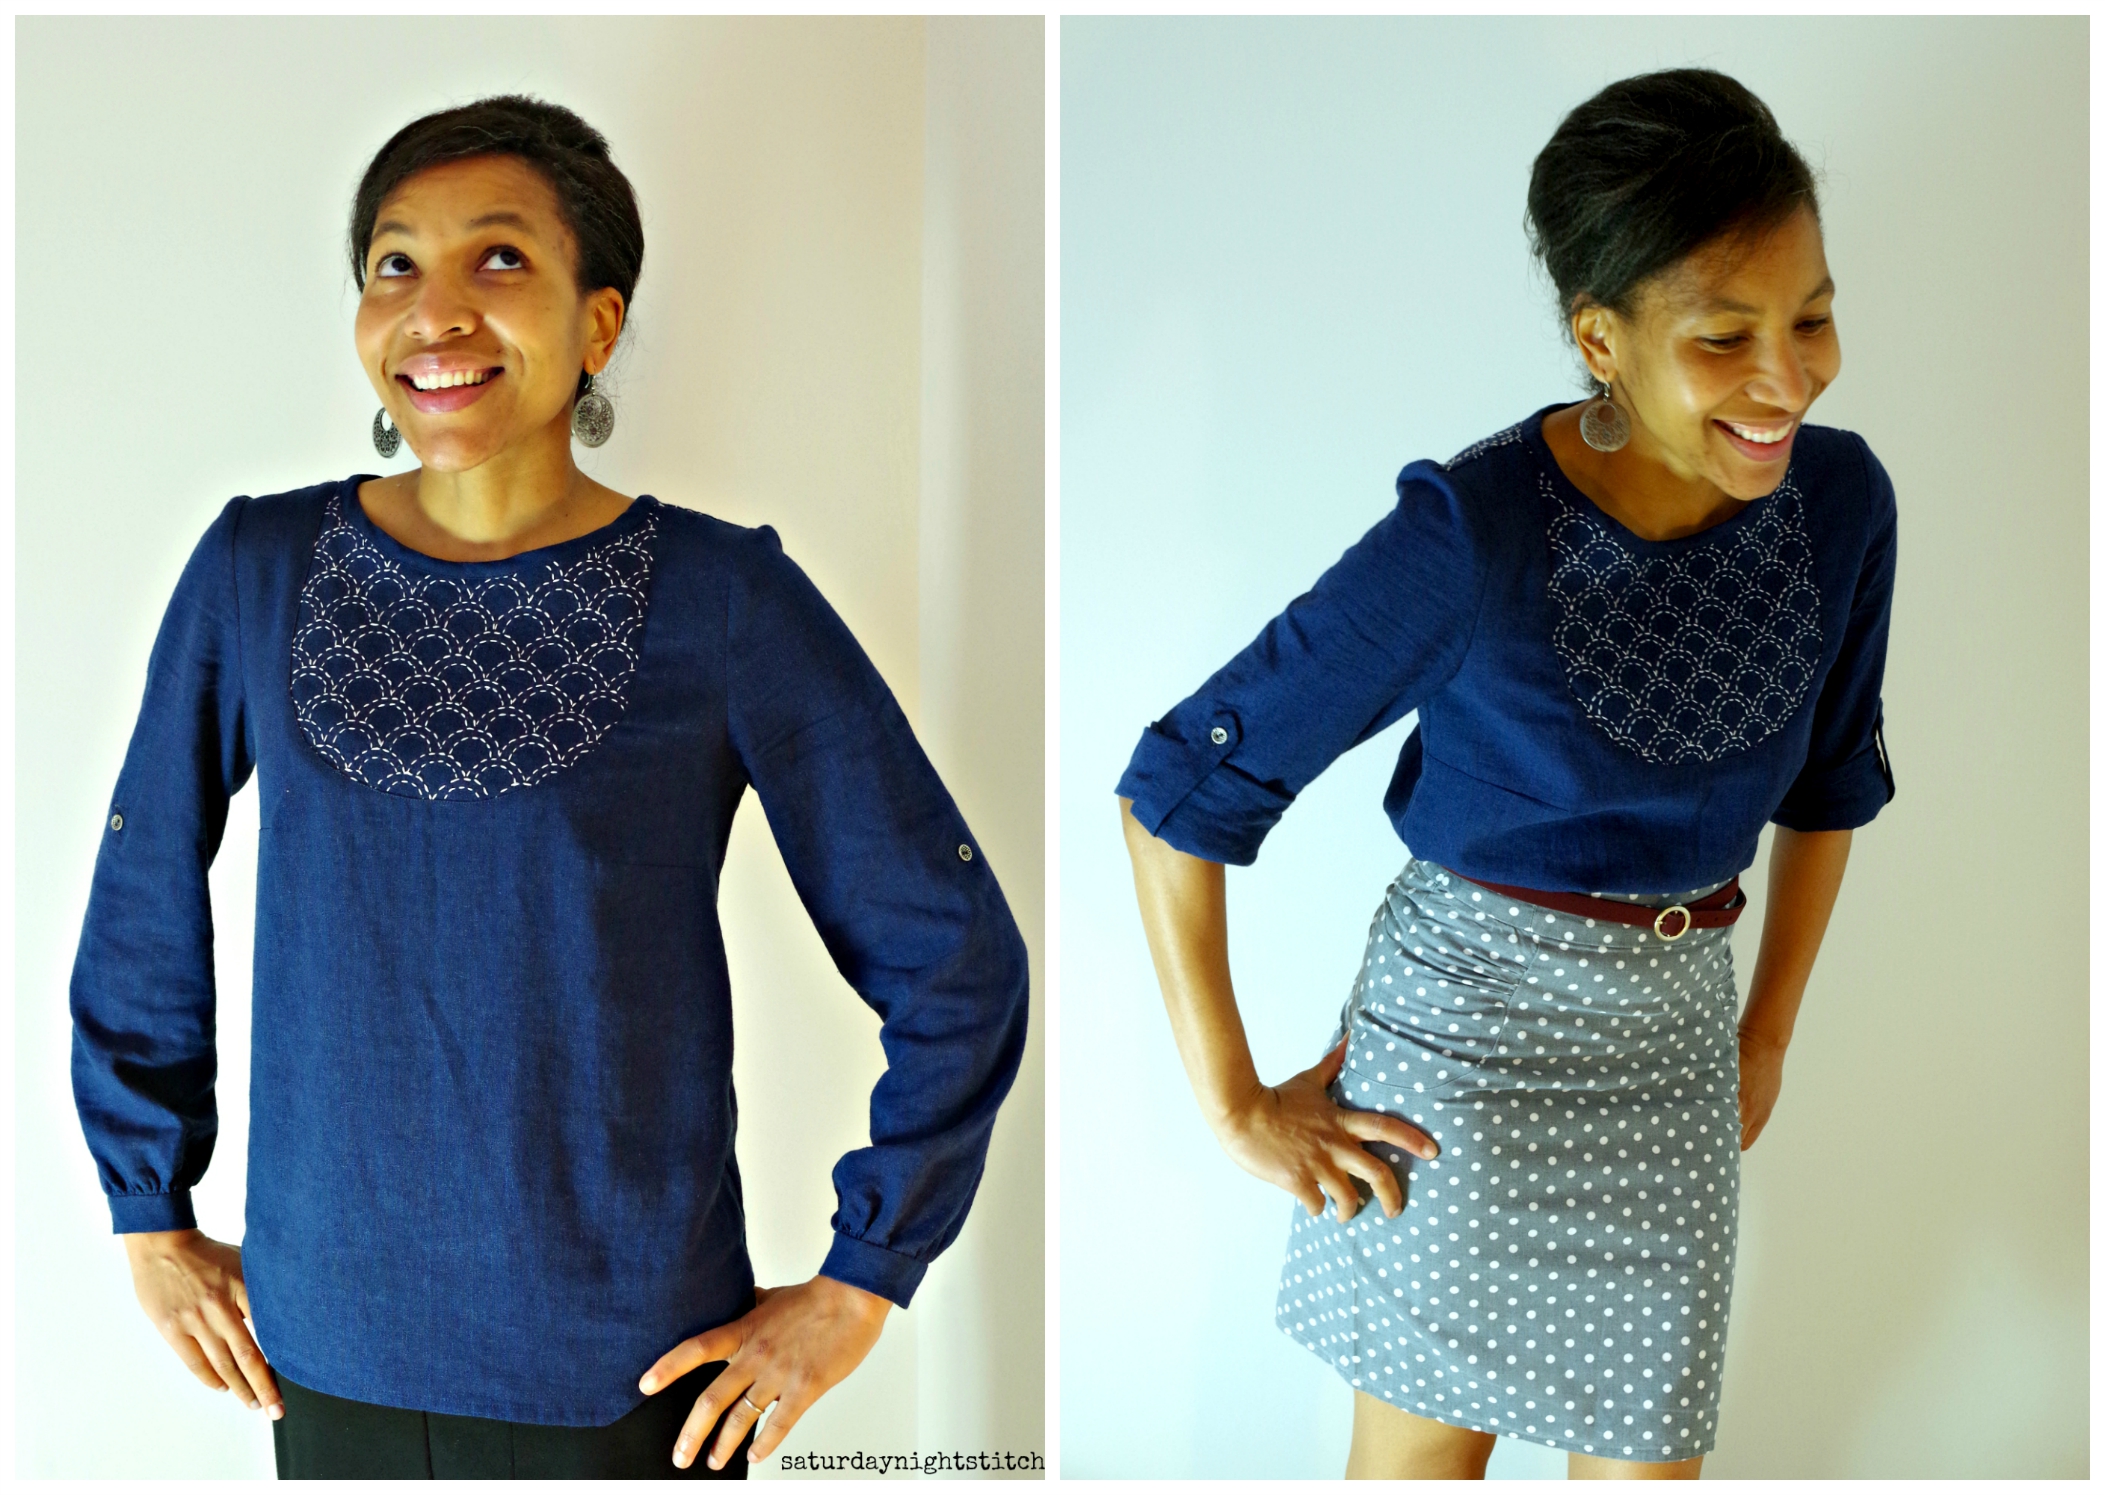
I eventually settled on the Carme blouse. Here is my review:
What type of fabric did you start with for your project?
100% lightweight linen in a pastel lilac colour.
What techniques did you use to modify your fabric?
2 Techniques used : Dyeing and Sashiko embroidery.
Machine Dye
This lilac linen has been in my stash for more than a year so I decided to use Navy Blue Dylon Machine Dye. I have dyed fabric previously with mixed results but machine dyeing has been consistent the 2 times I have used it so I felt it was a safe bet that I wouldn’t muck up. I did have to run my washer on empty to make sure there no dye left in the machine. For me that’s the scary part of machine dyeing…
Once I got the colour dyed I went through a long cycle of dithering over what to do to the fabric. I did some cross-stitch, machine embroidery, stamping but each had issues around the time frame. 5 days into the challenge after making a dress muslin I was still vacillating between debilitating indecision and mad panic. It was at this point I came across Sashiko embroidery.I found calm and inspiration in the simple, geometric patterns.
Sashiko is a form of decorative reinforcement stitching or functional embroidery from Japan.
I thought Yes! Running stitch is going to be dead easy and quick right? Wrong!!! Having no luxury of time for changing my mind I stopped looking and committed…well…I had to because I was running out of time -_-.
Step 1. Printed out a variation on the Uroko (fish scale) pattern.
Step 2: taped 6 A4 pages together so I could have a large template to copy from.
Step 3: traced the pattern onto lightweight fusible interfacing. Ok this took forever. Making sure the interfacing didn’t move while writing on it meant I ended up using fine point Sharpie to move faster. 3 hours to trace! 3 whole hours!!!
Step 4: cut the fabric perfectly on grain
Step 5: fused the traced out interfacing to the wrong side of my fabric making sure the abutting scales lined up on the straightgrain and that the bottom of the scallops were sitting on the cross grain. Again that took ages.
Step 6: All that excruciating lining up of fabric and interfacing – move it to the ironing board.
Step 7: Not even my newborn babies have ever been handled as delicately as when moving the 2 piece of fabric.
Step 8: Fused. Phew (huge sigh of relief). Surely the most difficult part is over yes?
Step 9: Gathered embroidery materials (i.e dug around my sewing cave trying to find the embroidery floss bought over 2 years ago….
*. Technically speaking you are supposed to use speciality Sashiko needles and thread
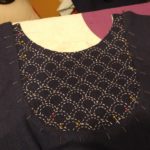
Step 10: Embroidered. I was happy with 3 strand floss. The Sashiko was slow going because you have to make sure it doesn’t pucker.
*There are many rules and ritual behind this craft. I definitely am not anywhere near a Sashiko beginner and I probably broke a lot of Sashiko rules while making this.
Step 11 Gave up after 2 straight days of hand sewing every spare moment I had PLUS burning the midnight oil. I realised I wasn’t going to be able to make enough of the fabric in time to sew a high quality garment. It started off fun but….. ai yai yai! . My eyes and my fingers got sore quickly… I was not hard core enough to endure and finish all the fabric that I was supposed to embroider. More on how I dealt with that later on…..On the plus I had Netflix as background noise during my night sessions and ‘watched’ a lot of stuff ïŠ
What pattern(s) did you use for your garment, or is your entry self-drafted or draped?
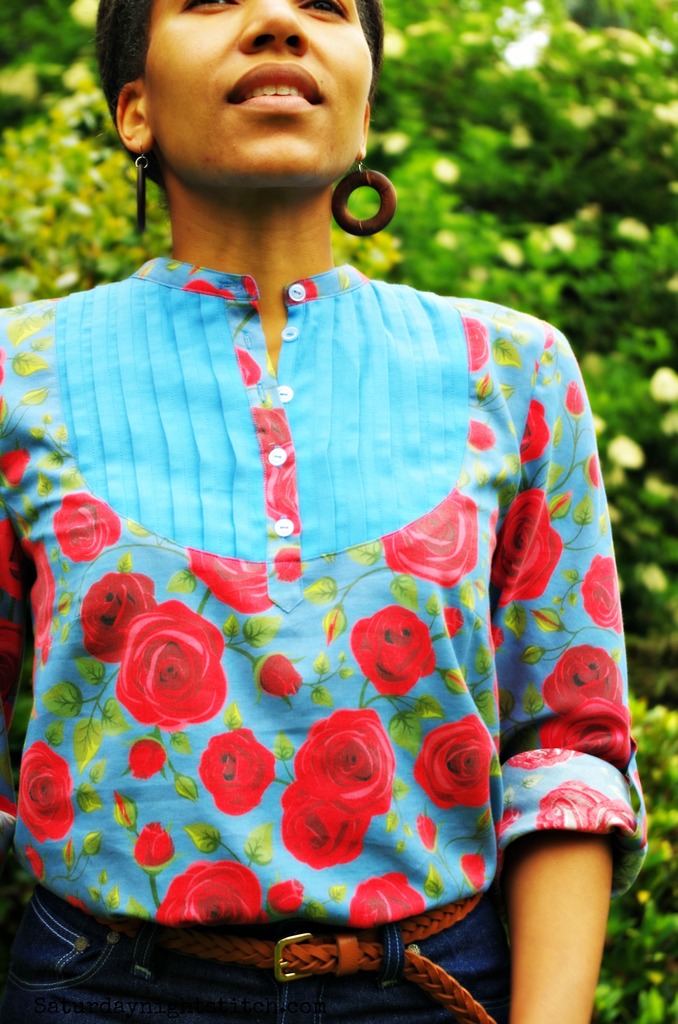
I used PaulineAlice Carme blouse. With this bee I have 2 extra self imposed criteria 1. To use things in my stash and 2) to make things already on my sewing list that I know I will wear. Having made this once before (and LOVE it) I was confident I would wear the finished garment. My plan was to make enough Sashikoed fabric for the bodice, back and sleeves and the bib yoke would be plain. HOWEVER as mentioned above I could not make enough fabric in time.
It was then that I switched it around and went for embroidered bib yoke instead. Since I had more fabric than just for the bib yoke, I also added a back yoke. I didn’t want the stand collar so I just eliminated that. I was going to have a button placket on the front but I just could not bring myself to cut into that embroidery. It took a looooong time to make! So I didn’t sew the placket. Instead I made 2″ wide bias binding out of the dyed navy linen and finished the neckline. I didn’t want any stitching on the yoke. In order to achieve that I sewed the bias binding right side to wrong side of fabric first then folded the bias binding over the front and edgestitched.
I also lowered the neckline by an inch to make it pullover top. French seams on all seams except for armholes. I used overlocker for the armholes – mostly because I didn’t have time and I needed to finish. It still looks neat on the inside though.
How does your garment show off your fabric modifications?
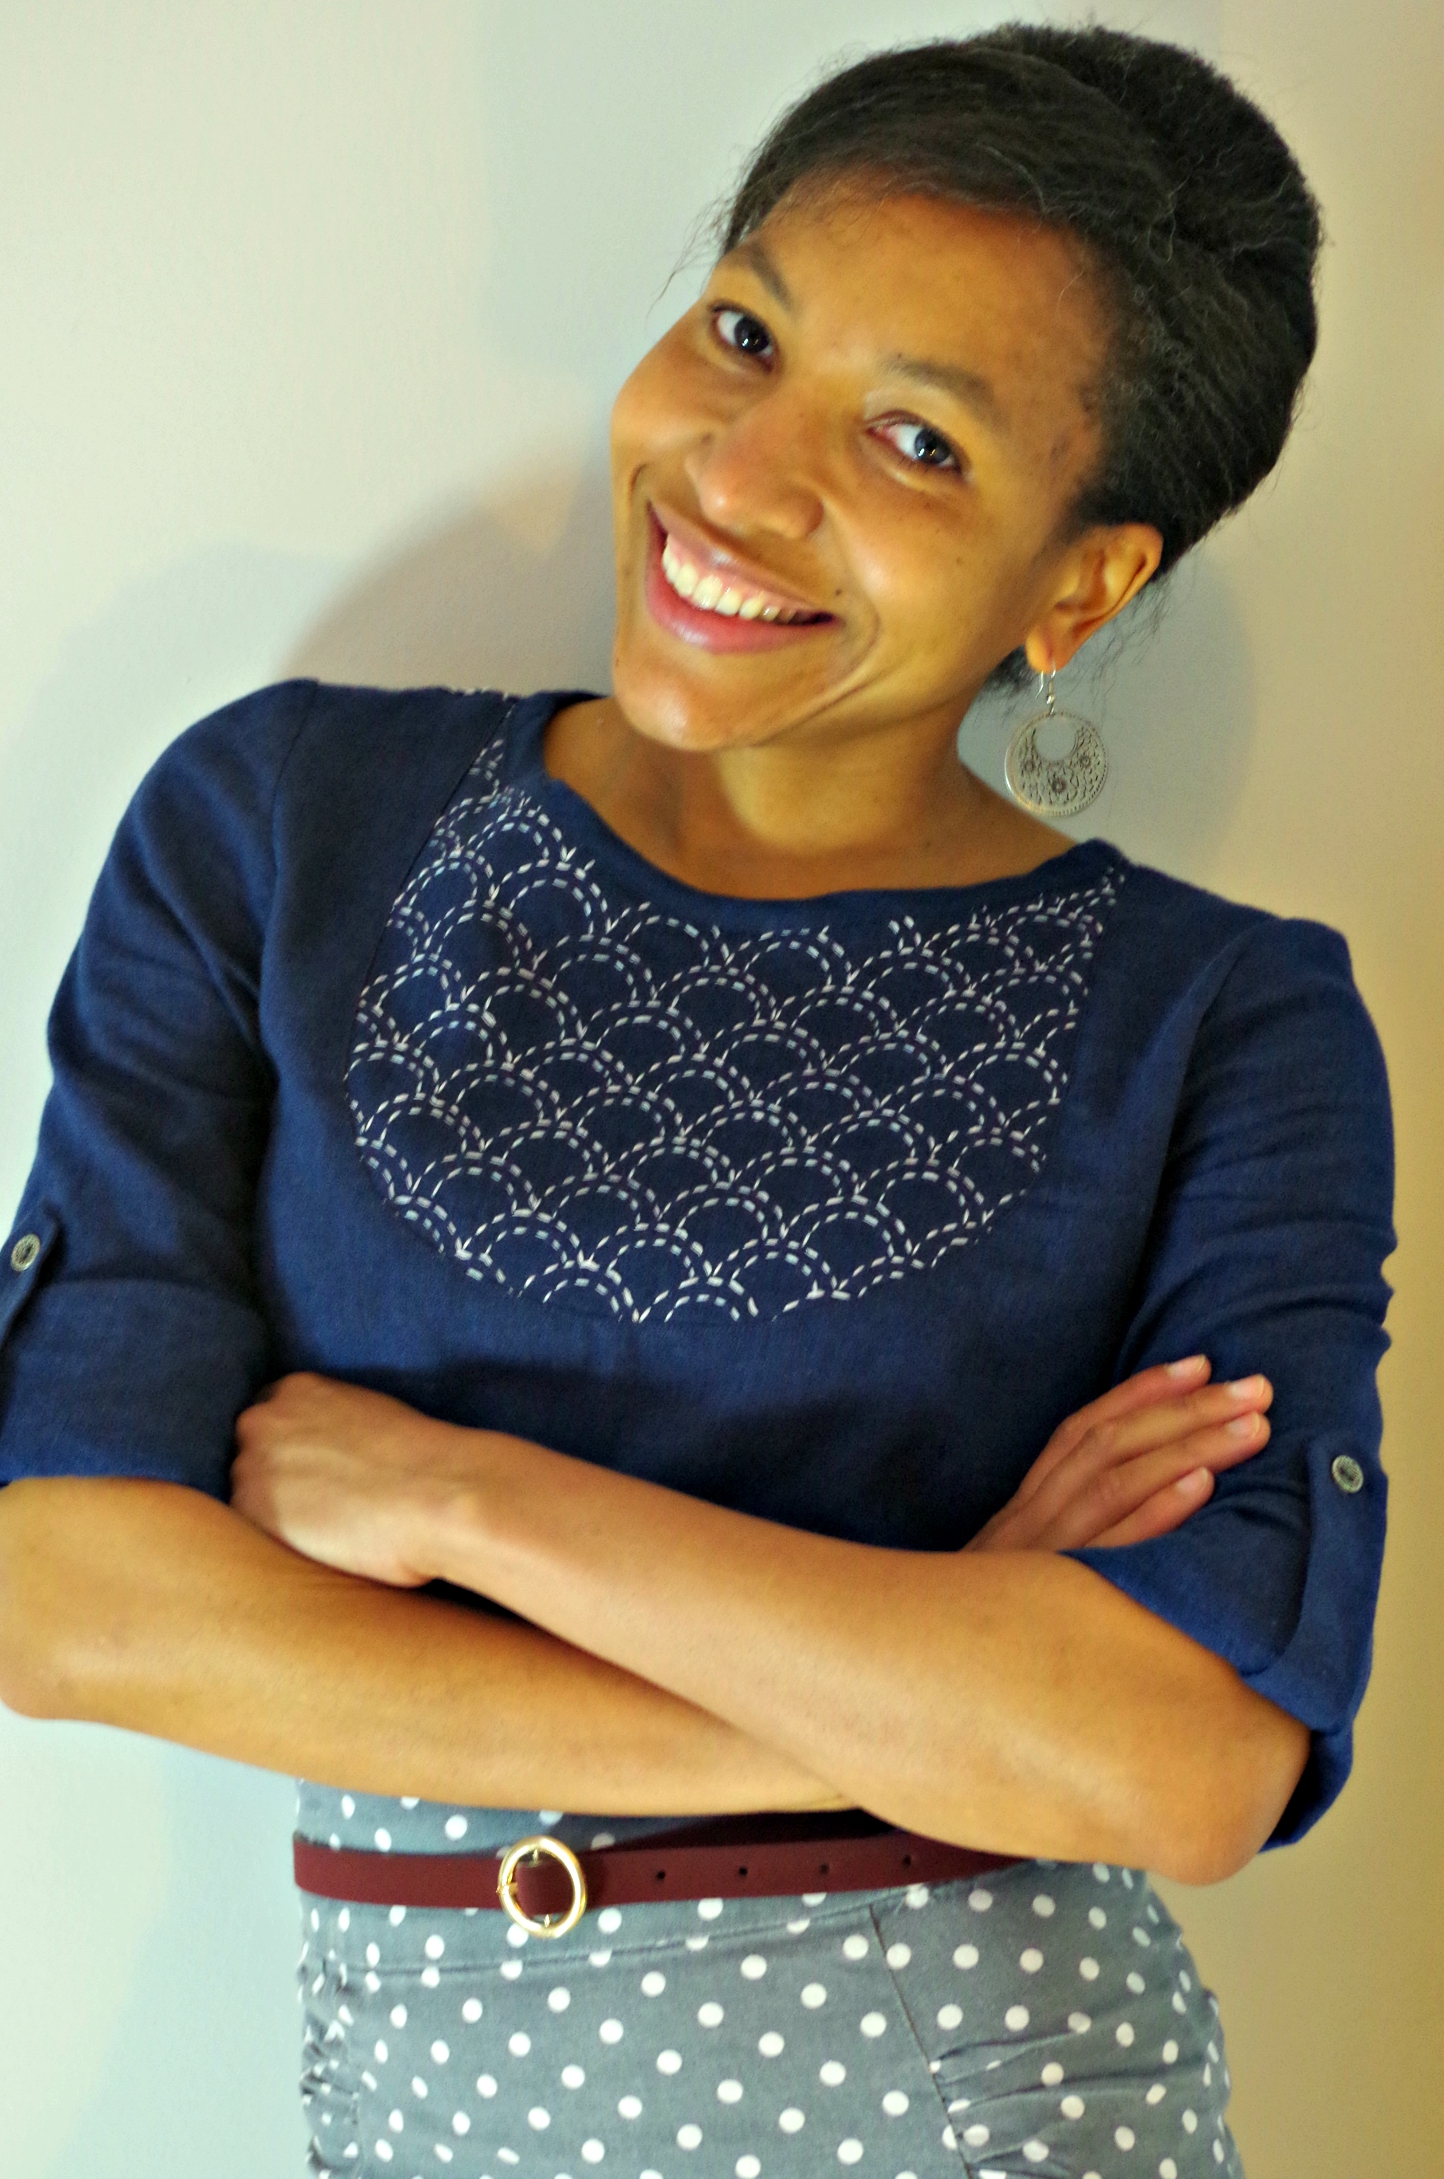
The 2 yokes really allow the striking elegance of the Sashiko embroidery stand out. Especially as the white cotton thread on the deep blue linen gives the Sashiko its distinctive appearance.
Its a perfect versatile and easy-going casual top look.. The clean lines and simplicity of the garment design make a feature of Sashiko embroidery. I am really glad I didn’t sew the button placket on the front as the flow of the fish scales would have been interrupted.
Indicate here that you included the required photographs. Remember that the Front and Back photographs must be on a live person (the head can be omitted / obscured if desired):
1. Started fabric [Yes] 2. Front [Yes]:
3. Back [Yes]:
4. [Optional]: Yes
5. [Optional]:Yes
What particular features would you like to point out to the judges?
So the yoke has some delicate running stitching on it. In hindsight I think it’s best to Sashiko a piece already cut out so you don;t have loose threads hanging about. To this end using a pin I dabbed glue on loose ends once I had cut the yokes out. This involved another 24 hours of waiting for glue to dry. The raw side had to be protected so for the front I encased the bib in a silk fabric harvested from an old car boot find that I never wore. I sewed the yoke and lining right sides together on the curved outer edge then turned out to have neat bound edge. Also used the silk for the cuffs. I LOVE this feature so much. The floral print contrasts so beautifully plus the silk feels heavenly against my chest when I am wearing it.
On the back yoke I just folded the seam allowance under the bottom edge of the yoke then placed it over the back bodice piece -wrong side of yoke on right side of back bodice. Edge stitched straight edge and basted the armhole and neckline so it would act as one piece.
Any other details that you want to share about your fabric modification or the garment you made from the fabric?
Sahiko looks easy but I don’t think so. I think you have to really think about how you are going to finish garment before doing the Sashiko. I learnt quite a fair amount doing this challenge. Would I make something with Sashiko in 5 days again? Absolutely not. But without any time constraints I might make something over a much longer period of time. I am very pleased that I have managed to achieve a clean and elegant end result that I will wear and love. I’d like to thank the Pattern Review committee for coming up with a challenge that has stretched me well beyond my comfort zone. Looking forward to the next challenge which I plan on doing regardless of whether I go through or not.![]()
Cue pictures….
I love this Carme top so much ! Unfortunately I finished sewing it Sunday night and couldn’t get pictures done until Monday. It was wet and raining all day so I was stuck with indoor pictures on a poorly lit day. It had to do because of the deadline. I was seriously blown away by the entries for Round 2 proving once again how super creative and amazingly talented the sewing community is. I don’t envy the judges at all.They announce on September 25 who gets through to the next round….will keep you posted!
You may enjoy this –






Dani Malloy
September 23, 2015 3:08 pmWow all the hard work definitely paid off! This looks so professional and I love the silk accents on the inside 😀
ellegeemakes
September 23, 2015 4:14 pmFabulous blouse! I didn’t know what Sashiko was until I read this post. I love your write up too, as I can totally identify with the dithering phase. I tried and trashed several projects myself. Lol You’ll go to the next round. You embellished in a way that really made your blouse ‘pop’.
Nathalie
September 23, 2015 4:27 pmBeautiful blouse! It looks extremely professional. I especially love the conversion from pink to fabulous blue.
CurlsnSkirls
September 23, 2015 4:30 pmBefore I read your post I thought you’d purchased the embellished fabric – it is outta this world! Wonderful colour, too! Good luck!!! xx
Wendy
September 23, 2015 5:53 pmI’ve been intrigued with Sashiko for a while but never attempted it. You are inspiring me. It may have been a lot of work but it sure turned out adorable!
sugapuddinguild
September 23, 2015 6:36 pmThe blue is GORG! The Sashiko-type embroidery is GORG! The construction is GORG! Utterly impressed with this top. I especially dig how you made the bib top look totally chic and adult, as the style can sometimes look baby girl pinafore-ish. Brava! Hope you’re through to the next round.
Lori
September 23, 2015 7:04 pmI love your top, great job on the embellishment and use of the embellished piece. Perfect!
Chris @ makeandwear
September 23, 2015 7:55 pmYou did a beautiful job of the embroidered panels, and your blouse fits very well too. Best of luck with it.
springystitches
September 23, 2015 8:11 pmHila, this is just so amazing! I love EVERYTHING about this top and you have inspired me to try my hand at a little embroidery on a garment. Beautifully done and good luck! 🙂
notsewsimple
September 23, 2015 9:33 pmThis is amazing – the embroidery looks perfect and it sounds like so much work, but it really paid off. Good luck in the sewing bee!
Louise
jennystitched
September 23, 2015 11:12 pmThis is so good! The embroidery is so elegant. Well done you! ☺
corrineappleby
September 23, 2015 11:20 pmI’ve been looking forward to this post and, wow, it didn’t disappoint! The end result is so neat and beautiful. Good luck with round 2! I’m off to check out the other entries…
lisa g
September 24, 2015 12:53 amThis looks fantastic! It doesn’t ever occur to me to embellish my fabrics, but it makes this blouse so special. Beautiful job!
Linda of Nice dress! Thanks, I made it!!
September 24, 2015 1:55 amVery nice! I love the blue! And the embellishments certainly look like they belong right there!
Kate Carvalho
September 24, 2015 1:57 amAbsolutely fantastic! I’m definitely inspired to try Sashiko now!!!
SewSouthLondon
September 24, 2015 3:03 amIncredible!!! The process sounds painstaking, but the finished effect of the sashiko is so effective.
tomatoesandjasmine
September 24, 2015 1:32 pmYour hard work paid off, the blouse is so unique and beautiful!
Carolyn
September 24, 2015 2:35 pmOh my gosh, I absolutely love the embroidery! Yes, it does take forever, but the results are totally worth it. Best of luck in this round of the Sewing Bee. This top is gorgeous and such a special garment!
jendavismiller
September 24, 2015 2:59 pmThis is lovely! The shell embroidery is an inspired touch, along with the facings. Good luck in Round 2. (Oh, btw, your polka dot skirt is adorable, too….love the pockets.)
Thimberlina
September 25, 2015 12:19 pmCrikey! There’s some work gone on there!! Did you lock yourself in a room for 5 days to get it done!? It looks amazing! I think you should frame your top, like they do with rugby and football shirts. It’s too lovely to be just in your wardrobe when it’s not being worn! 🙂
navybluethreads
September 25, 2015 5:33 pmBeautiful and practical! Love the bib detail generally and your upgraded version looks fab! Good luck!
RED
September 25, 2015 6:14 pmLove love love the top! That Sashiko stitching is so cool – I bought the Cardamome dress pattern from Deer and Doe and I think Sashiko stitching would look super awesome on the bib for that, too. Ideas, yay!
shoes15
September 26, 2015 8:13 pmCongratulations on making it to the next round. I love the color and style.
patternandbranch
September 27, 2015 9:41 pmThat looks really beautiful! I love the inside, too. Amazing work, especially with the time constraints.
Vagabon Velda's
September 28, 2015 3:10 amI like that blouse, it’s very pretty and your work is awesome! I have nominated your blog for the Infinity Love Dreams Award, if you would like to accept check it out at: https://vagabonvelda.wordpress.com/2015/09/27/infinity-love-dreams-award
nuala
October 19, 2015 9:14 amThis is just so utterly amazing! I love
Hila
October 27, 2015 2:29 pmThank you!
nuala
October 19, 2015 9:15 am…I love sashiko embroidery. I’ve never tried it but perhaps I will now after seeing this. Beautiful!
Hila
October 27, 2015 2:29 pmGo for it! It makes such a lovely addition even in a small section of a garment.
rrita
May 13, 2017 7:32 pmHila, I can’t stop reading through your posts! This blouse is amazing and so inspiring! Not to mention, you look gorgeous in it! I hope to reach the same skill level one day… 🙂
Hila
May 22, 2017 10:07 pmYou will Rrita! WIth sewing its really as simple as this – the more you sew the better you get at it. I remember feeling like that when I started too. Keep at it and before you know it you will be there. XXX